Then the end of the school year is in sight. Congratulations! Now is the time to clean and organize. So, this week we have a dozen end-of-the-year cleaning and organizational hacks to share.
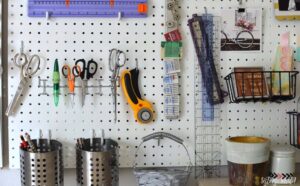
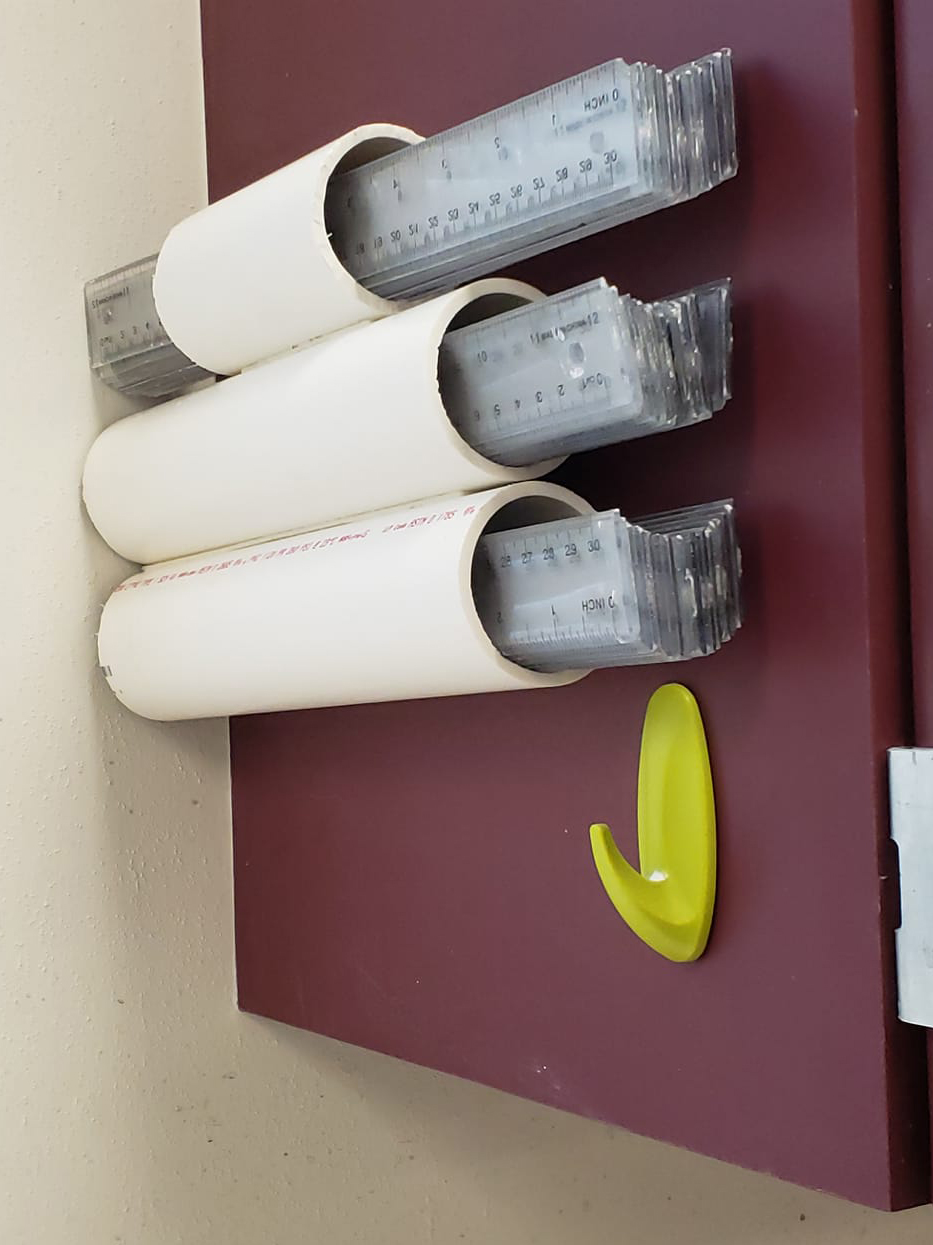
1. Rulers Recently an art teacher was asking for ways to organize rulers. I used a pegboard and hangers (you can find attachments for all kinds of tools and equipment) to hang them vertically. Art teacher Amanda Miller came up with this clever hack for her rulers. She took short lengths of PVC pipe held with command strips to secure the pipes to her cabinet door. And, who knew they made ruler holders?
 .
. 
3. Another Ceramic Room Hack Another clay room hack for cleaning an extruder. Use a plastic grocery bag. Put the clay in the bag and then extrude. It pops through the bag. Pull out bag and excess clay. Another hack for cleaning the extruder. Spray the inside of the extruder with WD-40. To clean up, let dry and tap outside with a hammer.
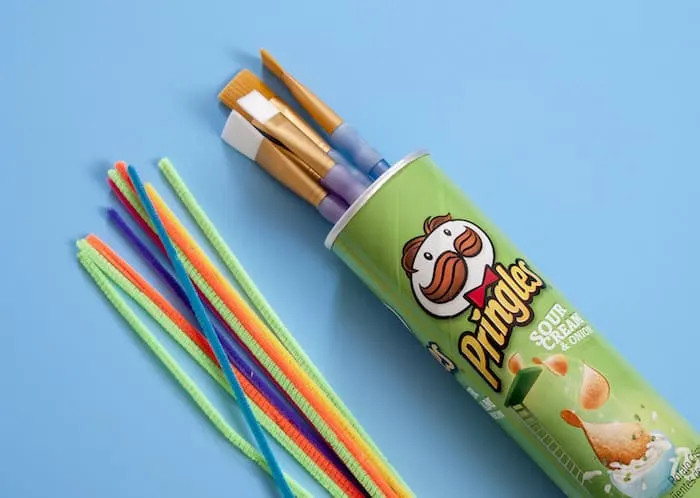
4. Paintbrush Organization Pringles cans and tennis ball containers are great for brush storage. Another related idea, one art teacher gives her students their own brushes stored in pringle cans at the beginning of the year and they are responsible for cleaning and maintaining their own brushes. Also, any container (vase, coffee can, mug, etc) just fill with dried beans or small aquarium pebbles. Cutlery trays are another option that works well, especially if you have drawer storage.

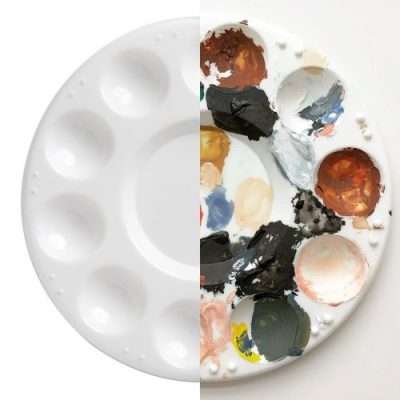
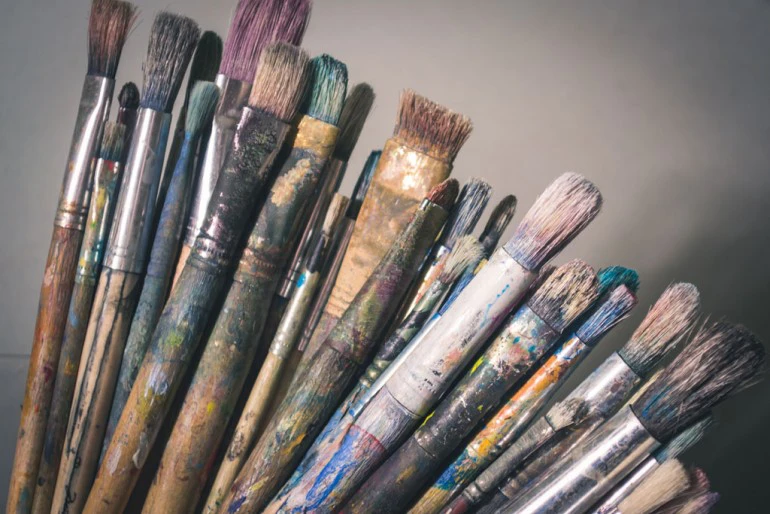
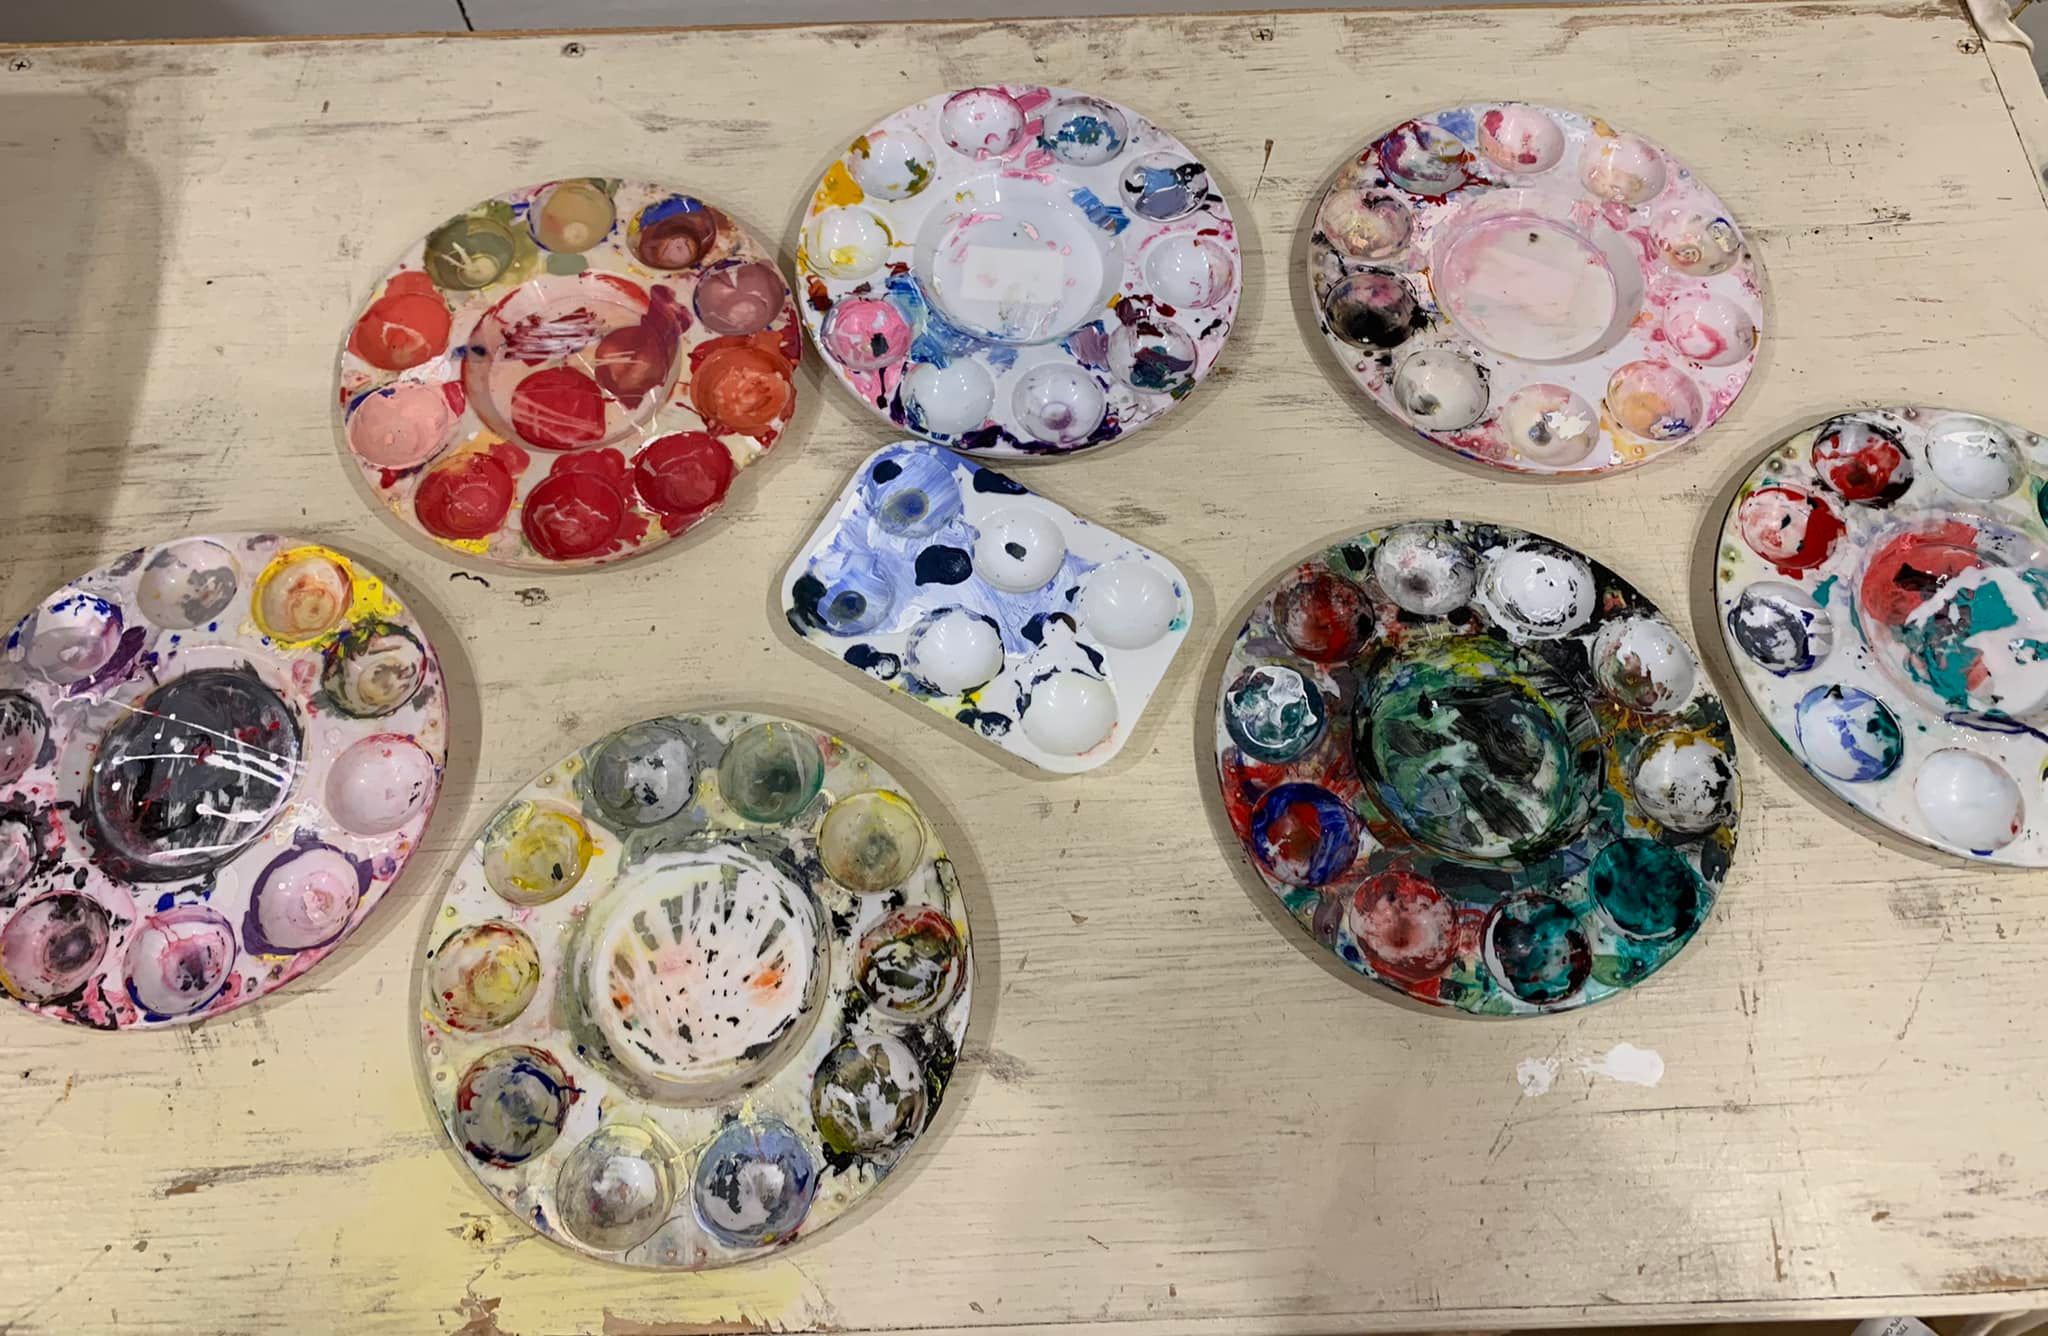
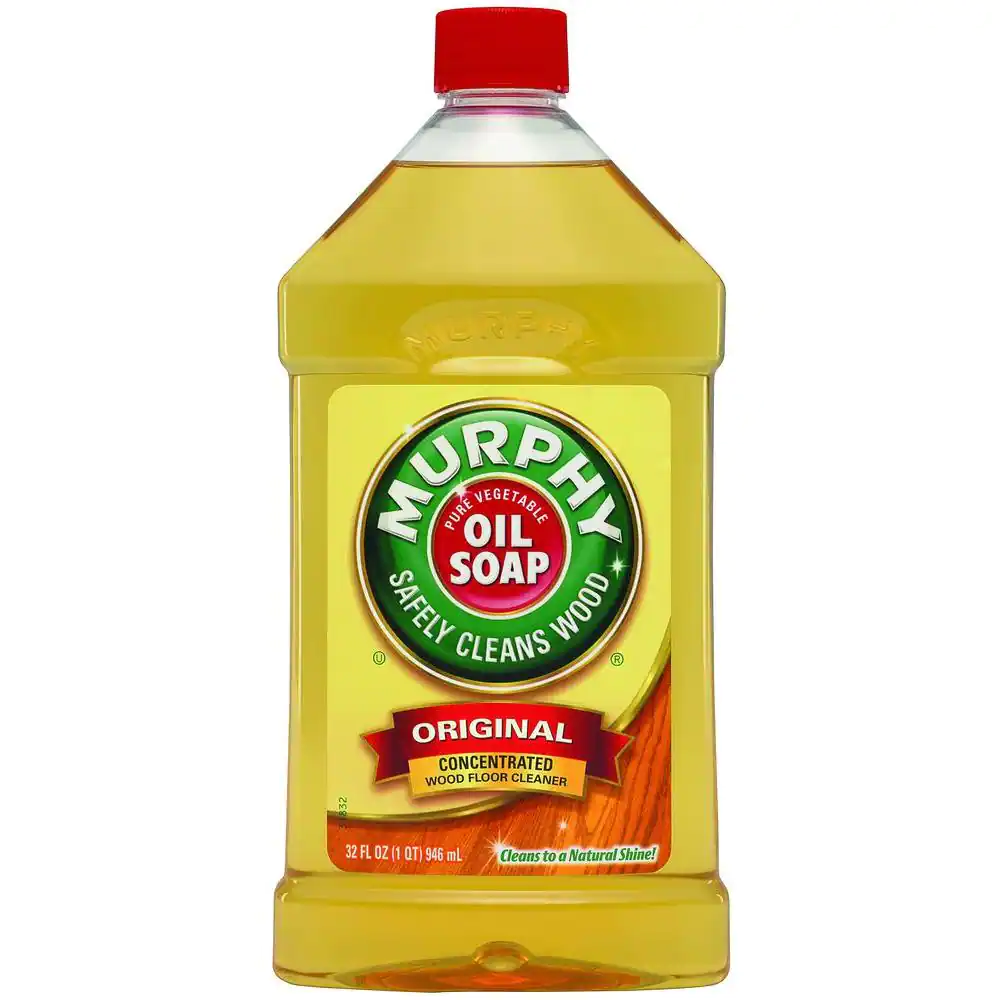
5. Dirty Brushes? Gross palettes? An old teacher hack is to soak your dirty brushes and palettes in Murphy Oil. Another art teacher swears by Windex.
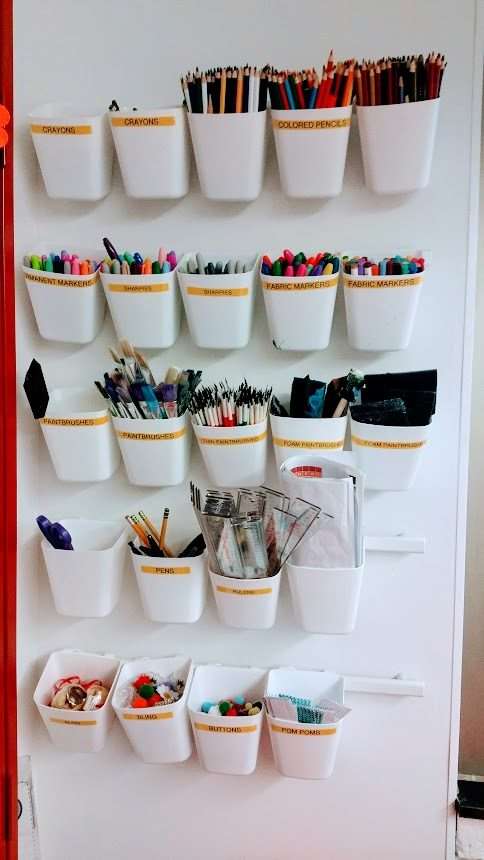
6. Organize! Art teacher Kristina Uihlein Holzweiss shared this organizational system. “The cups are removable so they can go from wall to table in a snap!” Find the ikea rail here and the cups here.
 [
[7. Clean pastels This is another old art teacher favorite. Clean your chalk pastels with rice. I fill a large container with a lid (an old coffee can container for example) or a gallon size ziplock bag with rice and the dirty pastels and shake it. Charlene Lear shows us the results of cleaning her pastels with chalk. When done, I sort them out by color and store them that way to stay clean.

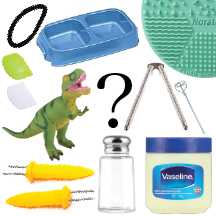
8. Did you know you can clean kneaded erasers? I mean, I wouldn’t do this but when you have a class cleaning, I absolutely would have the students clean them for me. Use some hand soap, soap it up, and rinse. Squish to reveal more eraser dirt and repeat until clean. Just take care not to knead the water into the eraser.
9. Sharpie? Sharpie on table tops, use a squirt of hand sanitizer and rub it with a magic eraser. Presto clean!
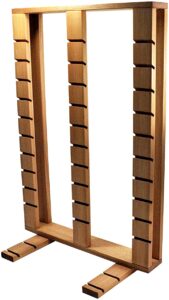
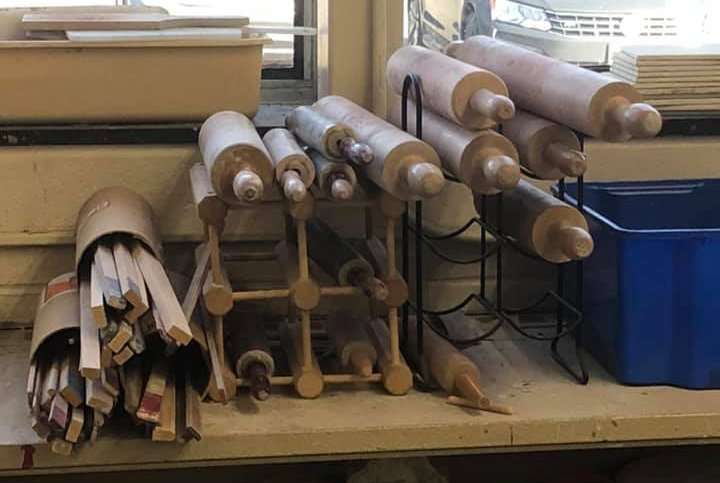
10. Organize student exemplars. How are you storing student project examples? Or posters? Art Teacher Brooke Richards came up with this genius method of storing old projects. Take a clothing rack and use clothes hangers for pants (the type with clips on each end) and use it to hang bags. In those bags, you can pack all your exemplars and posters. Just label and you will be so ready and organized for the next school year.
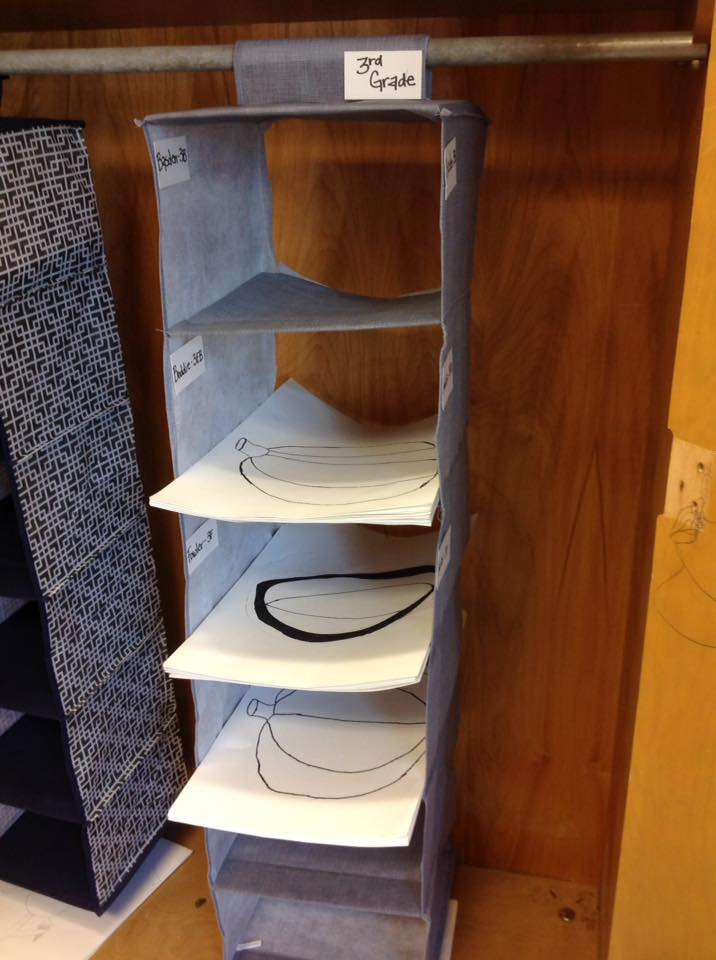
MaryJane Coker stores student projects using a closet organizer with the back cut out!

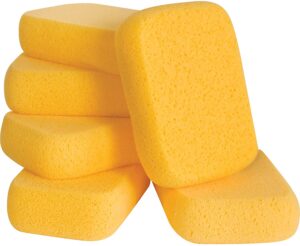
11. Masonry Sponges Before you start cleaning, get your hands on some masonry sponges. They are worth it. They are durable and will last, they can even be put through the wash I hear. I ALWAYS used these types of sponges with my ceramic class because they do the best job of lifting the clay from the tables and other surfaces.
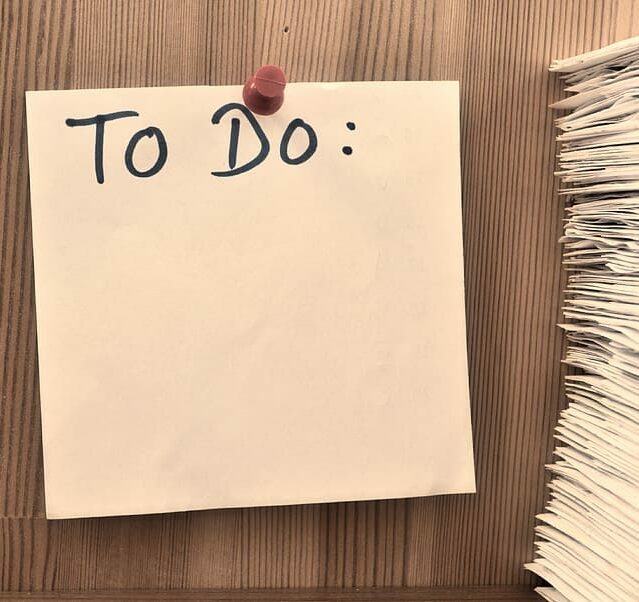
12. Many hands make light work Put this old phrase into action by having the students clean. They may gripe at the idea but it is teaching them good skills for maintaining a studio. Once they get to it, I find students have a lot of fun. First, make a list of tasks on the board and then assign those tasks to the students. One teacher says she will assign the same tasks to different class periods, because can your table tops or palettes ever be too clean? And it’s not just cleaning but organizing too. And don’t forget your bulletin boards too! There is a good art room clean-up list here. As your custodians for buckets, extra garbage cans, garbage bags, recycling containers, cleaners, brooms, gloves, etc. My students asked for shaving cream one year to clean the desks because apparently, they enjoyed doing this when they were in elementary and I was happy to provide it.
13. Tabletop Tricks and Tips Our tables see the most action so it’s no surprise they pose special challenges when it comes to cleaning. I always kept recycled newspaper around to throw under messy projects but it’s still inevitable that some graphite group and paint will end up on tables. So here are some art teacher methods of returning your tabletops to shiny and clean.
• Spray the table with a cleaner and let it soak and then scrape with a paint scraper.
• For a longer soak, wet paper towels and cover the table.
• Lots of art teachers favor Awesome Cleaner followed up with a scrubby.
• Use Miracle Wipes for Paint.
• For butcher block tables lightly sand followed with steel wool.
• Try Simple Green, undiluted. Let it sit on flat surfaces for a few minutes before wiping
• Another popular choice among art teachers is Magic Eraser Sponge.
14. Squeegee A reader just reminded me of another cleaning tool not to be forgotten, the squeegee. It’s great for drying those tables and sweeping all the cleaner with the dirt right off the table and into a bucket or lifted with one of those masonry sponges.