Grade Level
9-10, 11-12Duration
10 classes, 90 minutes
Materials
Good quality color pencils like Prisma Colors (link) or Faber Castell (link), odorless turpentine (I suggest a safer alternative such as Citra Solve), rubbing alcohol, q-tips, 300 gsm or 140 lb paper such as Bristol paper is traditional for color pencil (some color pencil artists like to work on colored sheets), student work is about 14×16
Media
Color pencils
Lesson Objectives
The objectives of the lesson are for the the student…
To learn a variety of color pencil “painting” techniques (blending, scribbling, hatching and cross-hatching, burnishing, blending, sgraffito, and creating highlights.
To apply an understanding of color theory in achieving accurate color blending to represent the subject matter.
To learn about a variety of artists who use colored pencils in their artwork.
Introductory Activity
Look at color pencil artists such as Alma Cartaya, Cecile Baird and, CJ Hendry, and Adolfo Fernandez Rodriguez.
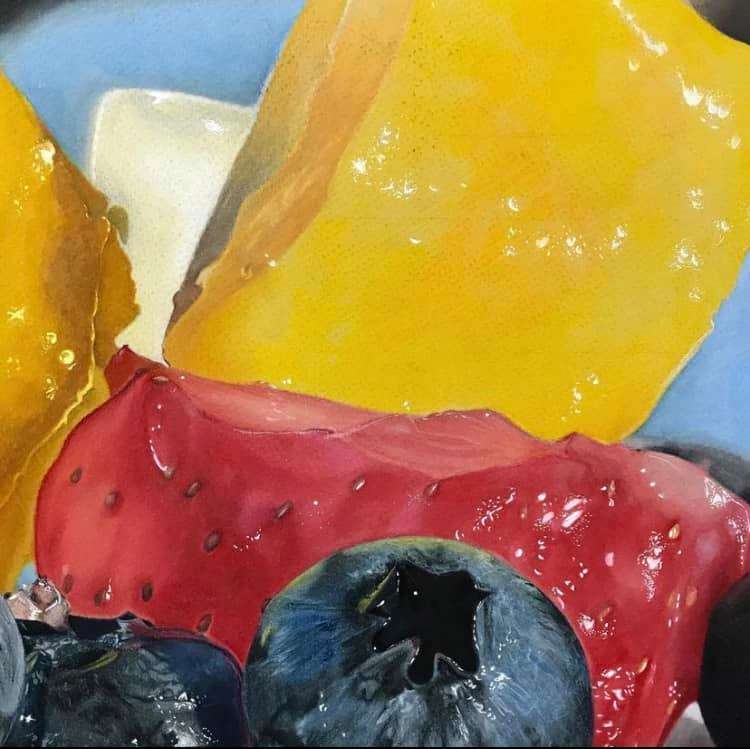
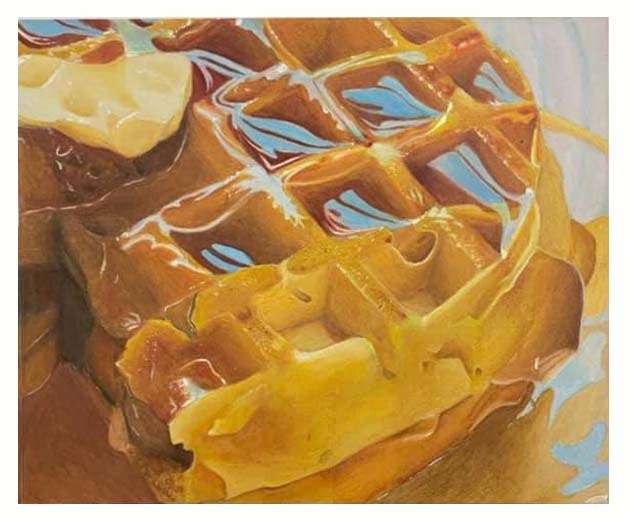
Students do color matching experiments (see the videos in resources) to try to replicate colors. In the class where the exemplars are from, students had a working knowledge of color mixing from the previous painting lessons. Students will also practice the color pencil techniques blending, scribbling, hatching and cross-hatching, burnishing, and highlights (see the video in resources) in exercises to develop their understanding of color pencil. Students do candy wrapper (one-day exercise) and food in a jar (two-day exercise) drawings. The candy wrapper exercise is paired up with the video of the Color Pencil Ring Pop Drawing Tutorial (find in resources) and it’s an opportunity for students to practice the marker underpainting and gel pen on top techniques. All this practice allows students a wide breadth of techniques they can draw on when appropriate for their specific situation.
Lesson Process
Students prepare for the assignment by taking a lot of food photographs at home or in the supermarket. The teacher should review tips that will help students in photographing for the assignment, like reviewing good lighting and zooming in close to the subject as opposed to having lots of negative space. The day students bring in their photos present the photos on the board and discuss which ones are better options and why. Some students may have to go back and take more photographs. Students may also make edits to improve the photograph. For example, students may opt to crop the photograph or increase the contrast. Once the student has selected and made necessary edits, the photograph is printed.
The students then move on to drawing the image on a sheet of quality paper. Depending on their skill level, you may freehand or use a grid technique. When using the grid method, use one-inch grids on the printout and two-inch grids on the paper. This will double the size of the photo.
Do a mid-process critique about every 2-3 days and the teacher should walk around and provide feedback throughout the process.
Vocabulary
blending, scribbling, hatching and cross-hatching, burnishing, highlightsResources
Highly recommend the slide show available at the teacher’s TPT
Color test demo
Simple colored pencil demonstration
Advanced color demonstration
Color Pencil Ring Pop Drawing Tutorial
Artist info for Cecile Baird
Artist info for CJ Hendry
Author & Website/Blog
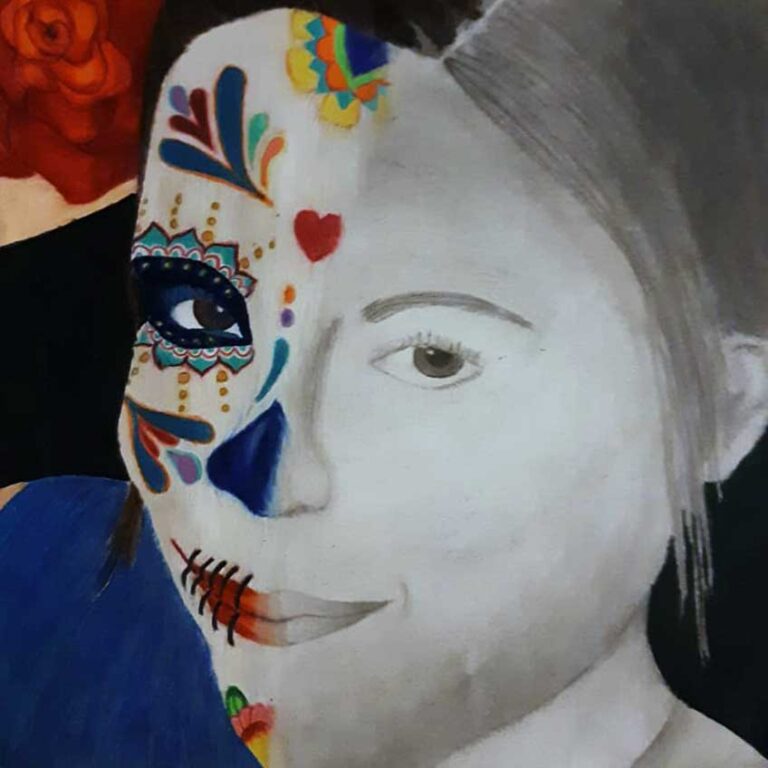
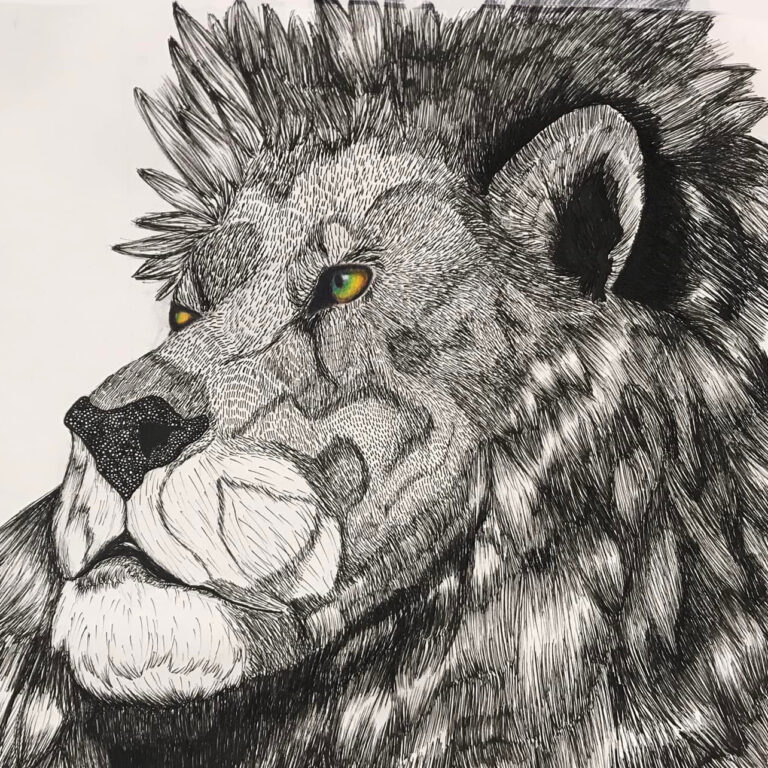
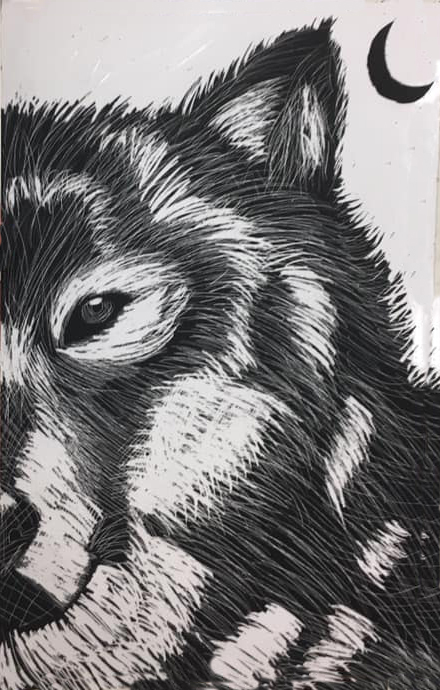
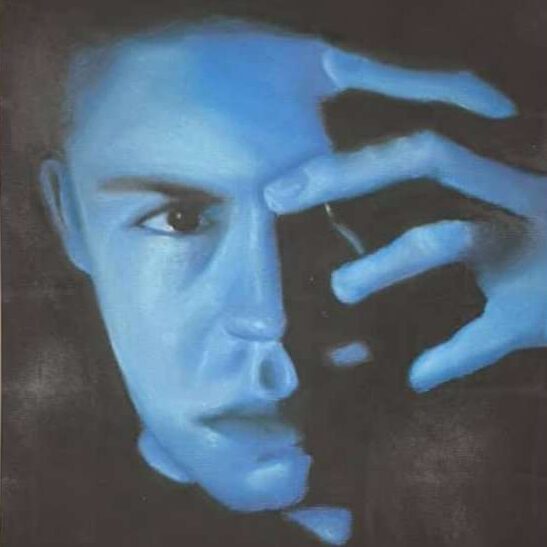
Supporting Images