So, last week I started talking about art show planning. This week we are talking art show nitty-gritty. The nitty-gritty includes figuring out how to best display the work, gathering the work, how to hang the work, and more. I’m exhausted just thinking about it!
Display Panels
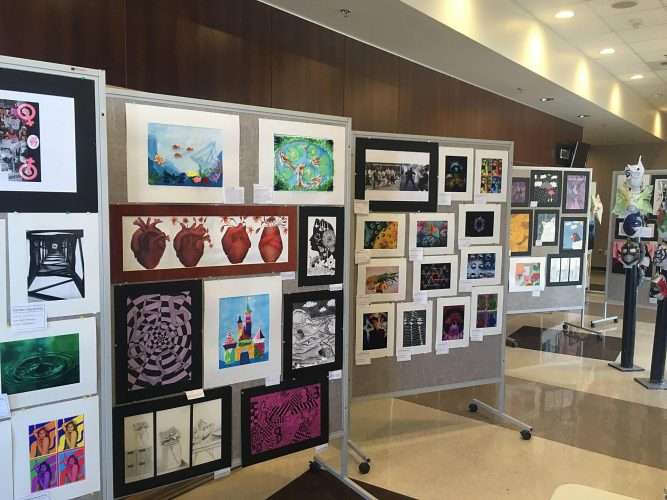
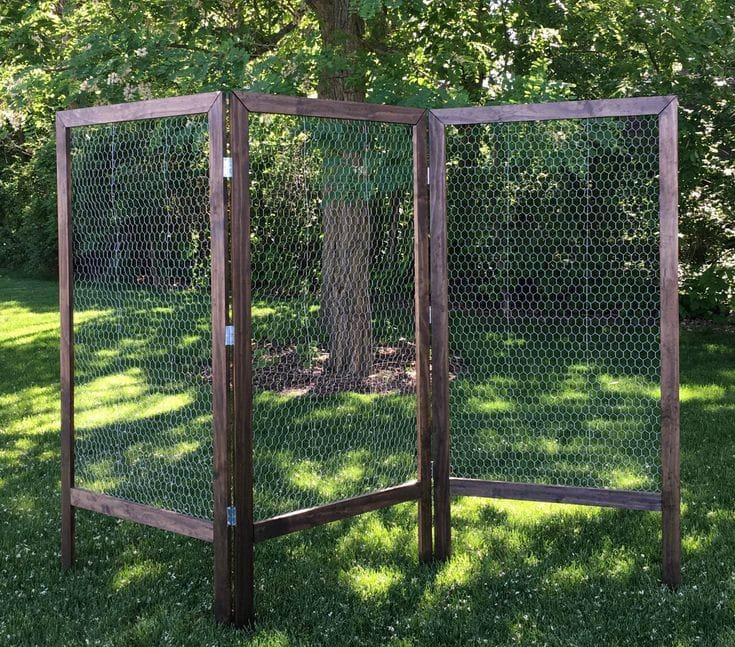
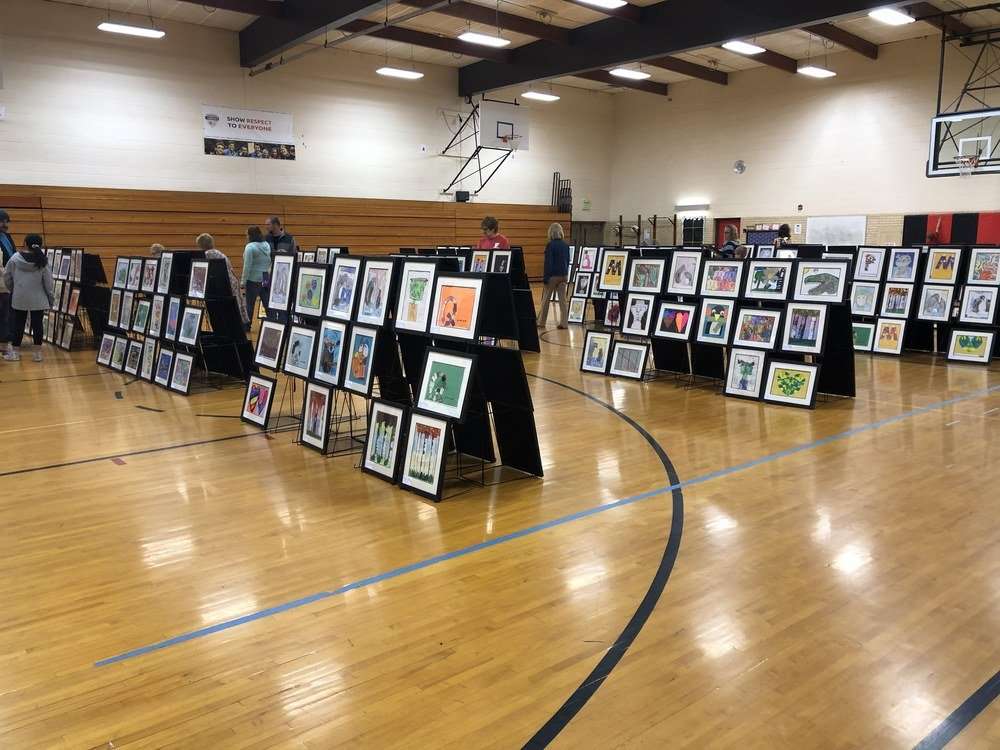
Ideally, every school would invest in quality display panels. You and I both know that an administrator wouldn’t hesitate to look us in the eye and ask for a spectacular art show, and expect us to be our usual resourceful selves and somehow be able to pull it off on a shoestring budget. So, here are some clever and economical ways to pull off an art show without expensive panels. Amy Huska Norris shared a foam core panel (image 1) she constructed and credits the idea to an AENJ art teacher conference she attended. Amber Dillingham shared her district’s chicken wire folding panels (image 2 below). She reports they are, “Sturdy, versatile and lightweight. All of the art teachers in my county got together to make these. We lend them to each other for our different art shows. They were about $60 each to make.” You can find directions for how to make those panels here. Another homemade option came from Sharon Roper Stewart who credits her husband who made panels with PVC pipe and mesh (image 3).
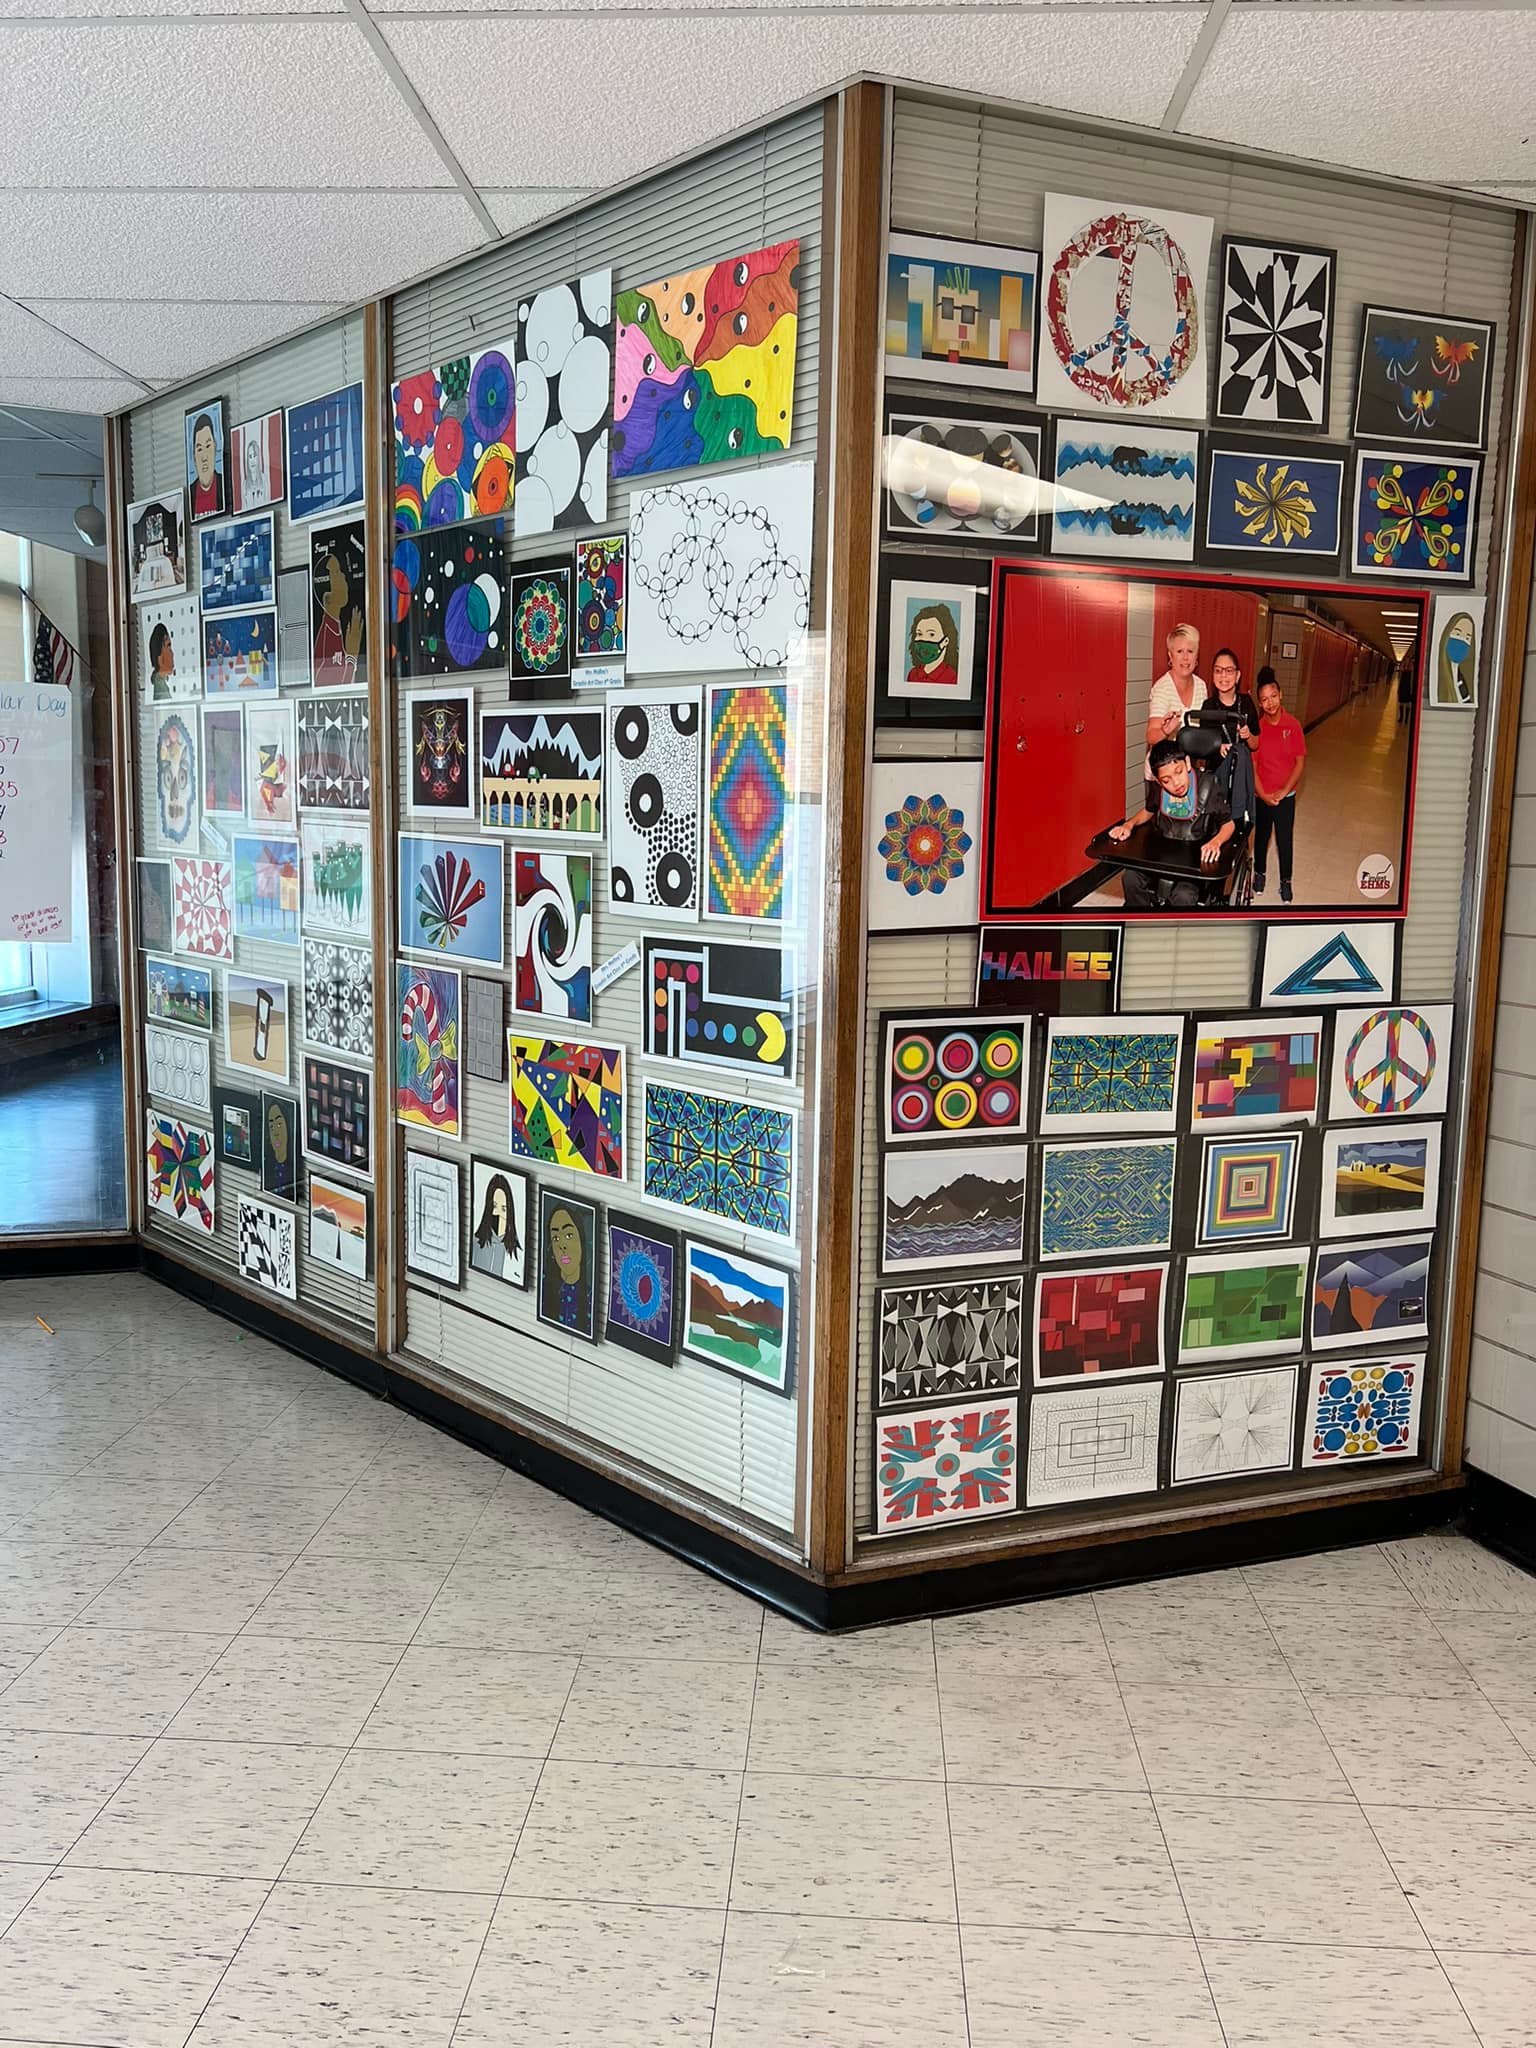
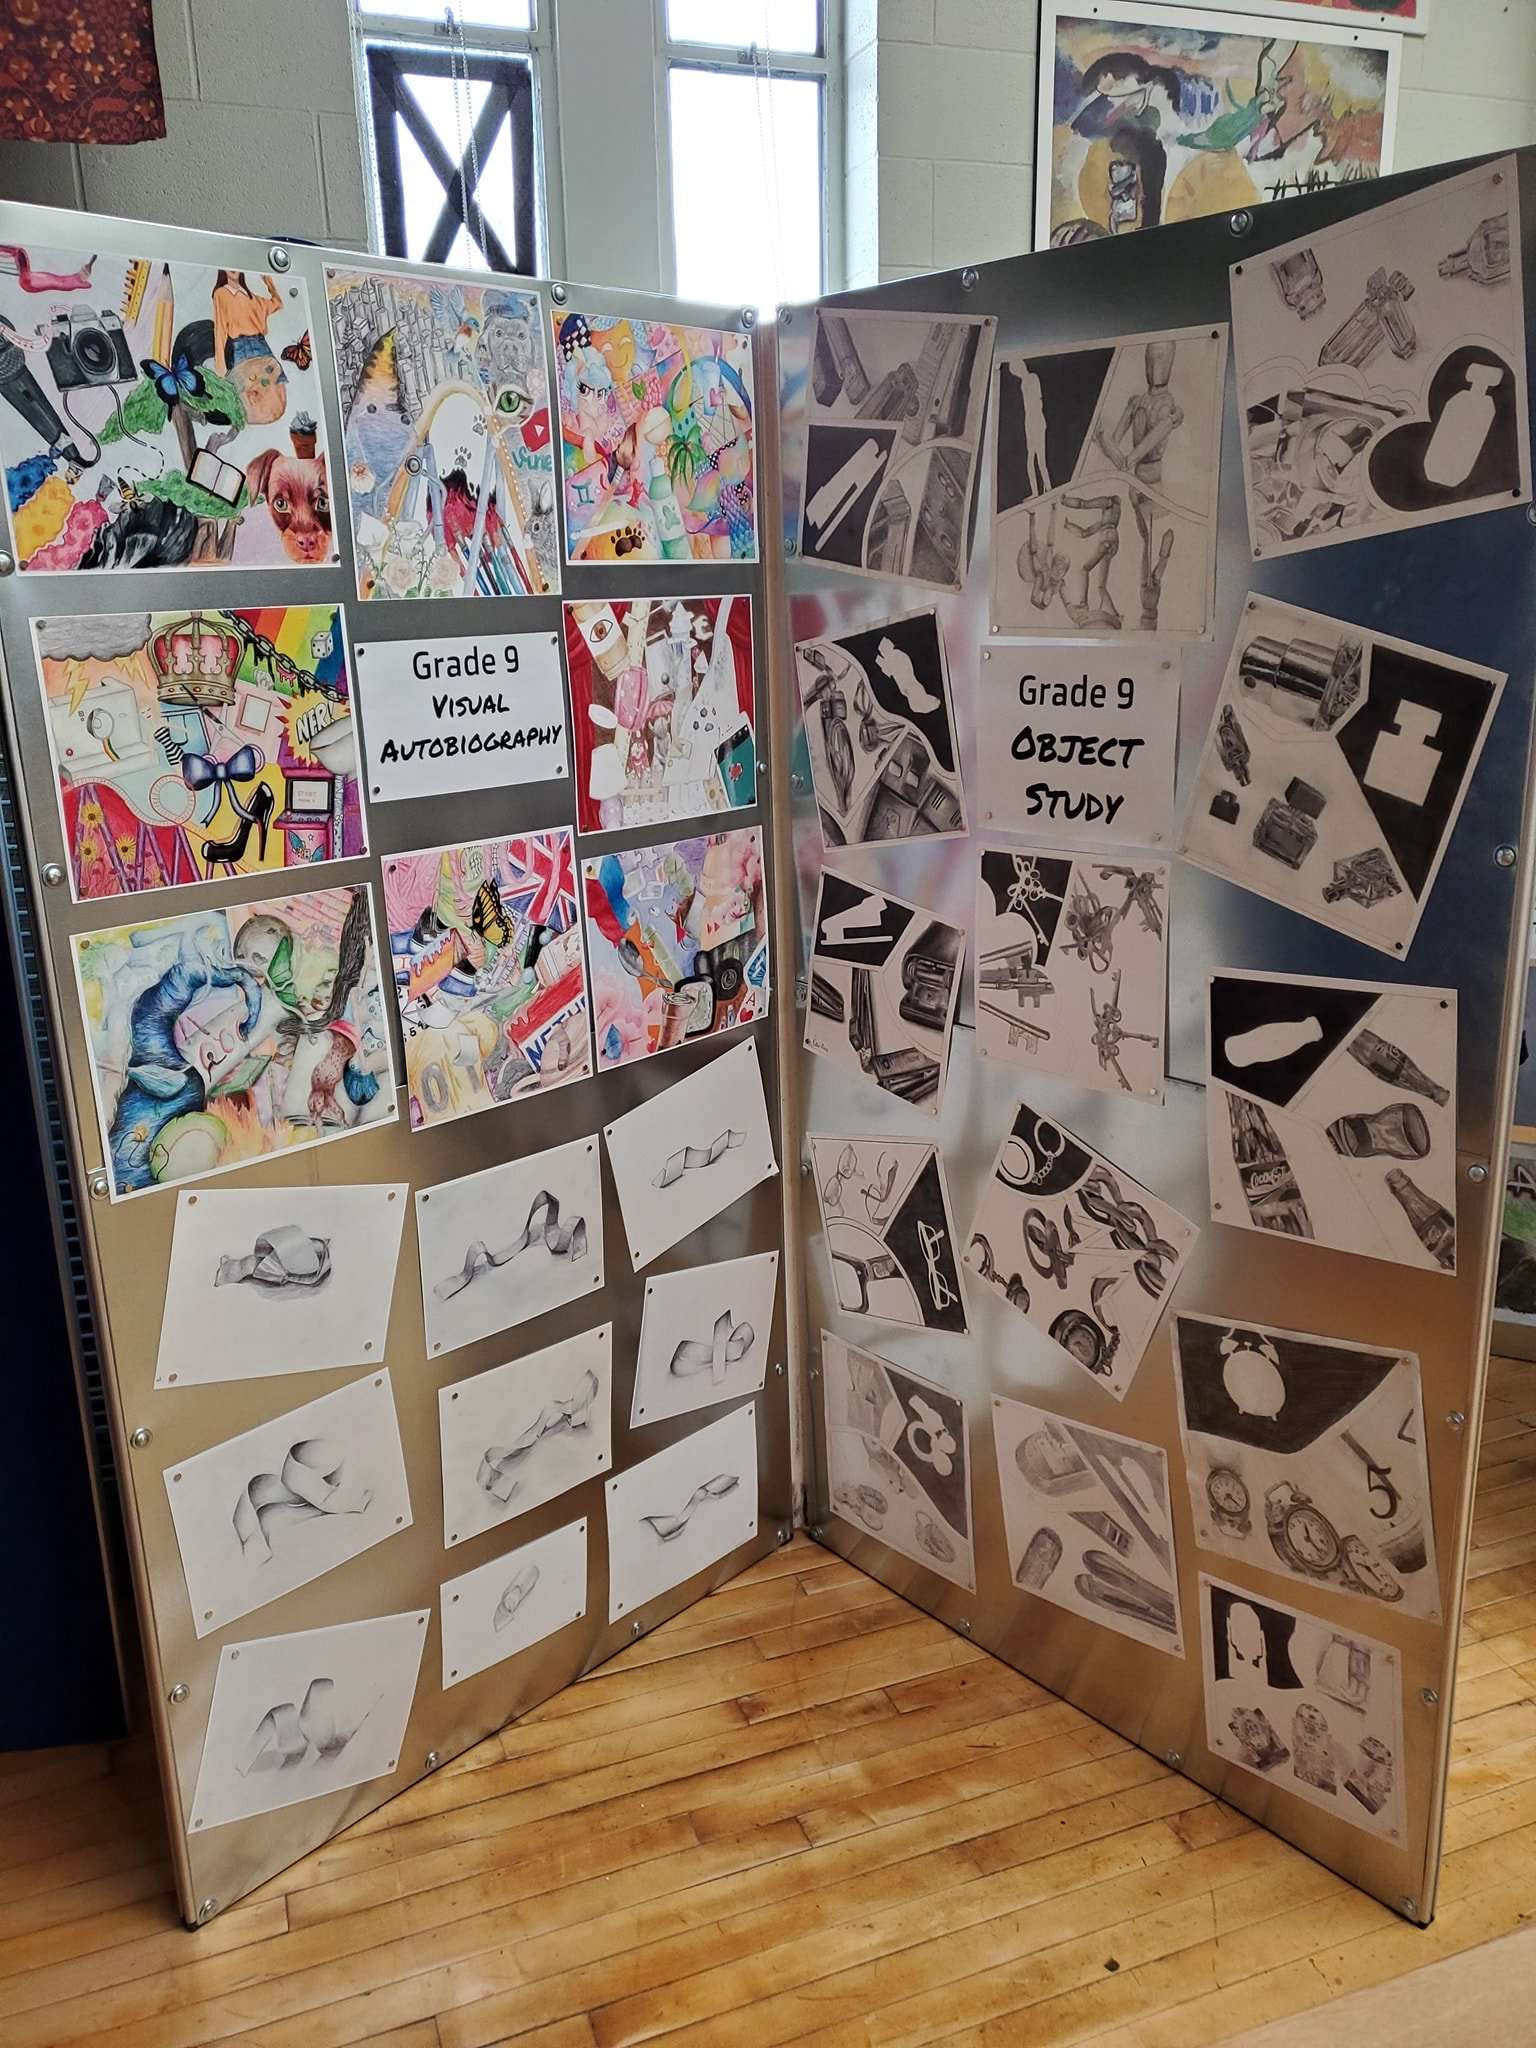
Art teacher Ina Malloy used a glassed-in room and internal windows (images 4, 5) in her school to display her students’ art.
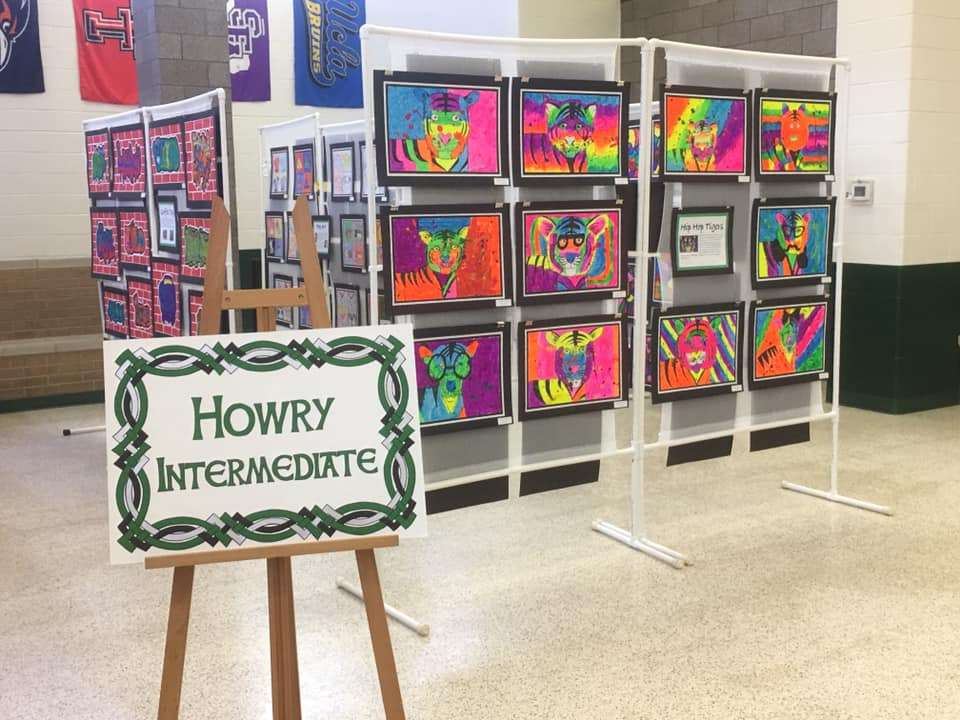
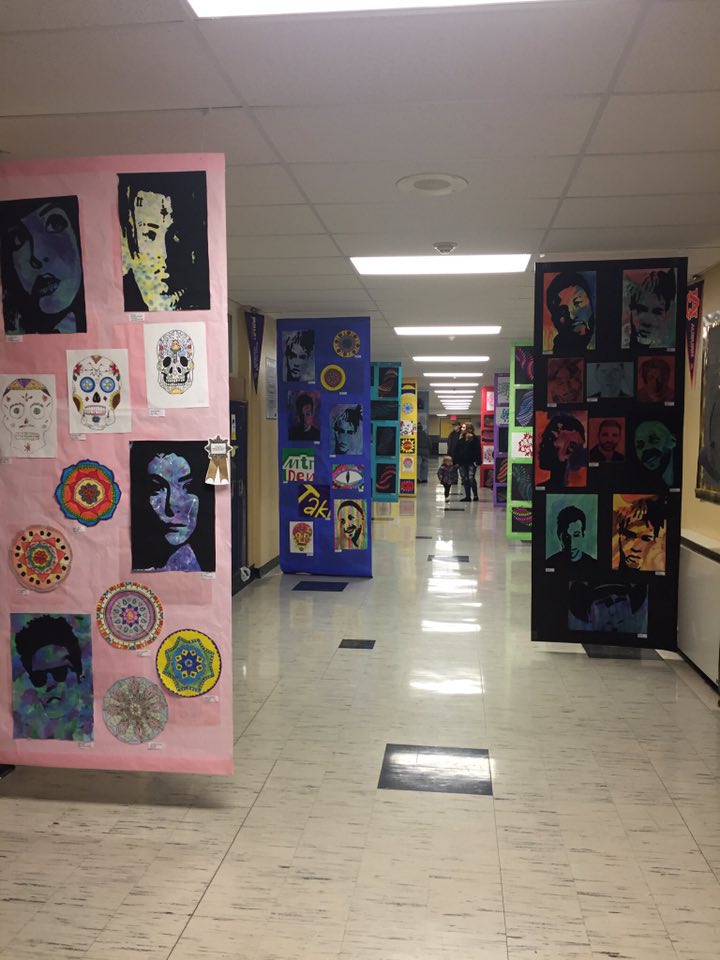
Former art teacher Mary Futch Lutz used wall space to hang work in banner style (image 6). She reports, “It makes your life so much easier because you can prepare the banners in your room on the tables and just hang. I used 3/4 inch PVC cut into lengths to accommodate my fabric. I actually used smart fab. But if you could use burlap or sheets. Sew a casing along one edge of the fabric. I bought eyebolts and nuts at Home Depot. Drilled holes at each end of the PVC. Slide the PVC through the casing you made. Screw the eyebolts into the PVC. Layout the banner on your tables and pin artwork to it. I used T-pins. To hang it from the ceiling, I used those clear “grid grabber” hooks that clip into the ceiling grid. I used some of those shower curtain hooks that are metal and shaped like a pear. Inserted them (big side) into the eyebolt and the smallest end attached to the ceiling hooks.” In a similar manner, Shannon Pruitt used bulletin board paper to hang panels in her school’s hallways (image 7). She folded the top and bottom, taped them with packing tape, and punched holes at the top. She then used ceiling hangers to hang.
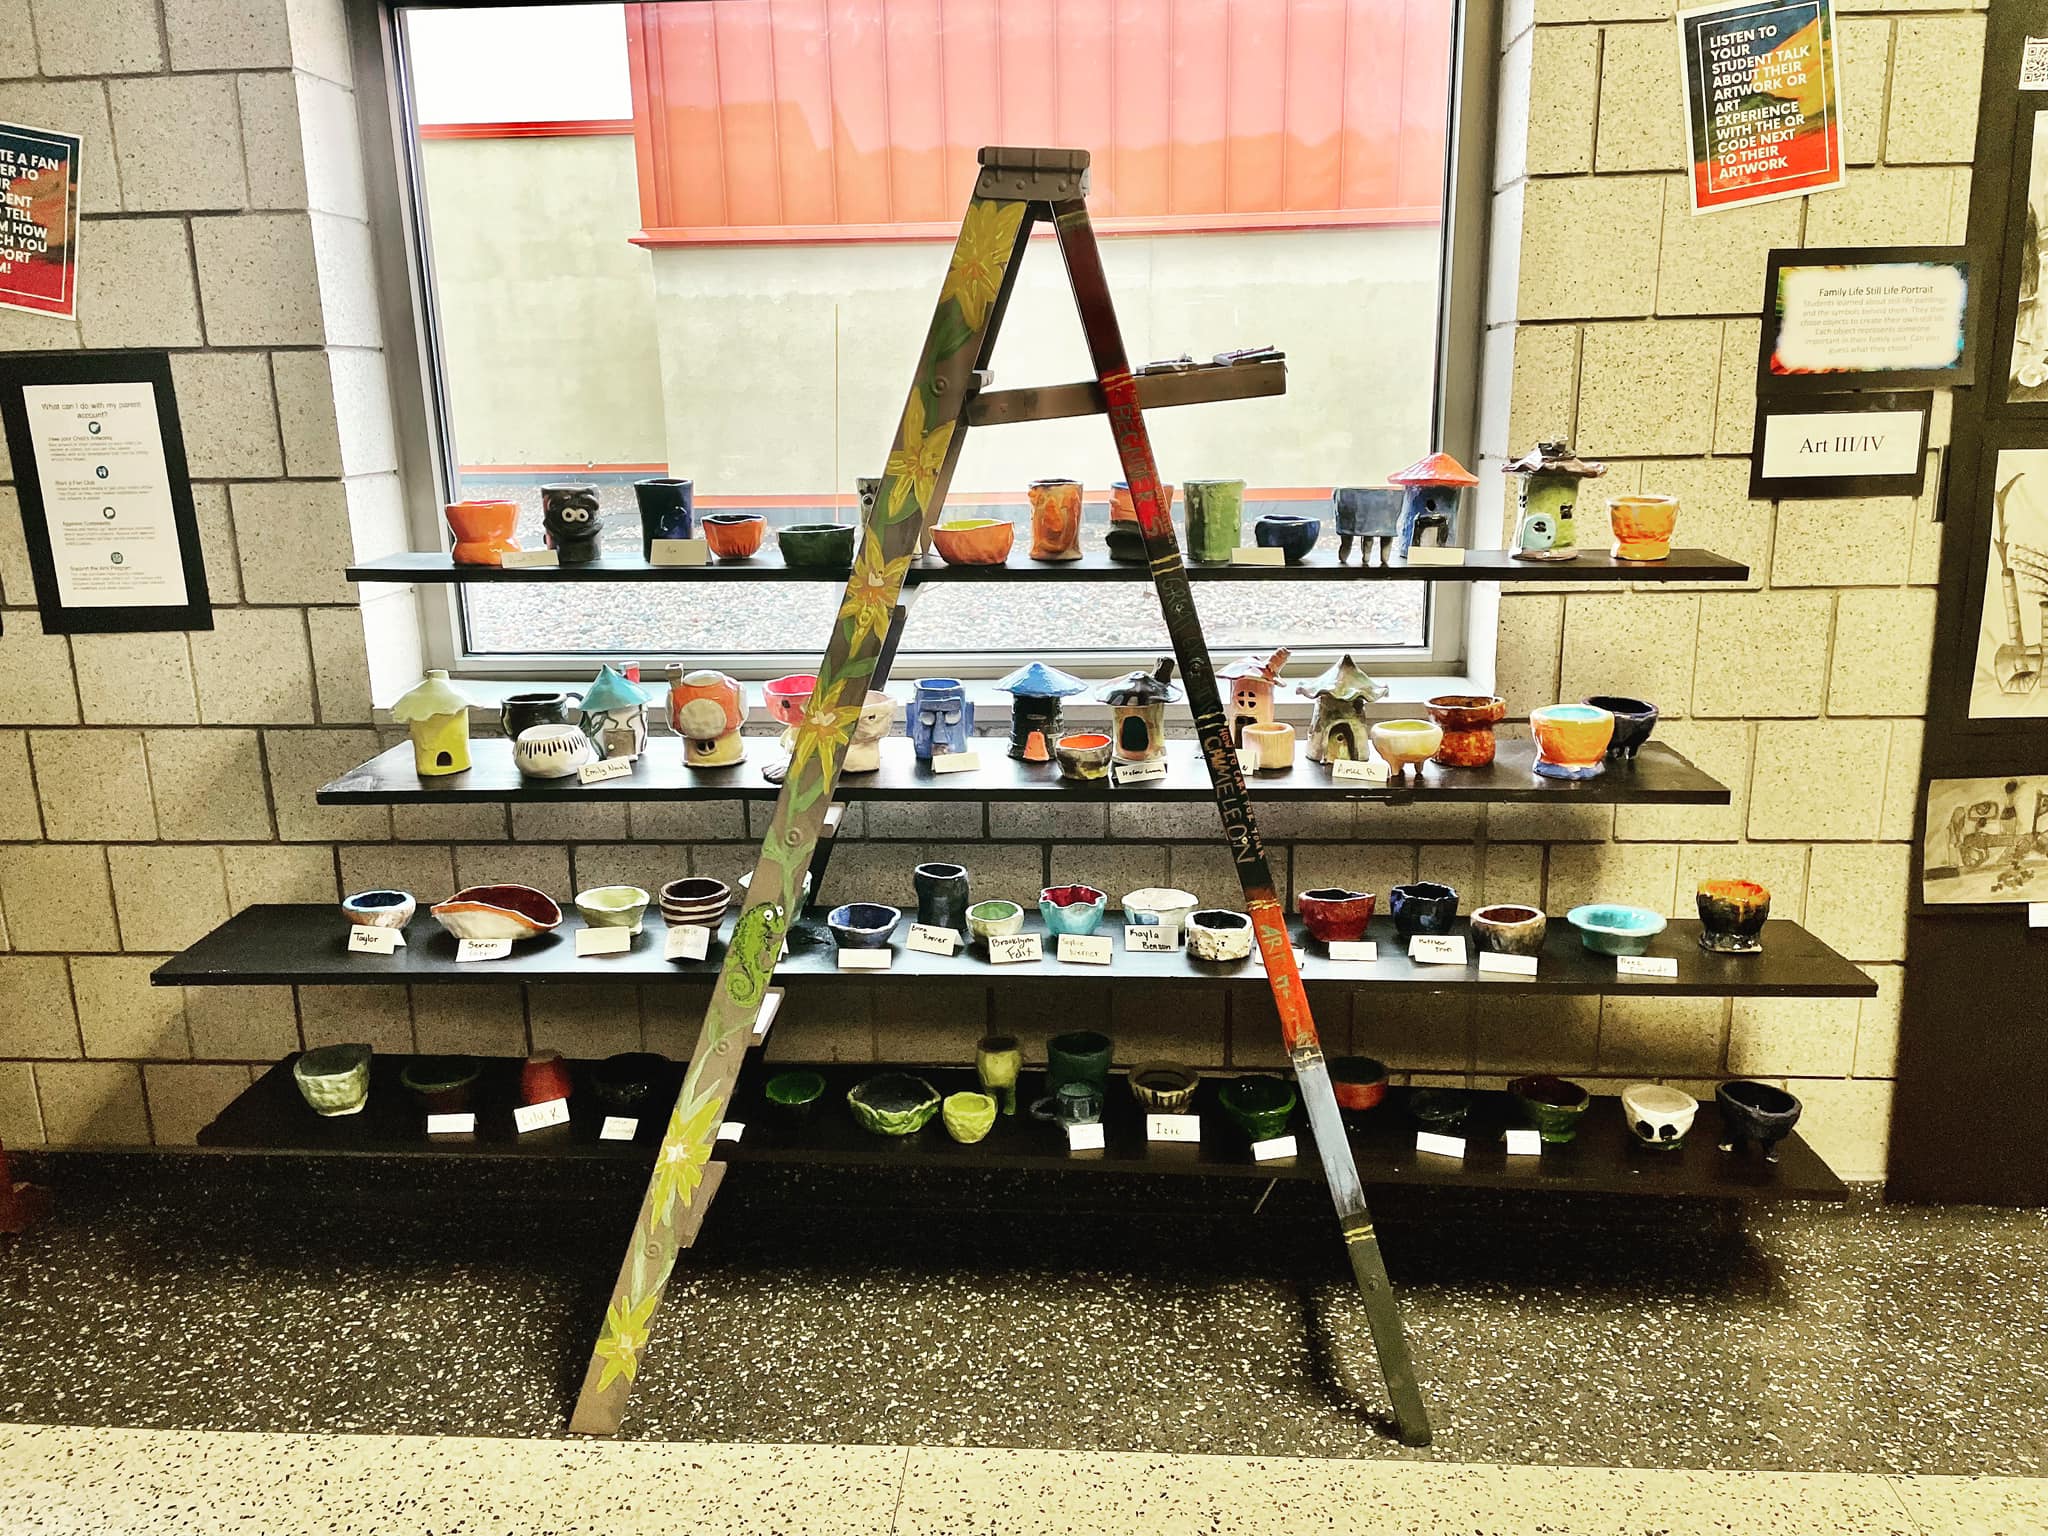
Carrie Sapa shared a hack for displaying 3D work with a ladder she discovered on Pinterest (image 8). Her custodians contributed boards her husband cut and students painted. The setup includes zip ties to secure the boards to the ladder.
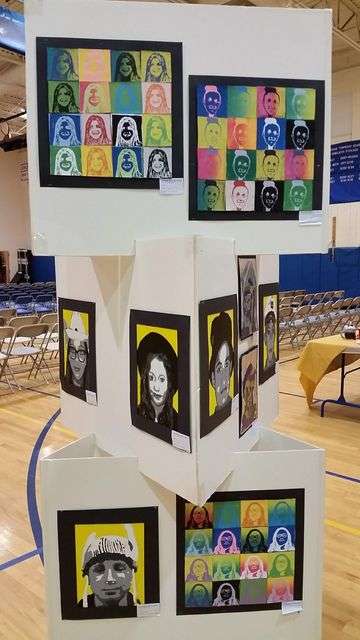
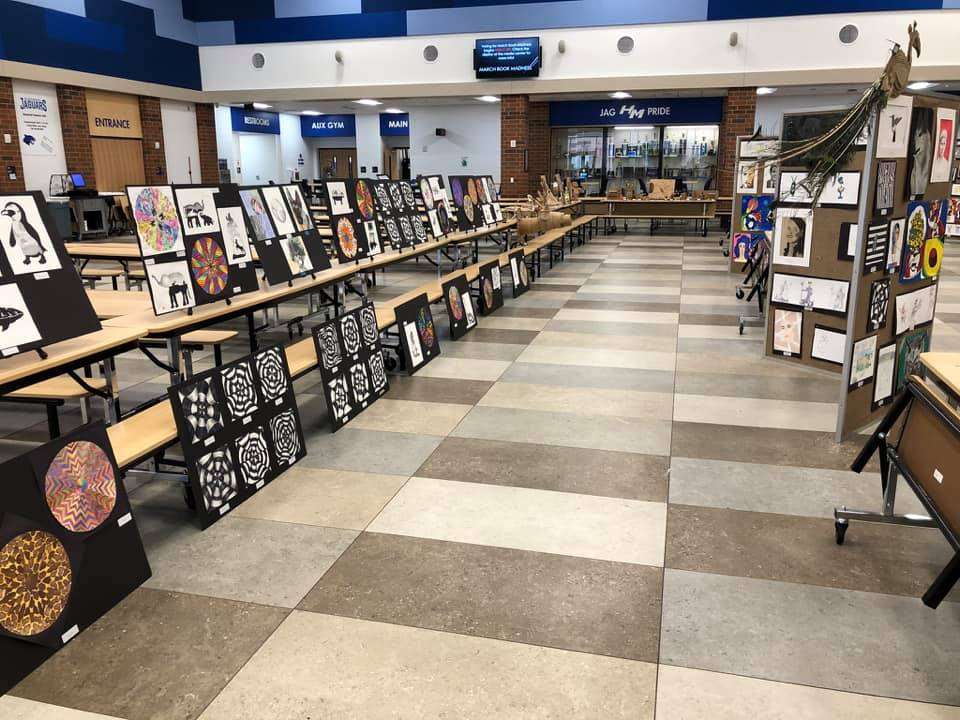
Use the space you are given, like Angie-Beckley-Leming. She used the school’s cafeteria tables to display work with tabletop easels. I have also seen teachers use folded tables as display panels for art as well.
 .
.  .
.

 .
. 
 .
.  .
.
Preparing the work
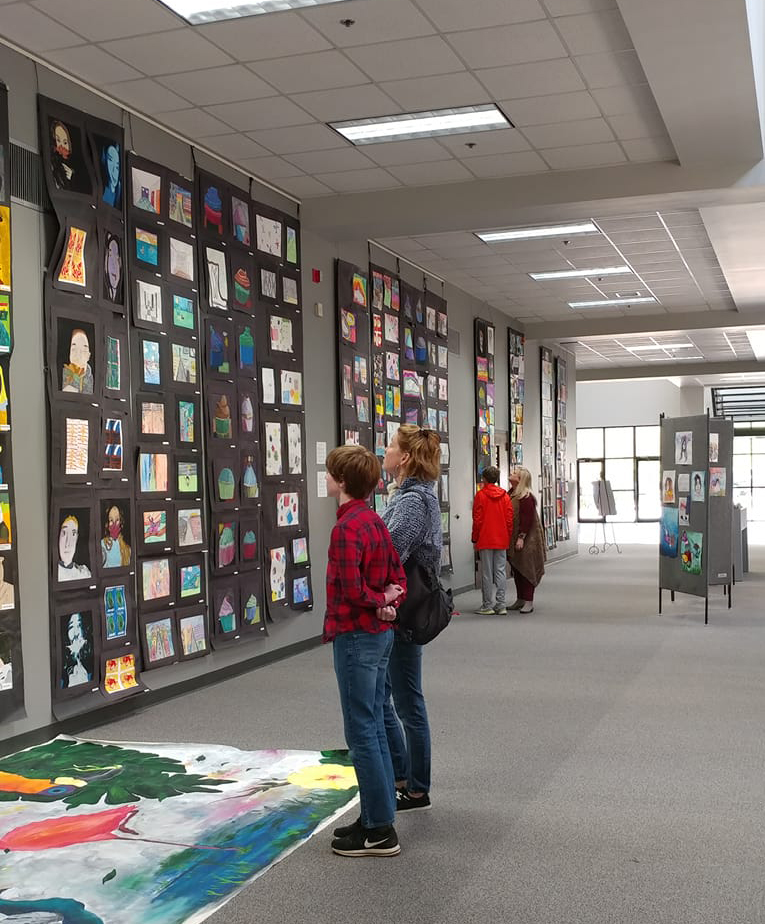
First, collect the work. Depending on your ability to store work, you can have kids keep all their work in portfolios and submit work of their choosing near the time you start preparing work. You can also pull works that you feel are show worthy all year long. If students keep a digital portfolio, or if you document by photographing you can use the photos to display work digitally to accompany an in-person show. I was fortunate enough to be able to use a built-in TV in my school’s foyer to run a slide show of student work. Inevitably, there is some work that would be in various competitions or used in an AP portfolio that was unavailable to be displayed in person.
Some teacher mat work. You can purchase standard mats in bulk. You also have the option of removing the work when the art show is over to use the mat again. Some teachers mount work on construction paper. And some simply present as is. There are a few purists out there who I am sure don’t love the idea of putting a tack through the corners of work. One clever option I came across by Melanie Kloet was using a magnet to secure work. The art teachers asked their manufacturing teacher to cover them in sheet metal (images 1, 2 below). Now they can use magnets to mount their artworks. “No holes, quick and adjustable, magnetic clips hold tapestries and canvas boards. Saves us so much time creating displays!! Phase two is to have him mount them on casters for super easy wheeling,” Kloet reports.
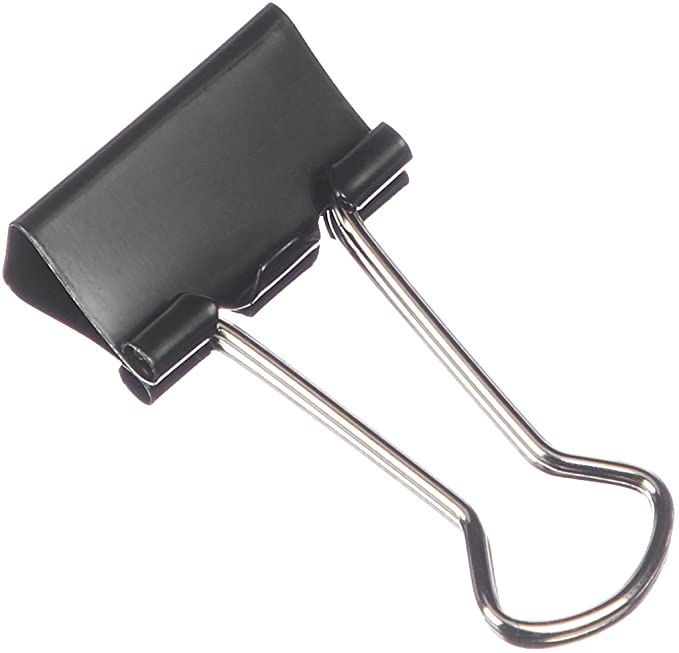
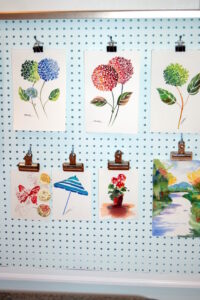
I discovered these plastic hang tabs, shown below (image 1), to be very helpful to hang matted work and canvas panels. Just peel and stick in the center top of the work (so the clear tab extends beyond work. Binder clips are another way to hang work, see the way student art is being hung below (images 3,4). And glue dots are yet another friend of the art teacher at show time. These specific linked blue dots leave no trace on the sticky object surface after using, you may use a hair dryer to warm it up and then take it off.
 .
. 
Labeling the artwork
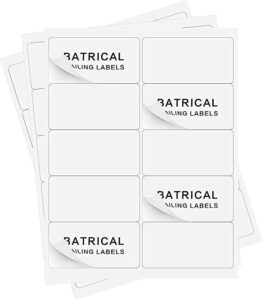
On my grey fabric panels, bought at least a decade ago, I used velcro dots (image 2 above) on the back of name tags to fasten to the material of the panels. I used Avery sticky labels ((image 5 above) to print my name tags (using Avery’s templates) which I mounted on paper stock. Some teachers may be able to export data from the school’s attendance/grading program to generate labels. Talk to your tech folks or secretaries to see if this is possible.
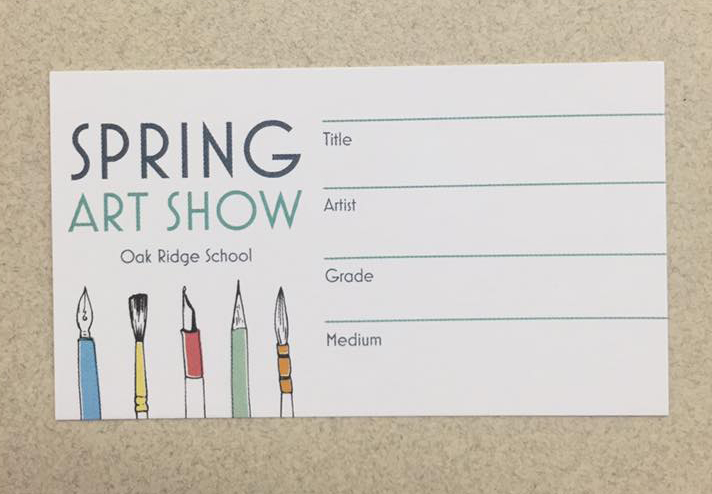
Now, I have a favor to ask. No matter how you do your tags, whatever information you choose to put on the tags, be consistent across all the teachers showing. Pick a font, typeface, font weight, and format (centered, left aligned, etc). A tip I came across recently was creating tags using different colored paper for different categories (photo, painting/drawing, etc), teacher, class, grade level, etc. You could also make your own label and have students fill in information for their selected pieces as shown below.
One year for my seniors. I had them write an artist statement and future plans. We printed QR codes so people could use an iPad (we had one available) or their phone to access the artists’ statements.
Award and other ways to celebrate the arts
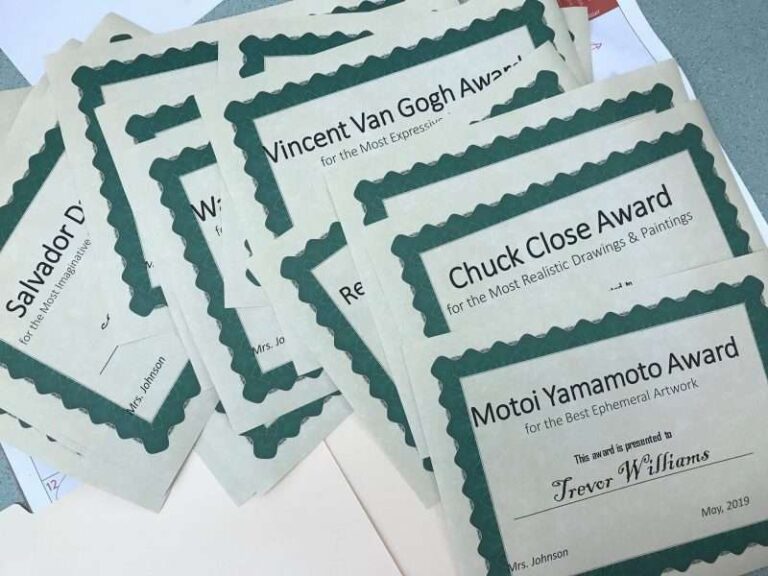
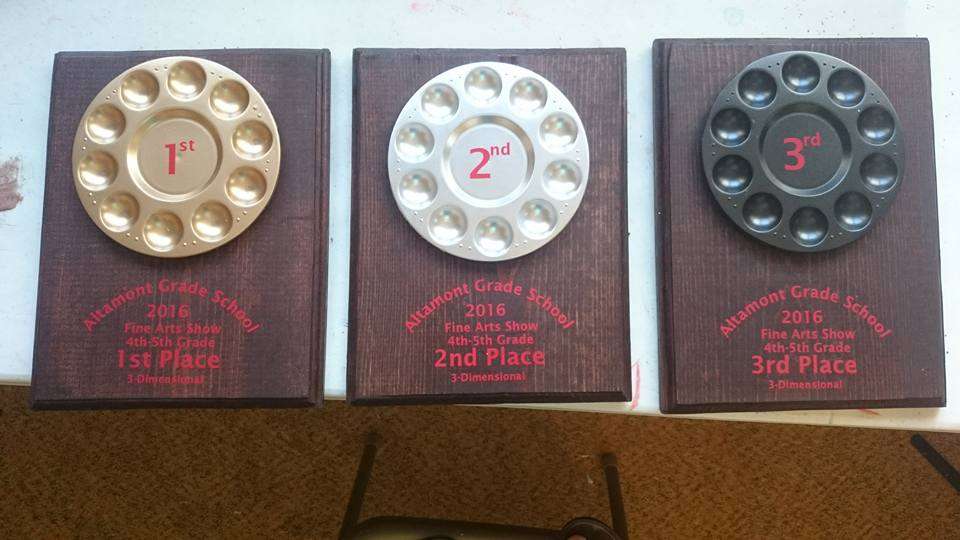
Some teachers give out awards and I’m not here to rain on your parade. I never did awards as I saw the art show as a time to show off and celebrate all the art students collectively. Sometimes it is nice to recognize your seniors who have been a mainstay of your program. I will say, I was charmed by these awards made by art teacher Stacey Deters Zerrusen (image 1) and the fun and not competitive awards by Trista Johnson (image 2). I have also her of “Principle’s Awards being given out.

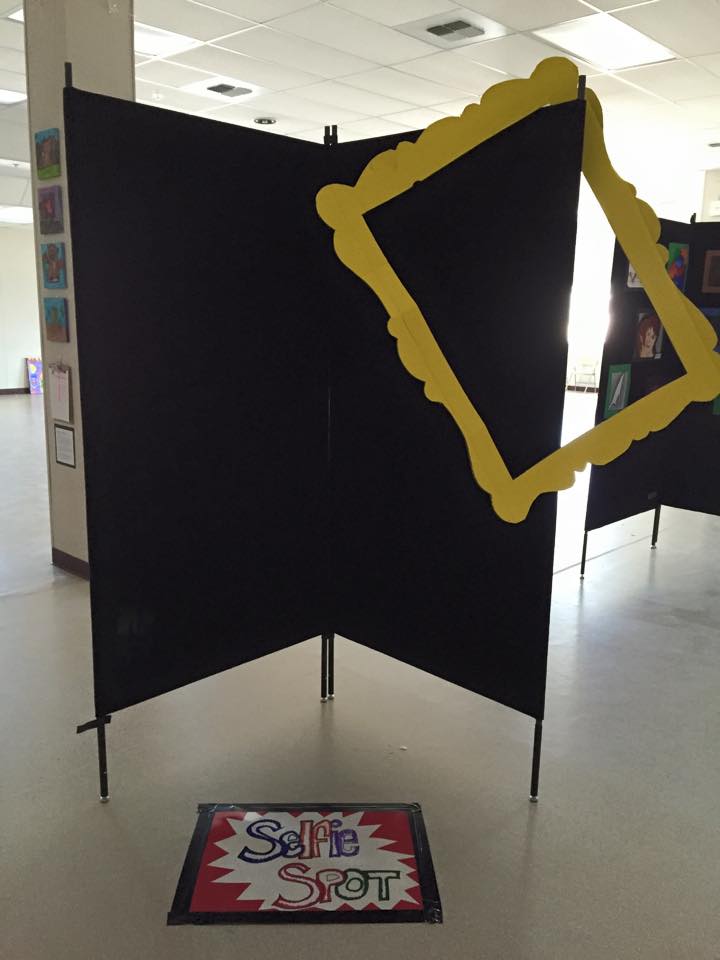
Other ways of making your art show special? Have student demonstrations going on or live paintings going on. Students enjoy coming up with a theme and or name for the art show. I remember students lobbying at one of my schools for the title, “Who arted?” but we shot that idea down and it ended up “You have to have heART!” Art teacher Liz White made a selfie spot at her show. Another mainstay is to provide some refreshments for the show if you can manage it. Mine were typically made by the school cafeteria but you can tap your students, parents, or PTO to volunteer baked goods.
I have no affiliation with this company, but I think it’s worth mentioning that there are businesses that will take on and do much of the art show for you. A popular choice is Artome. You send them student artwork, and they mat and frame the work. The work is for sale, you work with the company to set a price and profits go to your program.
Get the word out!
Lastly, let everyone know when and where the art show is. Have it on the announcements, use social media, send digital invites out to parents, and/or make a flyer. Invite your local papers to announce it and report on it. Invite your superintendent, administration, and school board members. I hope you get a good crowd! Try to find a moment to enjoy it yourself and watch your parents and students experience the show. Then take it easy for a few days before you need to take it down and planning starts for next year’s show!
Do you have any tips and tricks from your art show to share? Share them in the comments.