Every art teacher enjoys a good art teacher hack. A clever or elegant way to make life easier? Yes, please!
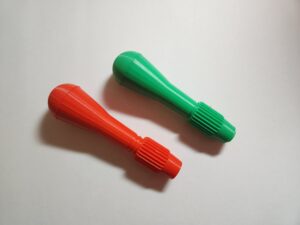
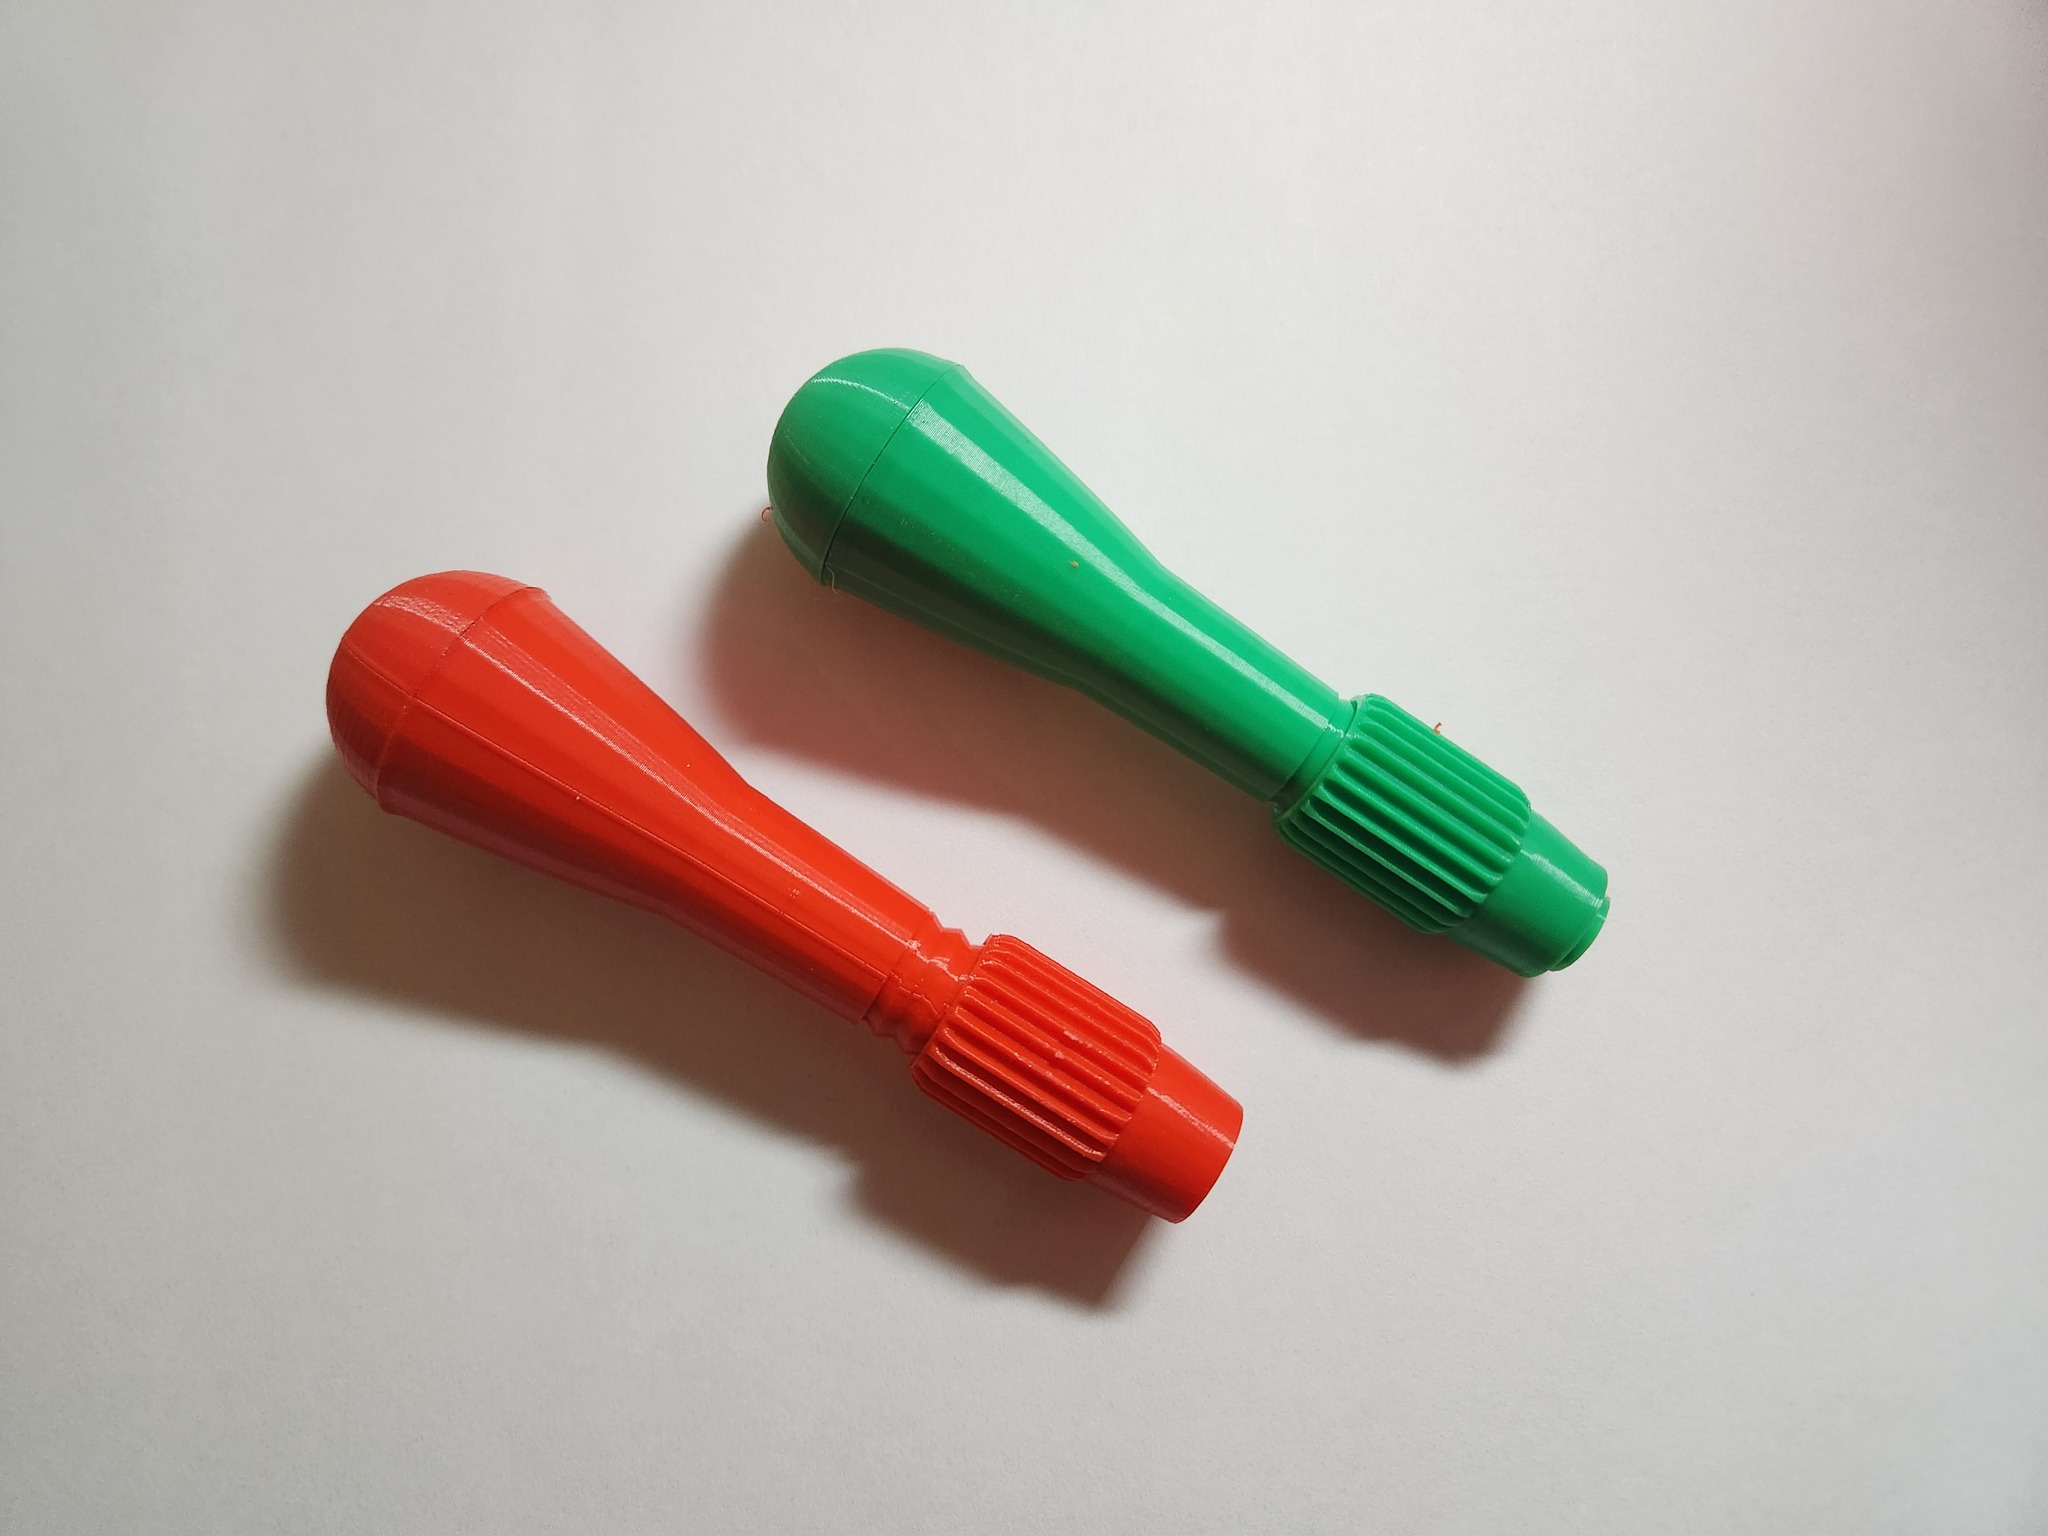
- Art teacher Aaron Shirley uses a 3-D printer to make his own art room tools. He writes, “For example, Linoleum Cutter Handles can be around $5-10 each depending on where you order, these handles cost approximately 25 cents each to make, a few hours on the machine, and the best part is there aren’t the two little parts in the end that always get lost by kids. The print time may sound long, but I load up my machine, hit start, and go home, when I return in the morning it’s done.” In addition, he has also made photo stands, drawing props, and even pinhole camera lenses for DSLRs.
“I know having a 3D printer is not a reality for most of us but if you have an opportunity say yes! The link for the design is HERE.”
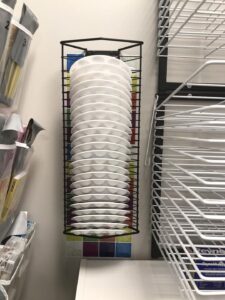
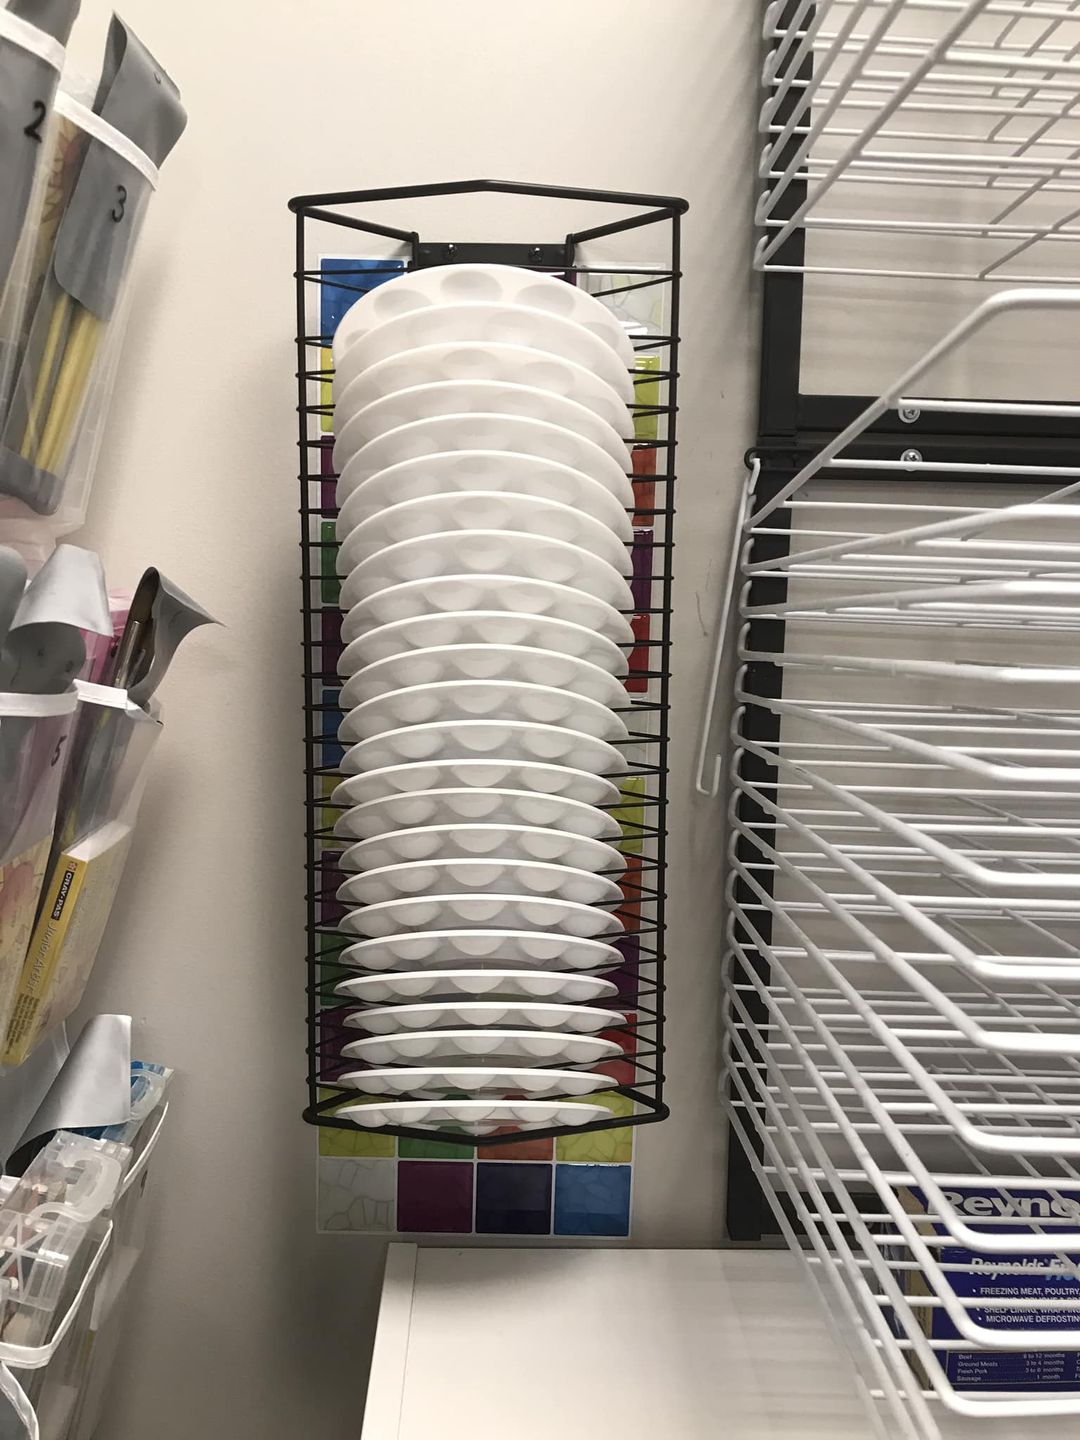
- A cd rack for holding palettes. This photo came from art teacher Lenae Litzinger. She shares, “Not all CD racks and palettes are compatible when standing or mounted on the wall. This style rack only works with smaller palettes unless you lay them down on the table and dry them like a dish rack. The palettes pictured here are only 6.7 inches wide. So if you have larger ones you may need a different style rack. I personally needed to find a way to mount mine to the wall because I have very little floor or counter space.” The link for the CD rack is HERE. And these are the palettes she uses HERE.
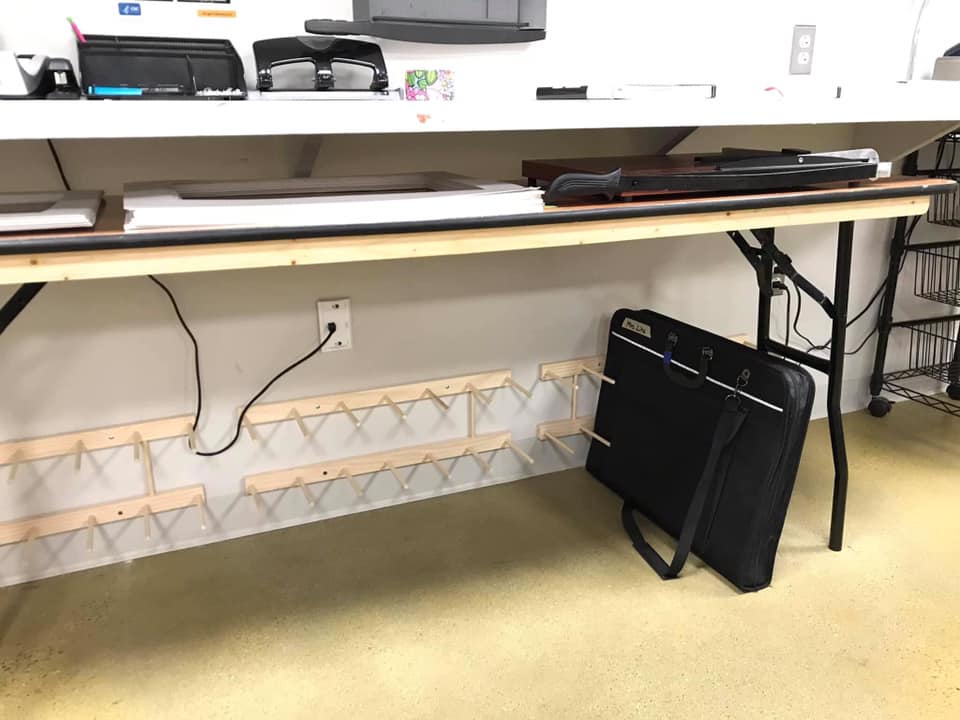
- Portfolio storage hack.
Art teacher Lenae Litzinger found an Etsy artist to custom-built this portfolio holder but some handy art teachers could make their own or head to your closest shop teacher for help.
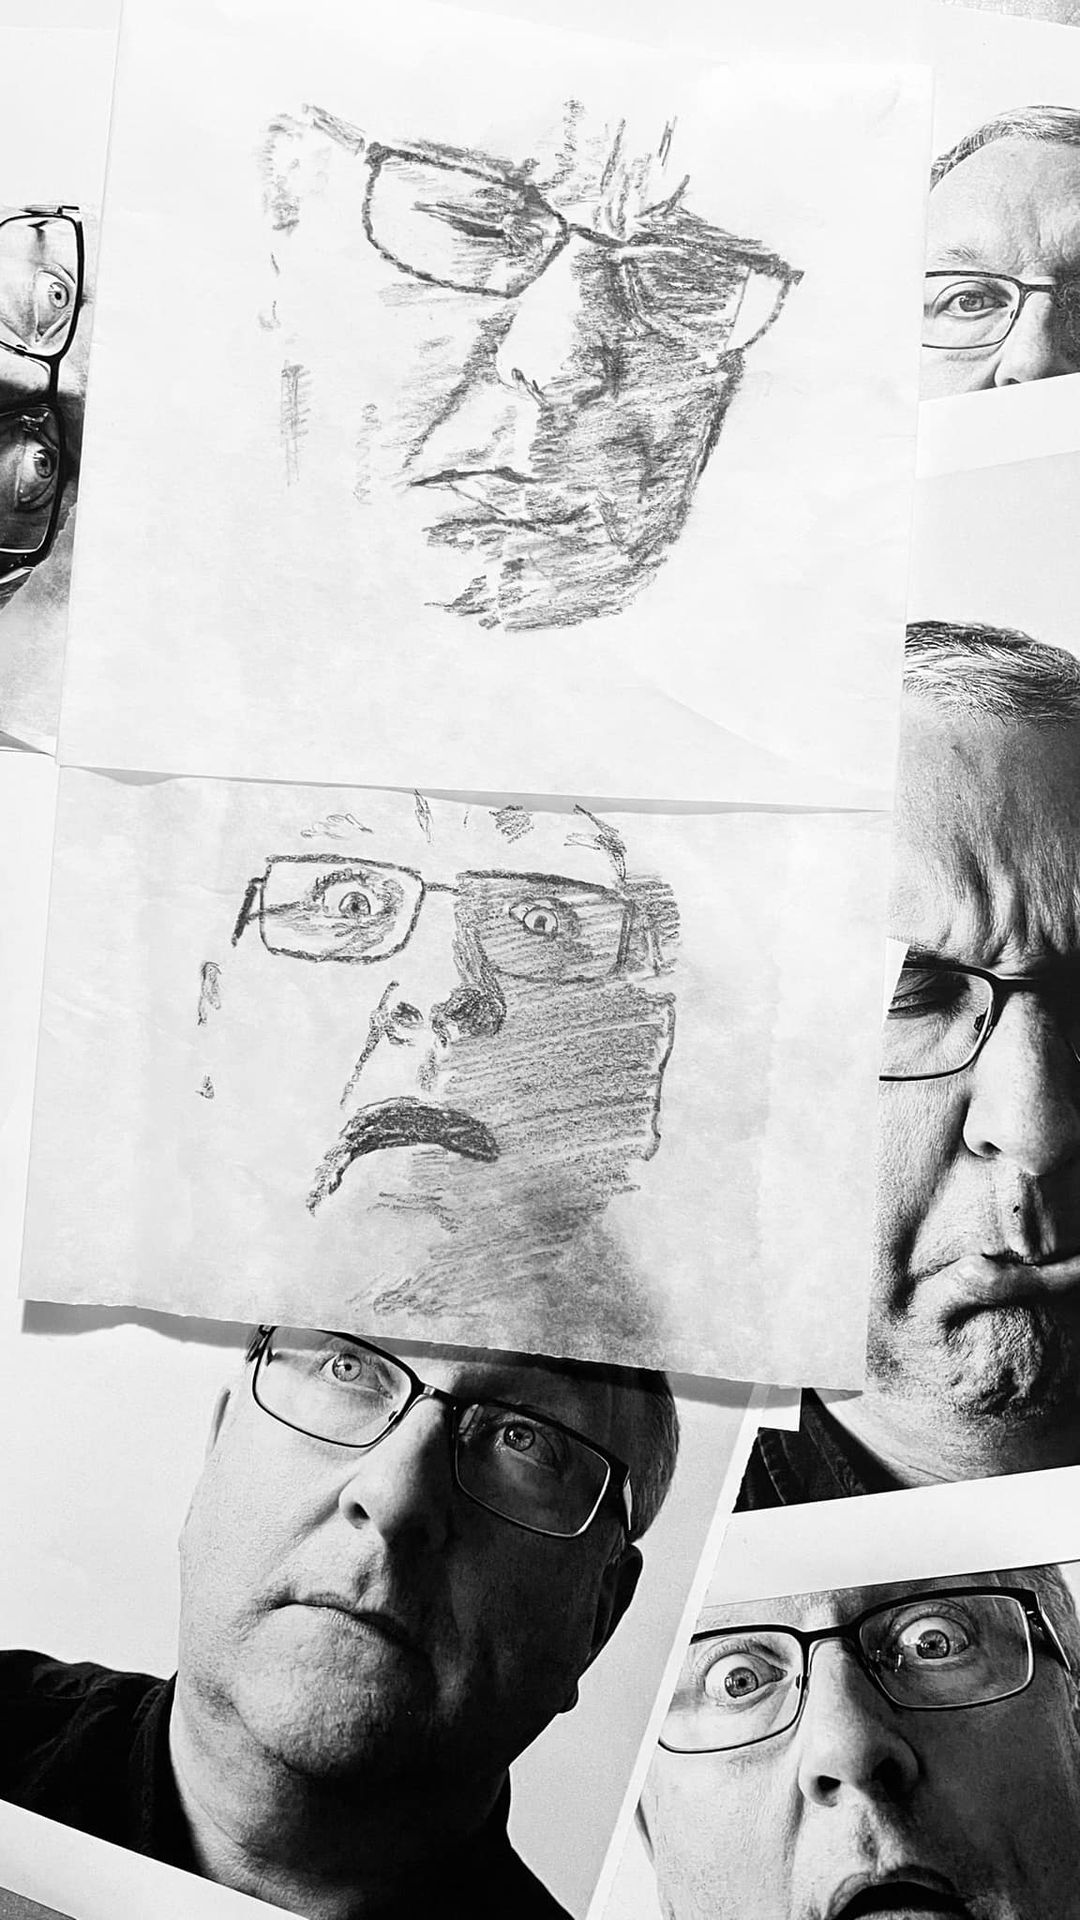
- Australian Art teacher Greg Angus used parchment paper (called baking paper in Australia) to help teach shading. “I also have the students hold their photocopied photos on the sunny window to practice cross-hatching and other types of mark-making on the back as if it were a light table. If they resist “drawing noses” and focus on shading techniques where the amorphous shapes of shadow exist, an accurate portrait will emerge. We often use these as the start of much more complex mixed-media portraits full of symbolic imagery.” Tracing paper is another option.

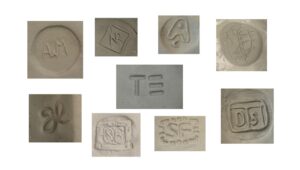
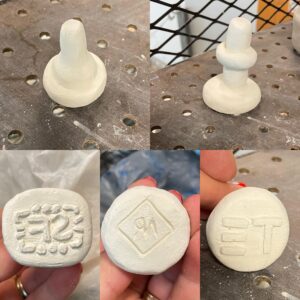
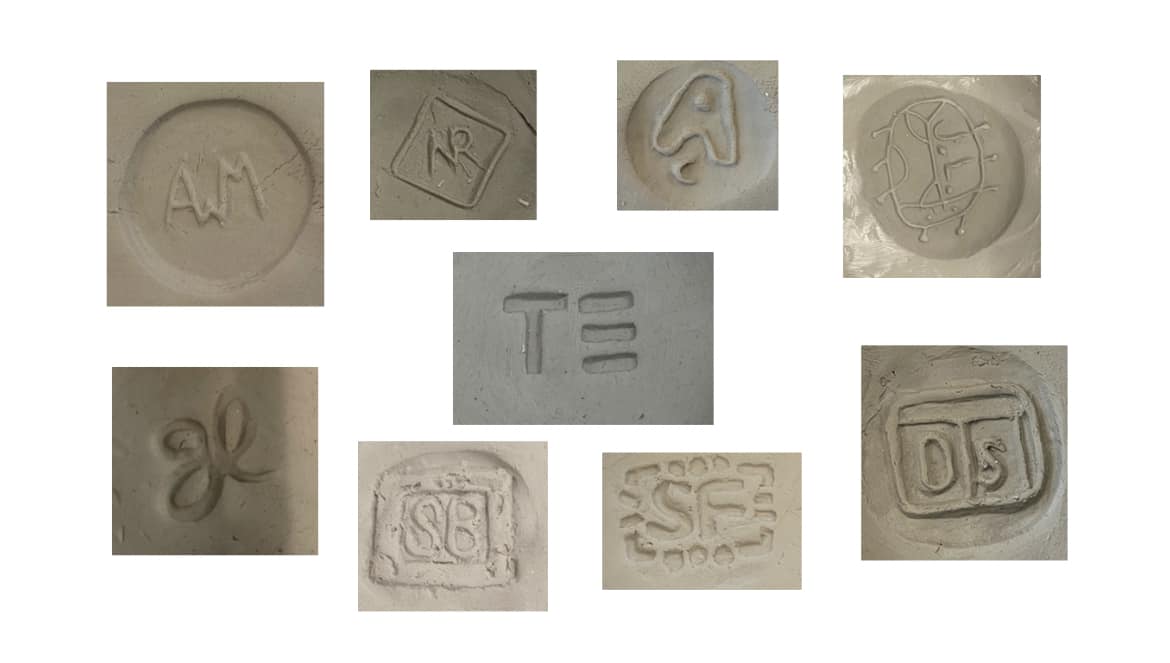
- Potter marks are a great lesson to teach and will help assure that every clay piece fired will be identifiable. Art teacher Ashley Schepis has these tips:
• A very brief presentation about the history of potter’s marks and their purpose• Next, a worksheet where students sketch out at least 4 different ideas. I put circles about the size of a quarter and their designs must fit inside• Students select the best mark and use a light table to trace it on the back of the paper (so it’s a reverse image) and tone the front side with graphite so they can transfer the image to clay• Assume they know NOTHING about clay and demo the entire thing (day 1 was making the coin shape, transferring the image, and attaching the handle. Day 2 was cleaning up at the leather hard stage.
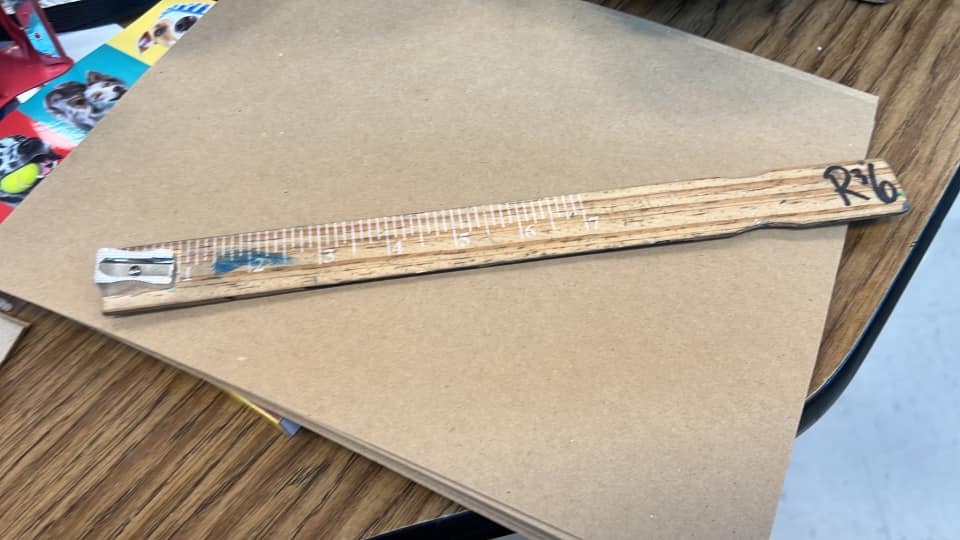
- How to discourage students from walking off with your hand sharpeners!
This hack is so old, it defies crediting anyone by this photo provided by Rhonda Ramirez.
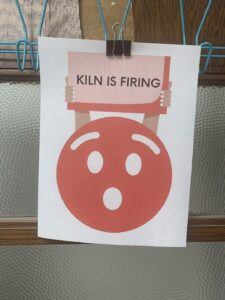
- Erica Pop made this sign so she didn’t have to answer the question, “When are you firing the kiln?”
- Recycle those little plastic tabs from the loaves of precut bread from the grocery store! Thanks for spreading this hack Mary Franke!
- How do you avoid the glaze bottles getting all gross with dried glaze? Use a layer of plastic wrap between the jar and lid.
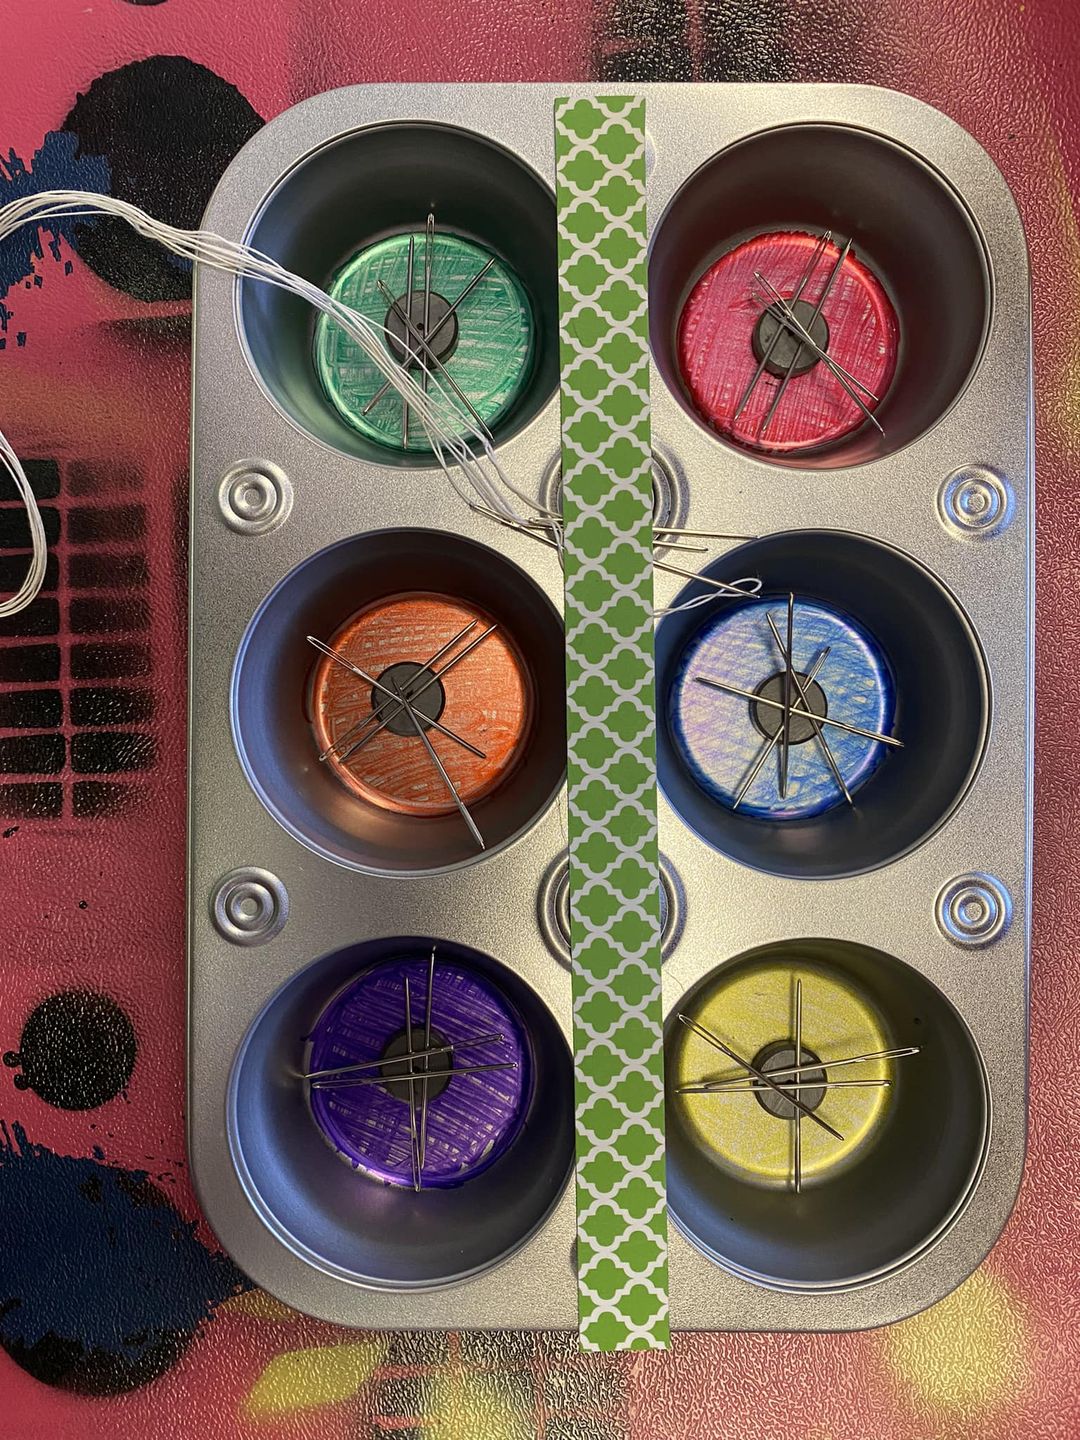
- Zandrea Diggs came up with this clever way to keep track of needles in your art room. She uses a Dollar Tree muffin tin with color-coordinated table colors and magnets for quick needle retrieval and drop-off. She also used a magnet strip to hold down pre-threaded needles.

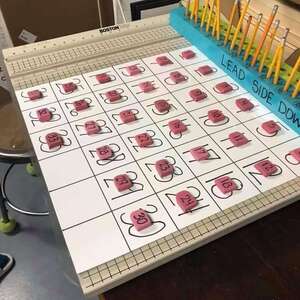
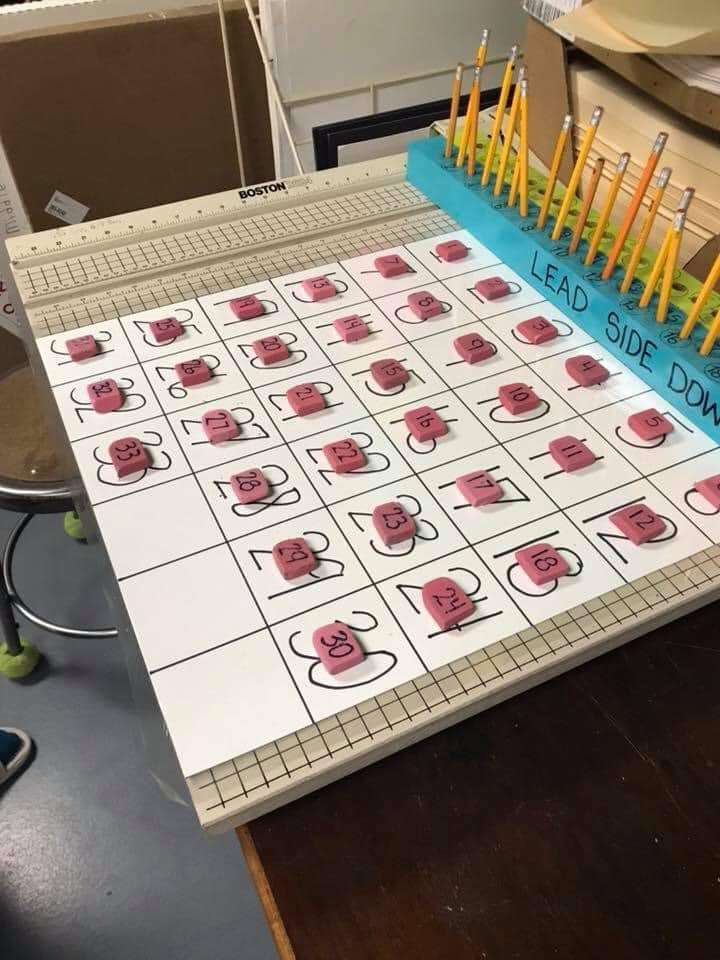
- Stop your erasures from walking out the door!
Art teacher Angela Vasquez developed this number system for pencils and erasers. She writes, “Numbering EVERYTHING, including desks, I can determine who lost what supply. It’s taken a few years to figure it out and hopefully, it will help others. The students LOVE this and take pride in making sure everything is in its place. The pencil stand came from Home Depot, drilled holes in it, and then painted and numbered it. Erasers are numbered first with my wood-burning tool, then Sharpie. (Sharpie alone gets rubbed off quickly!!). The poster board was laminated. You can easily tell at a glance what is missing, before dismissing.”
- Kiln Technician Arnold Howard reminds teachers who fire kilns to always engage the latch on the kiln. He writes, “Sometimes the lid rises 1/2” – 3/4” at the front of the kiln. It’s because the firebricks expand as they get hot, causing pressure at the hinge. The latch prevents the lid from rising. I mention this because some schools I’ve visited don’t engage the latch. If the lid rises, the kiln has a harder time reaching the programmed temperature.”


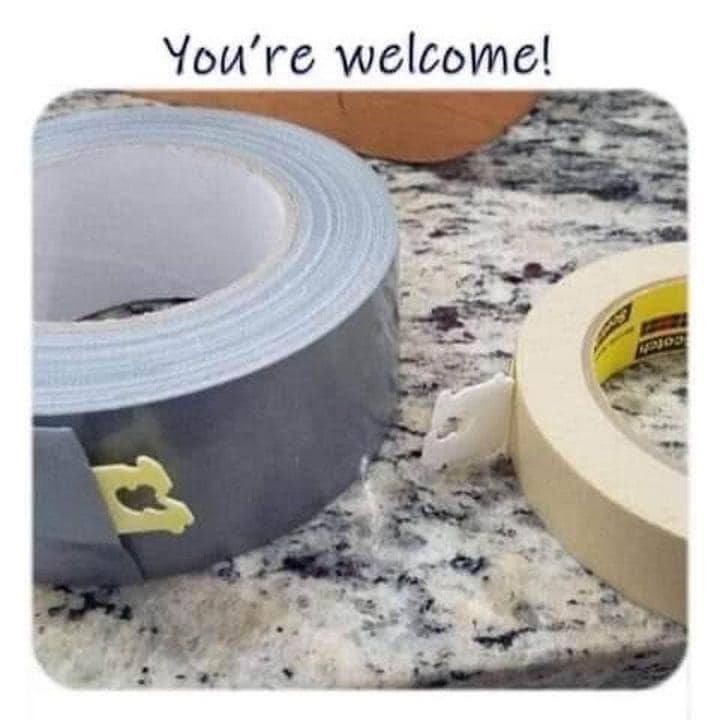
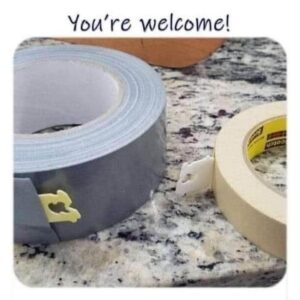
Bonus Hack: You know when a role of packing or masking tape shreds and you can’t get it started to save your life? Well, I learned this hack from a mover this week. That is more likely to happen in the cold and you need to warm it up. I popped mine in the microwave very briefly. You could also use a hair dryer. I tried it, and it works!