Grade Level
9-10Duration
6 classes periods of 40 minute periods
Materials
Cardboard shoe boxes. foil or plastic garbage bags, wire for hanger to embed in the plaster, plaster, clay
Media
Plaster
Lesson Objectives
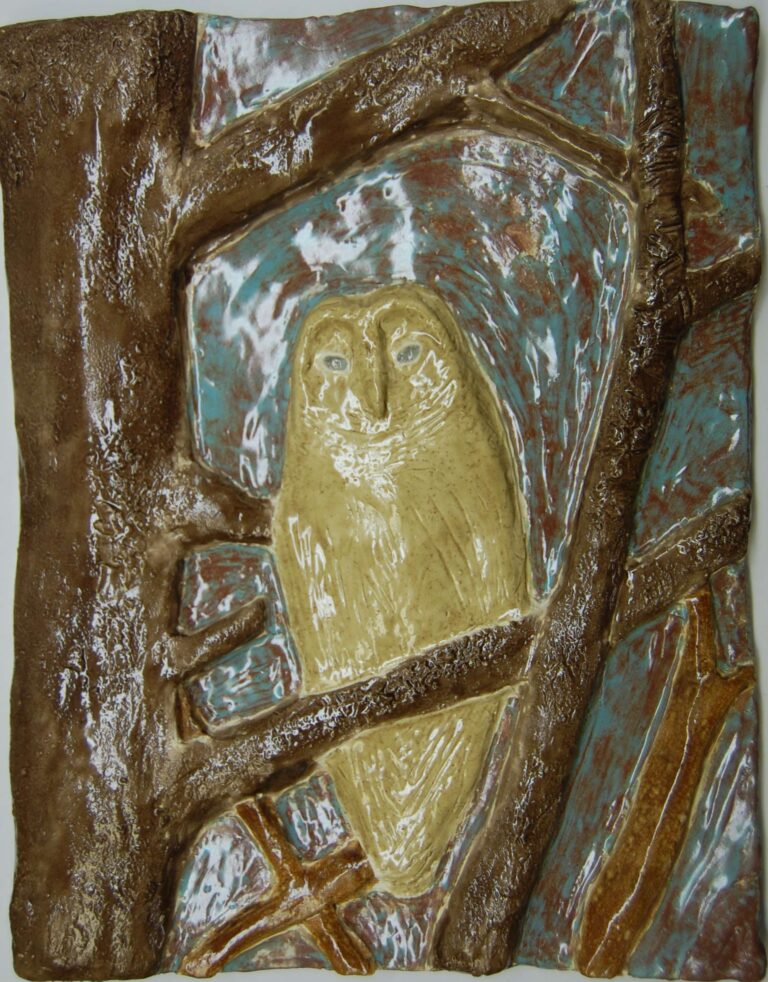
Students will learn to define and recognize a bas-relief (low relief) sculpture
Students will cast a plaster relief from a mold created in clay.
Student will consider three dimensional thing and apply compositional skills to three dimensional space.
Students will finish work that will emphasize the texture and space.
Introductory Activity
Teacher should introduce artwork and artists who worked in bas relief. Relief style art work can be found on friezes on the Parthenon or carvings on the side of old buildings and on gravestones as well. Artists who worked in relief might include Louise Nevelson, Lauren Collin, Goga Tandashvili, Duffy London
Students should be introduced to the concepts of a mold. The teacher might consider showing students common molds used in everyday life- toys like play dough, molds in the kitchen- used for cookies and candies, butter molds, etc. The teacher might talk about how manufacturing uses molds.
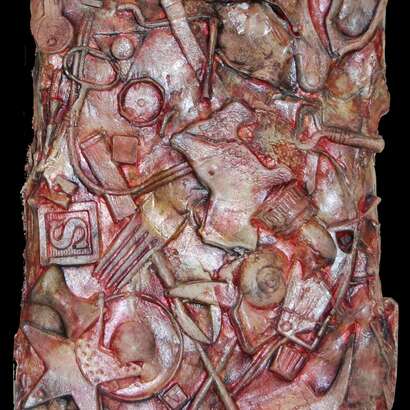
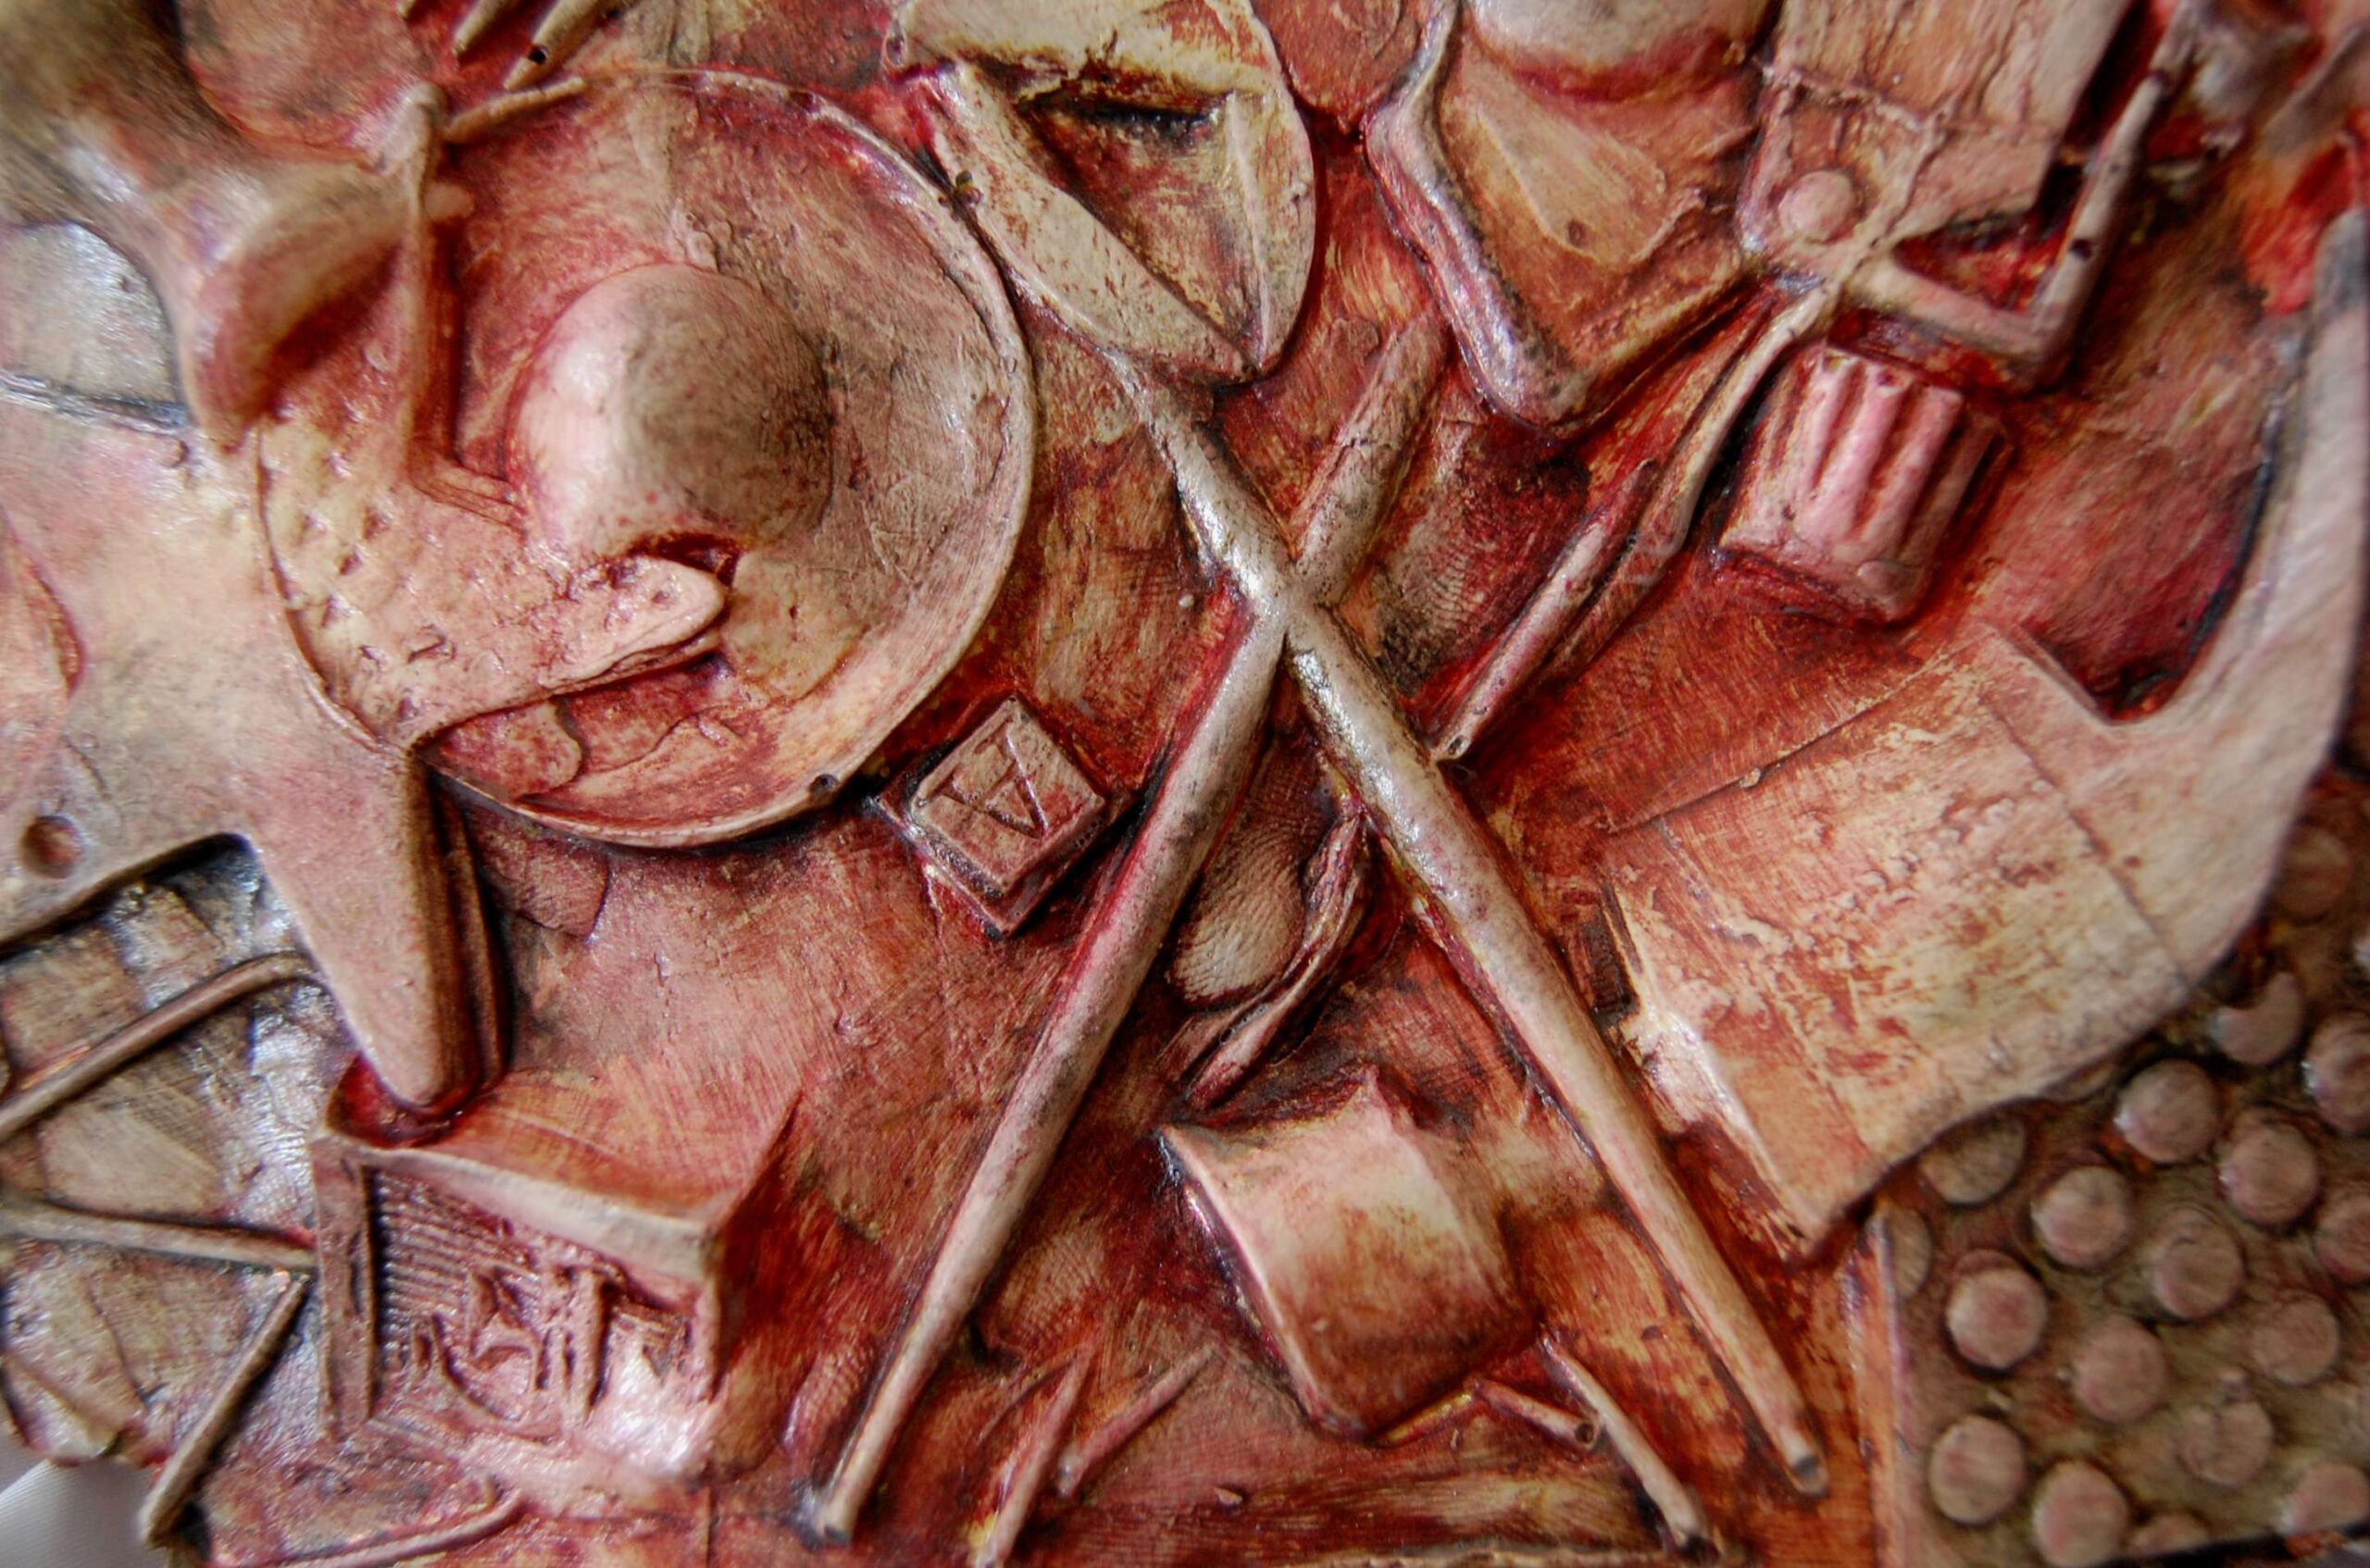
Show students example of plaster reliefs and the use of clay as a mold. Once you have taught the project once, document the project and show that to future students as well as student examples.
Lesson Process
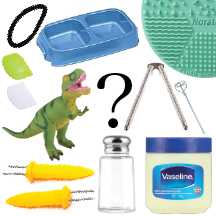
Have student create the mold. Start with a shoe box and line with plastic (I cut pieces from a garbage bag). Plastic should hang over the sides. Fill the box with slabs of clay, push clay together and smooth. Students can then use interesting objects to push into the clay. Toys, tools, plastic jewelry are all things that students may use. Objects can even be abstracted by the way it penetrates the clay. For example, a fork’s times could be plugged it dragged into the clay. I encourage students to roll b objects in and then out, sometimes objects create a vacuum like seal that make it difficult it impossible to lift out.
I also encourage students to think about depth. Do objects all penetrate to the same depth? Sometimes variety in depth can create interesting compositions and focal points.
When students are complete it is time to learn about plaster and plaster safety. It could be an option, particularly for a large class, for the teacher to mix and our the plaster after school. I usually stay students on a long term project (like coil pots) and have a table of students mix and pour their plaster together.
Some things to know about plaster. Plaster comes in a powder form. It’s important to try to contain the powder mess and avoid breathing it in. Students near plaster should wear dust masks. Dust masks block students from breathing in particles that otherwise would be breathed in and set up as plaster in their lungs, not all masks are dust masks so be sure to purchase the correct type. The second factor to consider is that plaster undergoes a chemical reaction when it hardens. The larger the batch, the hotter the reaction can be. In this assignment we generally don’t mix up batches that are large enough to burn, but I do talk about being aware and pulling your hands out if it becomes hot. Also, use gloves. Some students find the powder itchy and their is always the potential for reactions and allergies.
Students pour warm/hot water into a bowl or bucket, the cheaper the container the better. They then scoop the plaster and sprinkle the plaster over the water. It will absorb. Repeats many times. Eventually the plaster will slow down in absorbing and the plaster will create islands in top (I’ve actually heard this method called the “island method.” With a gloved hand, stir. Break up lumps. The plaster will start warming and thickening. When it’s like cream it’s time to pour. I will often mark in sharpie a depth to pour to in their box, it does depend on their individual piece. You don’t want any area thinner then about two inches, otherwise it might break. Students can cut a wire and create a loop if they want the piece to hang. Embed the loop in the plaster using a dowel to keep it from sinking. If possible, angle the ends that become embedded towards the bottom as it will grip and hold better.
The next day, rip down the cardboard and plastic and dispose. Pull the clay up at an edge until you separate enough to be able to carefully peel the clay off the mold. After it’s off, dispose of the clay as the plaster is a contaminant. Use ceramic tools to remove tiny bits of clay on deeper parts.
Plaster should dry out for a 2-3 days. It should no longer feel cool to the touch. I have had students finish their pieces with one of two methods. The first pass they coated it with white gesso and then glaze acrylic colors on in washes. The students could be a little heavy handed and lacked the project lacked the depth when done with more washes (which creates depth when variations with the paint sitting in recessed areas and occasionally being brushed off the higher areas). Limit to 2-3 analogous colors. A friend introduced me to the second method, which I know prefer. The second method uses Amaco Rub and Buff products, which gives it a metal like finish. I still find you need to seal the plaster with one Amaco color first and then buff on the the second Amaco color. I often have a sample plaster project I create as a demo and let them experiment with color choices. A black base looks great with a silver color.
Vocabulary
Cast, Plaster of Paris, Mold, Patina, Positive and Negative Space, Relief (bas-relief), WashResources
Author & Website/Blog
Supporting Images

