As we think about what you might start the year with, we often naturally turn to collaborative project ideas. Why use collaborative projects? Well, first, it is a great way to get to know your students. Who are the leaders? Who has good communication skills? What personalities work well together, or don’t work well together? In addition, collaboration prepares our students for real-life social and employment situations. Working collaboratively also us appreciate diverse perspectives. Collaborative art projects provide opportunities for self-expression while promoting a sense of community bonding. On a practical level, it allows an art teacher a way to get artwork generated quickly which in turn allows for opportunities to showcase work soon after school starts, which in turn is motivating for students. Collaborative art projects can also be a great way to handle early finishers. Having an ongoing collaborative project means there is always something of educational value to work on.
Need inspiration for collaborative project ideas? Here are some great examples from art teachers and their students.
- You’ve probably already heard of Exquisite Corpse Art. As described by the Museum of Modern Art, Exquisite Corpse is a “game in which each participant takes turns writing or drawing on a sheet of paper, folding it to conceal his or her contribution, and then passing it to the next player for a further contribution.” The game gained popularity in artistic circles during the 1920s when it was adopted as a technique by artists of the Surrealist movement to generate collaborative compositions.
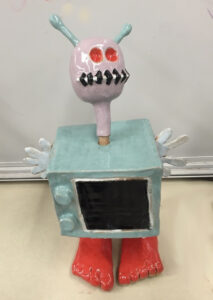
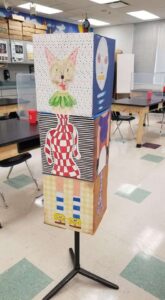
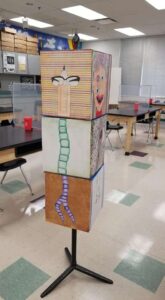
Art teacher Ysabel Gray created a unique spin on Exquisite Corpse by bringing it into the three-dimensional world of Ceramics. She has students work in groups of three to create a 12″ tall exquisite corpse sculpture (images 1, and 2 below). Also bringing Exquisite Corpse into the 3-dimensional world is art teacher Simoni Bonadies. Instead of sharing paper, each of her students chose one part of the body to draw. In the end, she mounted the drawings on boxes (images 3, and 4 below).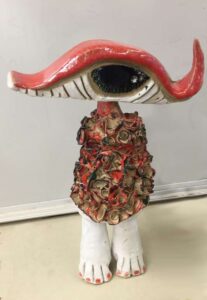
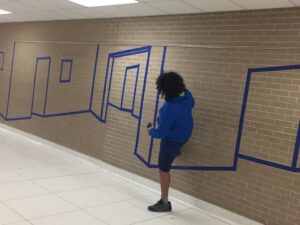
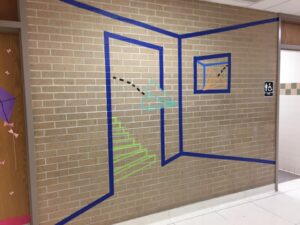
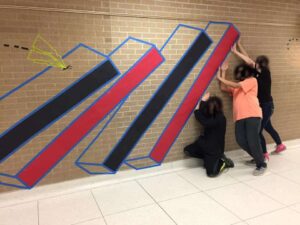
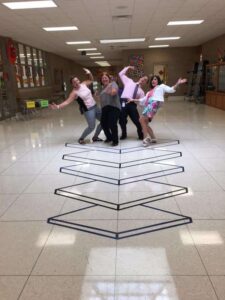
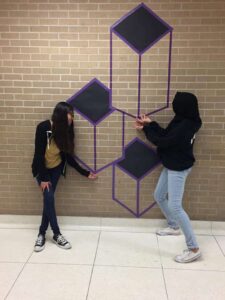
- Take one from art teacher Shelley Speidell who challenged her classes to work collaboratively on these interactive tape murals (Images 1-4 below). Speidell writes, “The students and I sketched out ideas on paper for putting the tape on the walls and floor, they had already studied 1-point perspective and we knew to keep it somewhat simplified. They were 8th graders that volunteered to stay after school so that no one would bother us while we were “tape bombing. We then encouraged students and visitors to take photos with the murals!”
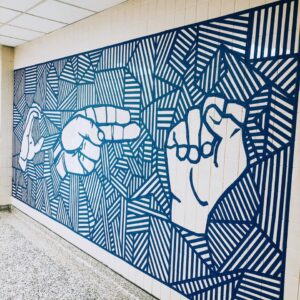
Art Teacher Jennifer Fordyce Ufkin and students created a tape mural. The hands in the mural are sign language for “CHS” for Canby High School.
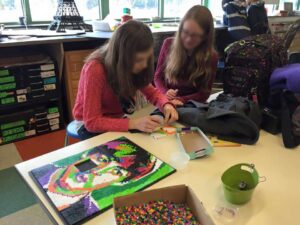
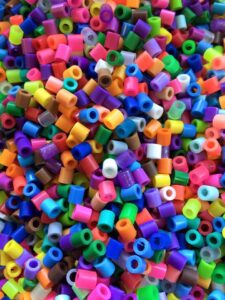
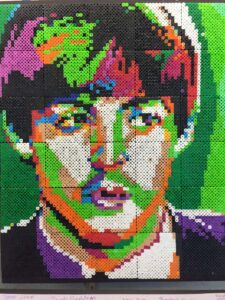
- Art teacher Brad Hosbach’s students created this collaborative portrait. He says it’s a “great filler project!” He writes, “I found a colorful image made of mostly flat colors. Next, I put a detailed grid on it and made sure each square had another 14 x 14 grid on it so it would match the templates I had for the plastic beads. Students work together in all capacities. Some students just found specific colors others to help iron and of course, other students filled the pegboards.”
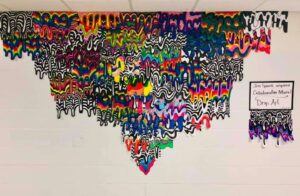
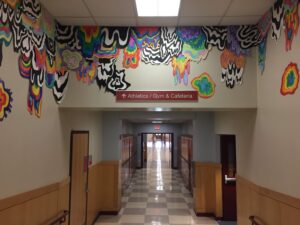
- Let’s not forget Jen Stark-inspired pieces like Kelly Kerby Hinkson’s classes (first image below) and Ursina Amsler‘s classes (second image below) who emulated Stark’s drip paintings.
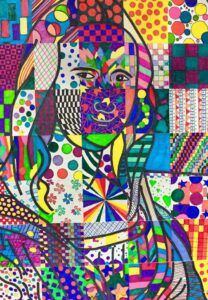
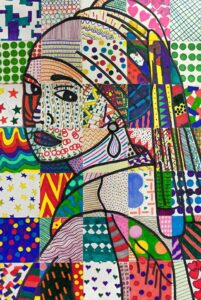
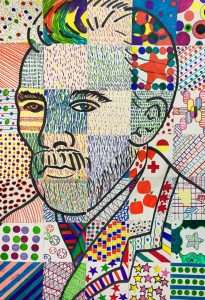
- Be inspired by art history like these collaborative pieces from famous paintings created by Mary Ellen Hilger’s middle school students (images 1-3 below). Hilger writes, ” I had a student project the image onto the poster board and outline with a thick marker, then they measured squares numbered them and drew an upward arrow on each square so they knew which side was the top. The students worked individually on a square when they are finished with other projects. They put it together to form a large poster that hangs in the commons area.”
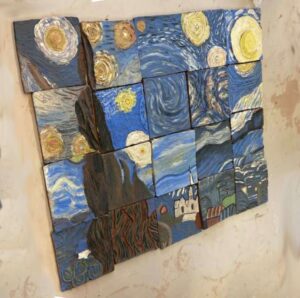
Art Teacher Sarah McTurk MacLeod’s students worked to interpret famous paintings in ceramic reliefs tiles that now hang in a variety of locations in her school building.
 .
. 
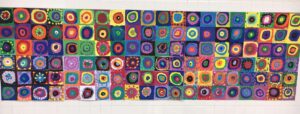
- MaryLynne Corradino Rabic, inspired by another teacher’s idea, create this Wassily Kandinsky-inspired painted mural with her students. You could also channel Chuck Close. Also an idea for Dot Day on Thursday, September 15, 2020.
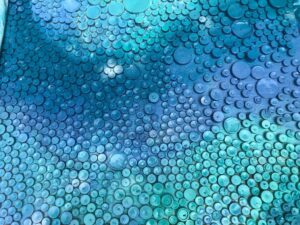
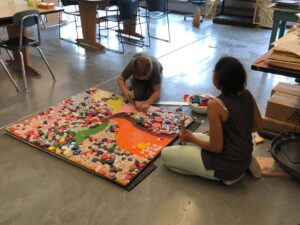
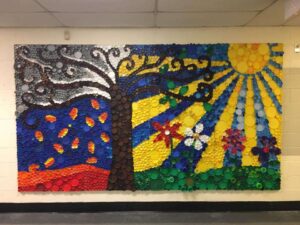
- Celeste Forst and students worked for a year on this bottle cap mural (image 1 below) and used spray paint to finish it. Natalie Ann and students also used bottle tops inverted the other way to create their mural (images 2 and 3 below).
 .
. 
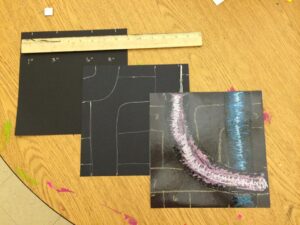
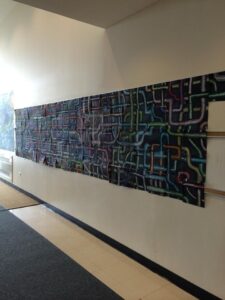
- Heather Heather and her fifth and sixth-grade students created these interconnecting pipe drawings. She writes, “All students receive a 9×9 inch square of paper. There are hash marks at 1inch, 3 inches, 6 inches, and 8 inches on all 4 sides. Students connect each set to another set using parallel lines like pipes. Next, add white scribble highlight down the middle of each pipe, and black oil pastel scribble along the other sides of the pipes. Line up all pieces on the table. Crawl on the table with a color (one at a time) and mark off every pipe yours runs into. When you get to an end, another person starts and keeps going until all pipes have a color. I then take the last 5 from the first group and make the next group follow those pipes first. Did this for 5 classes. Take them all back and whatever color their pipes are they have to color. We make a map of where they all go and use that when hanging.”
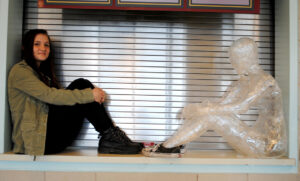
- Packing Tape Sculptures are a great group project. One teacher has her students do a walk-through of their school campus and brainstorm some ideas for humorous positions in high-traffic areas. Their designs had to incorporate the environment and some accessories into it. They had to write a proposal just like in a real business. They had to email it to the person in charge of the area and our facilities manager for safety purposes.
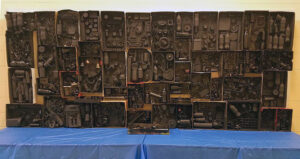
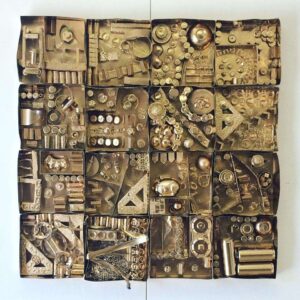
- Create Louise Nevelson-Inspired sculptures like middle school art teacher Leigh Michelle (below left) and Lauren Frost (below right).
