Grade Level
11-12Duration
This teacher assigns this as a summer project and students keep track of the time they spend on it which can range from 12-100+ hours. The average student spends 20-40 hours typically.
Materials
Heavy paper board (11” x 14” or larger): Matte, corrugated, railroad, cardboard.
(Not poster or bristol. They are too thin.)
Glue (Choice)- Elmers, Modge Podge, Stick, Clear acrylic paint
Scissors
Ruler
Pencil
Photo printed
Lots of colored paper (Choice) – Magazine, Tissue, Printed
Optional – Hole punch, Exacto blade, tweezers, toothpick (These can be used for shaping the paper or applying small pieces precisely to your collage)
Media
Collage
Lesson Objectives
For the student to…
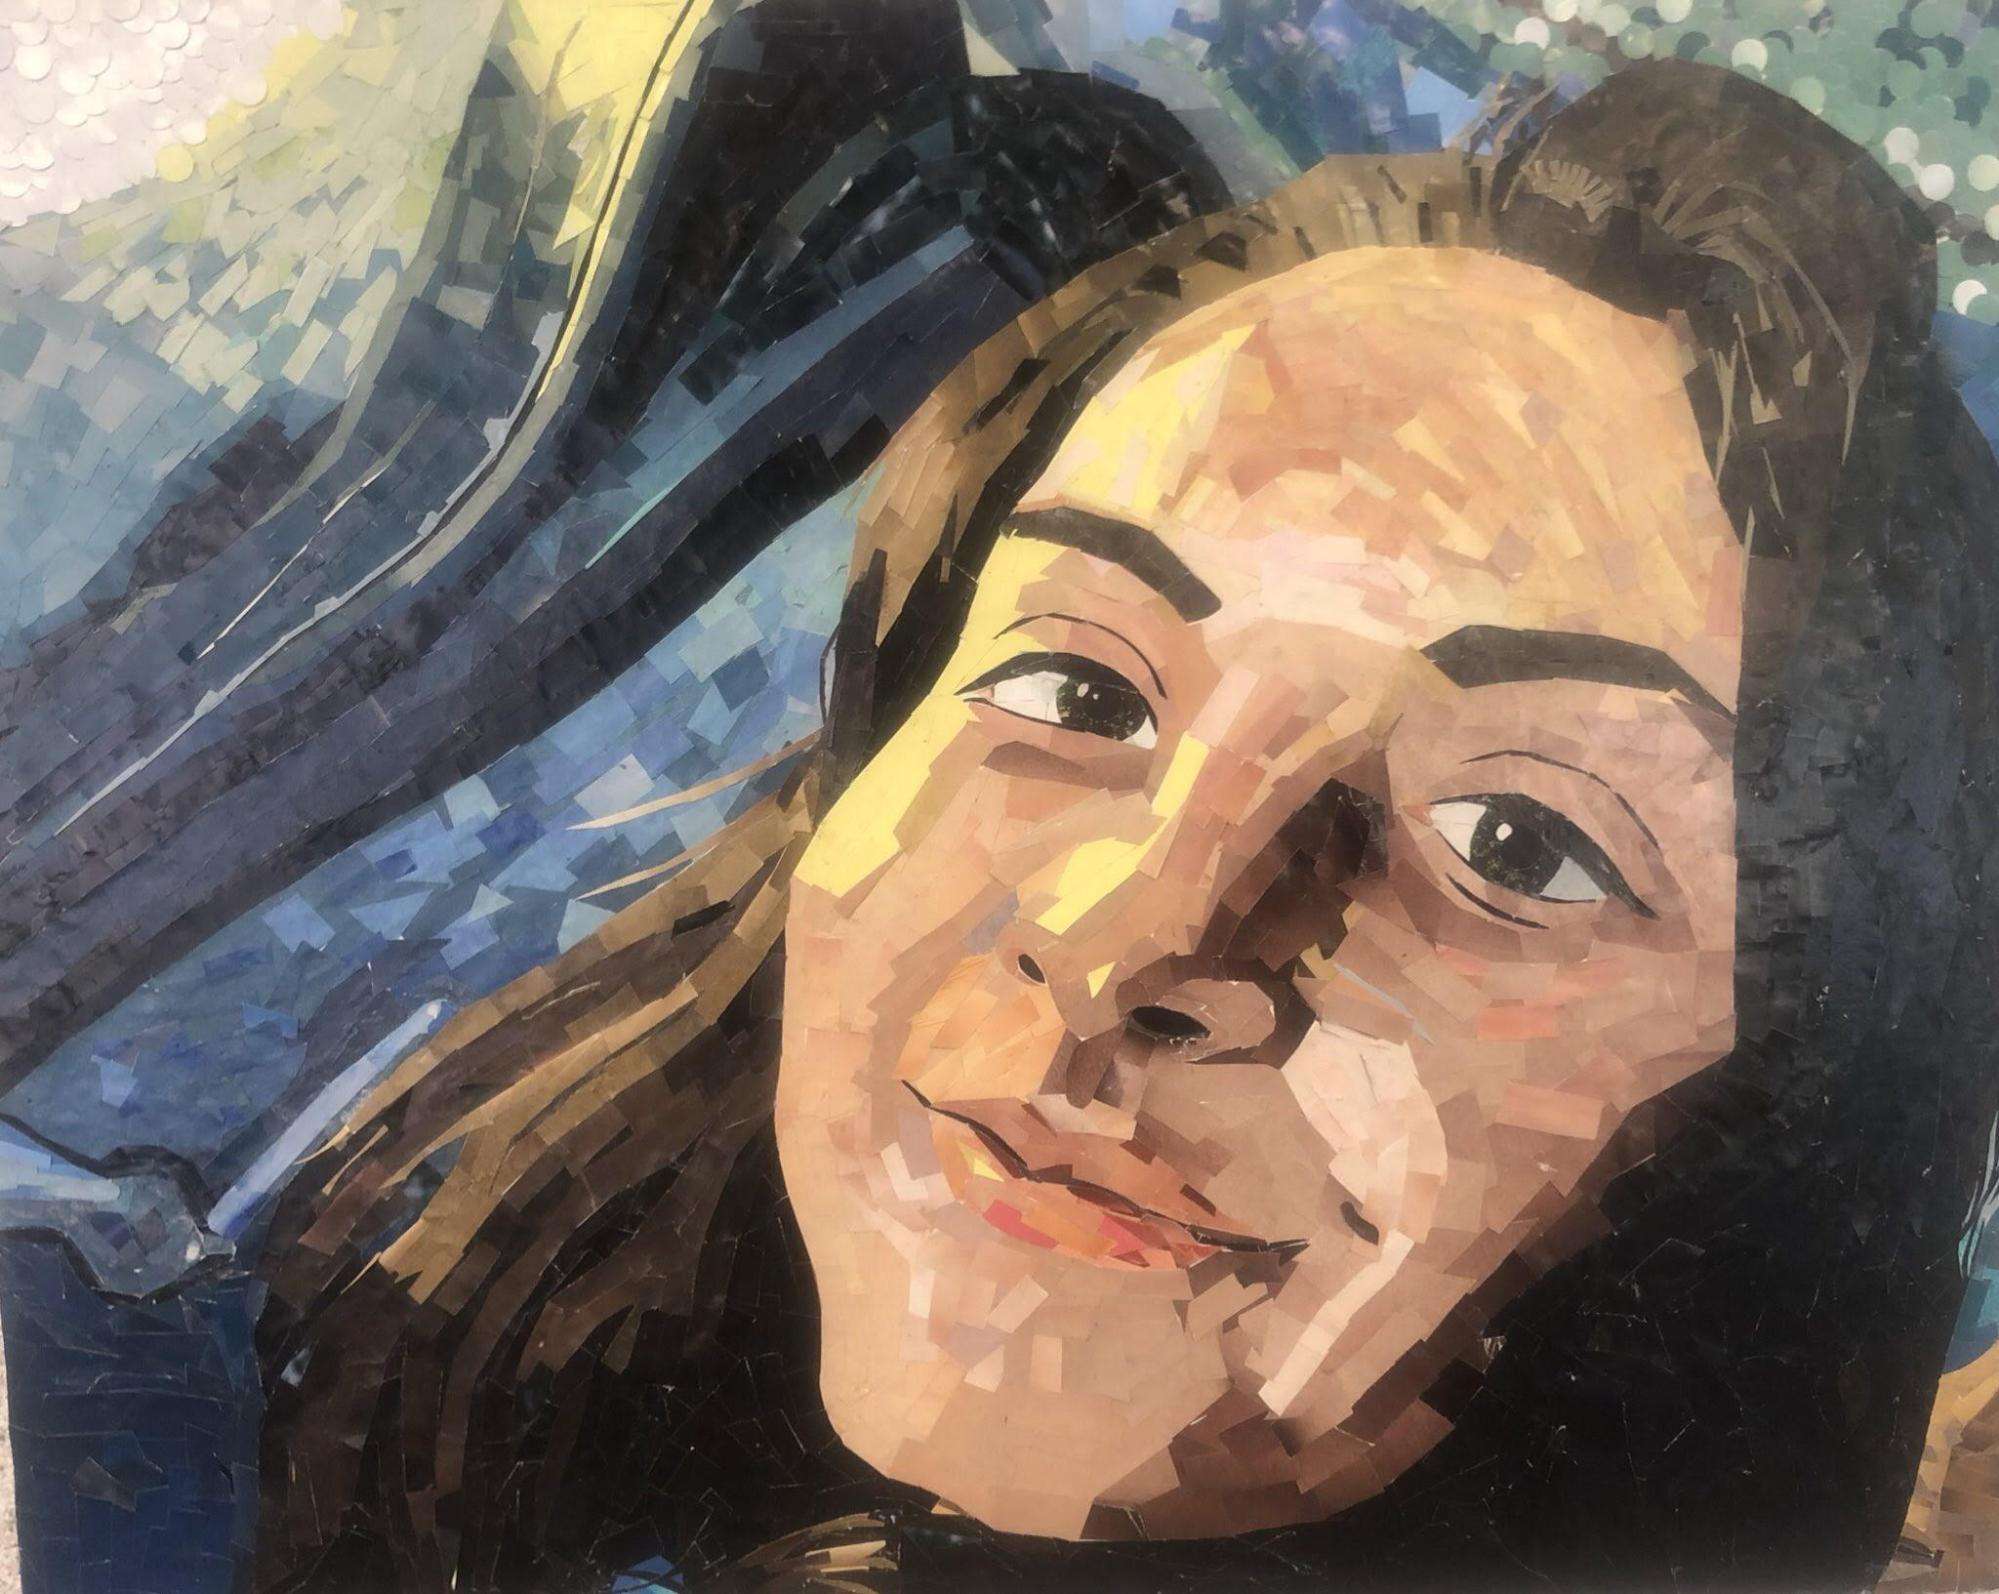
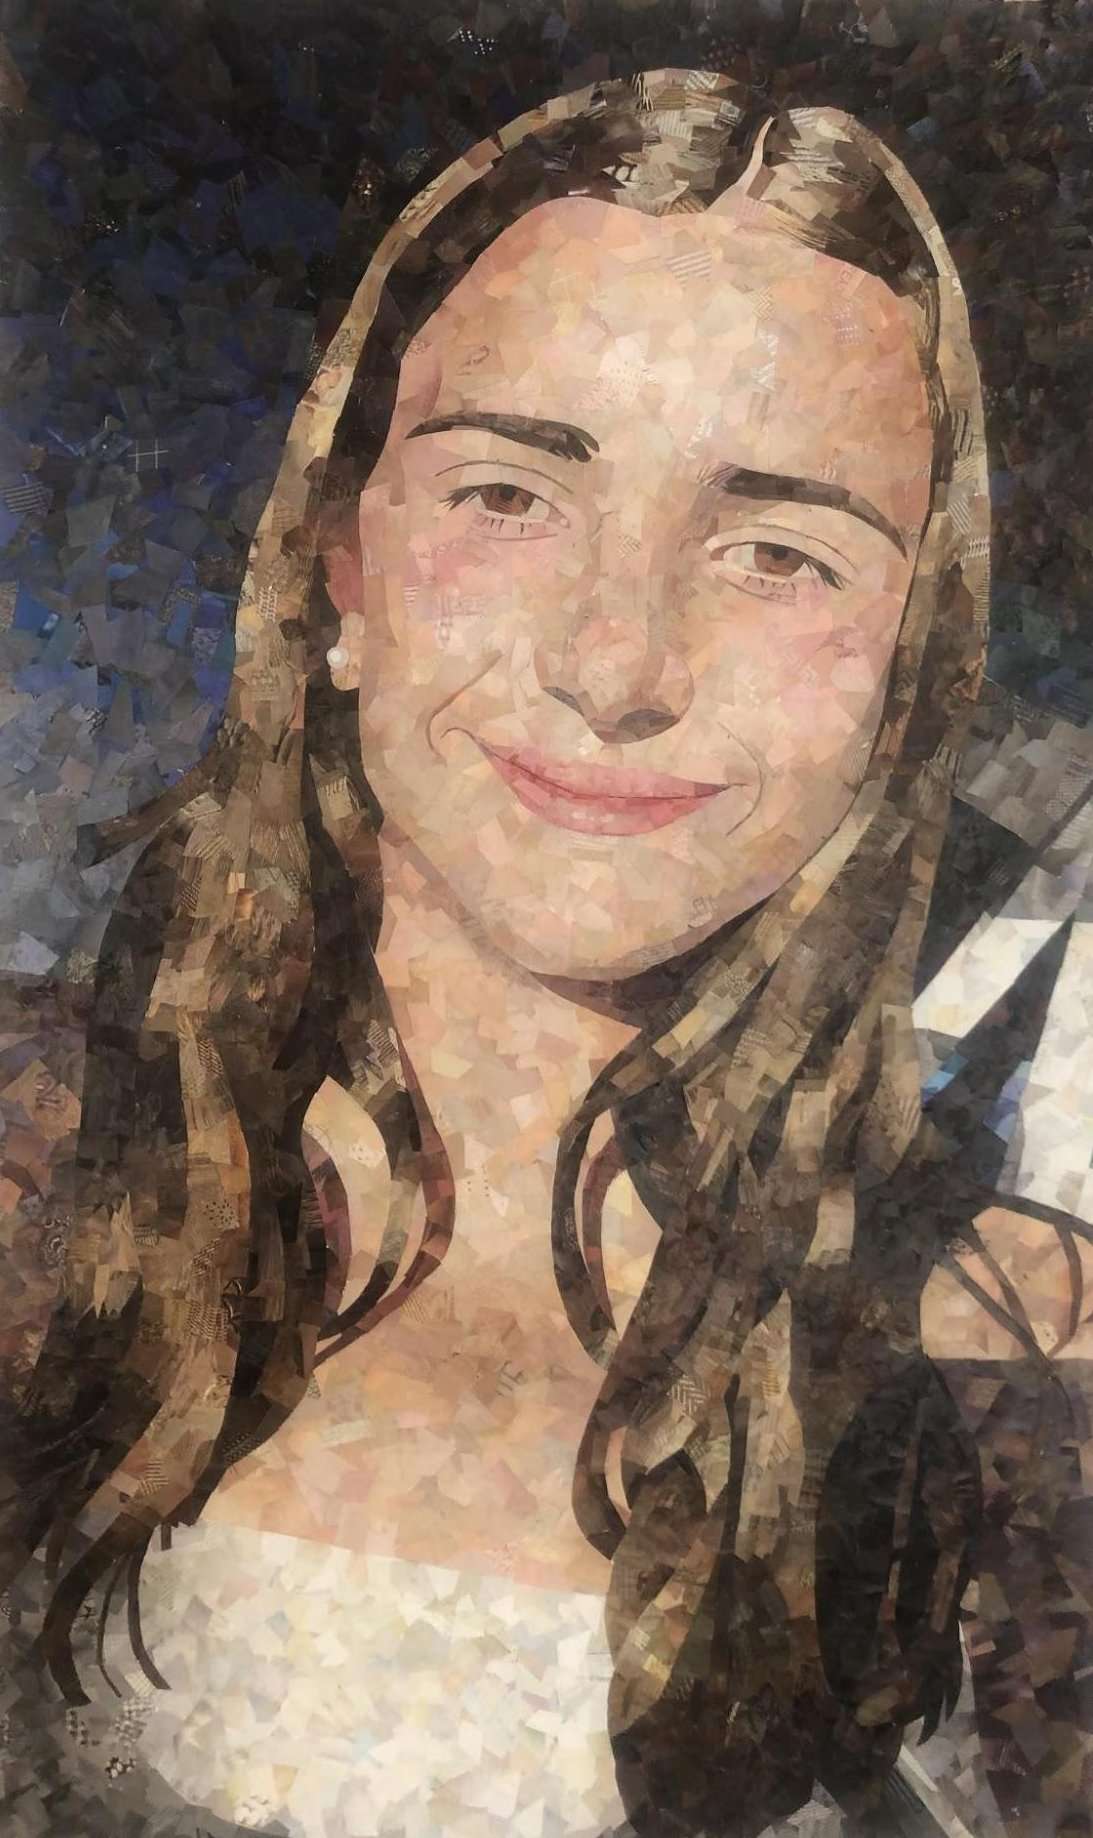
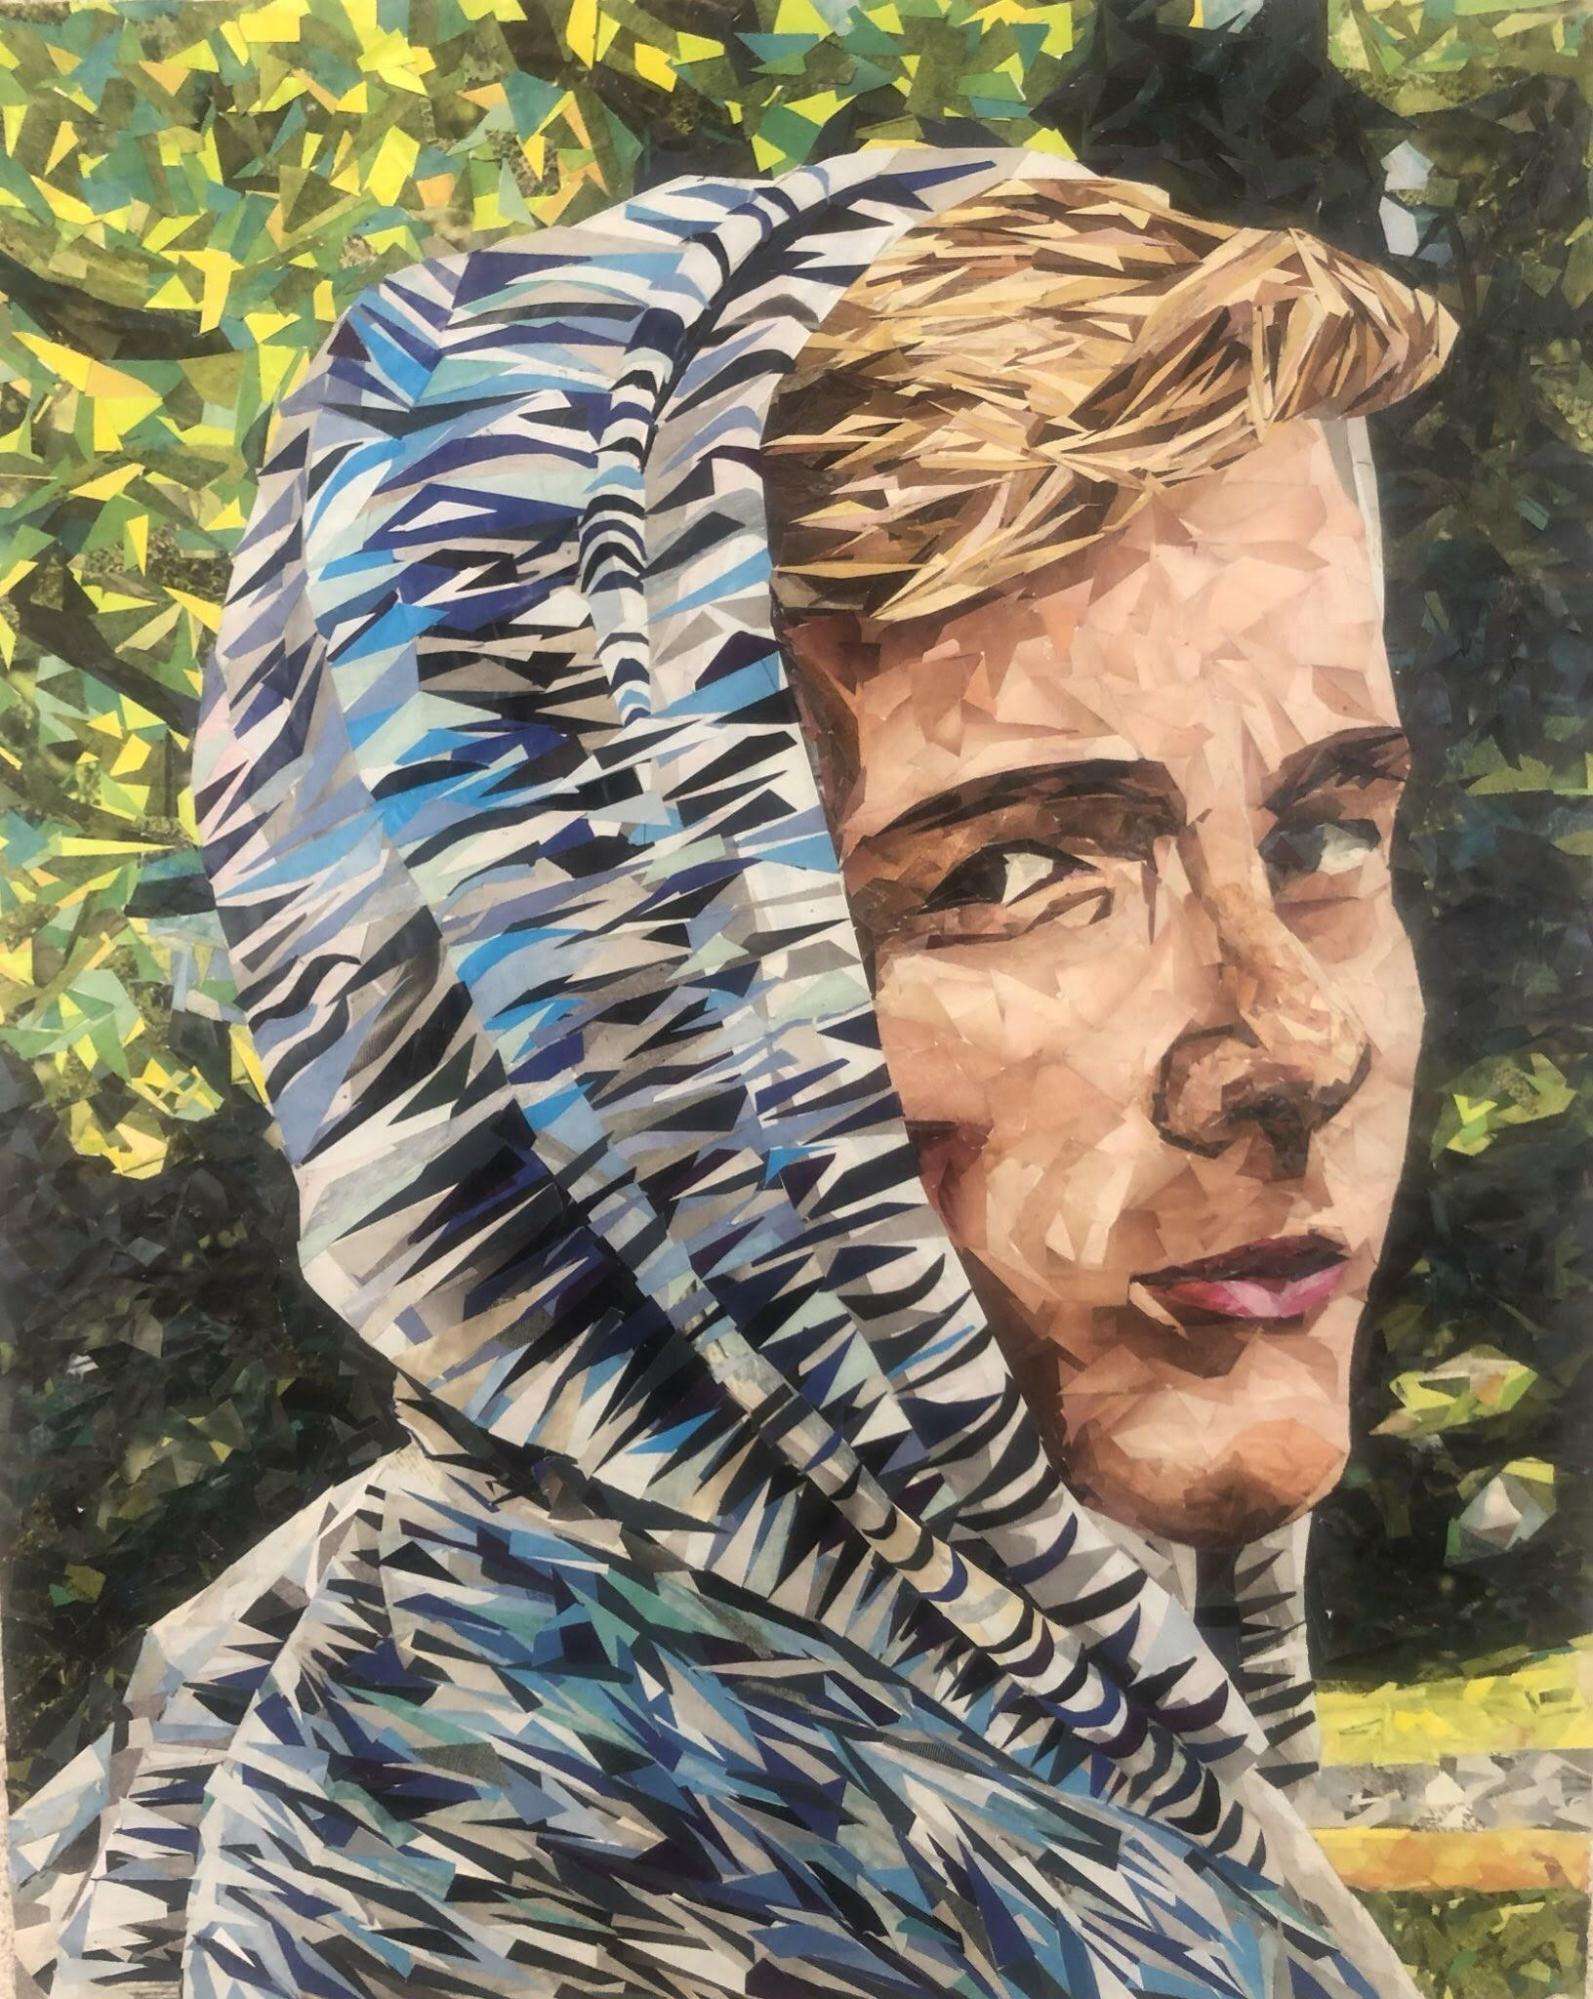
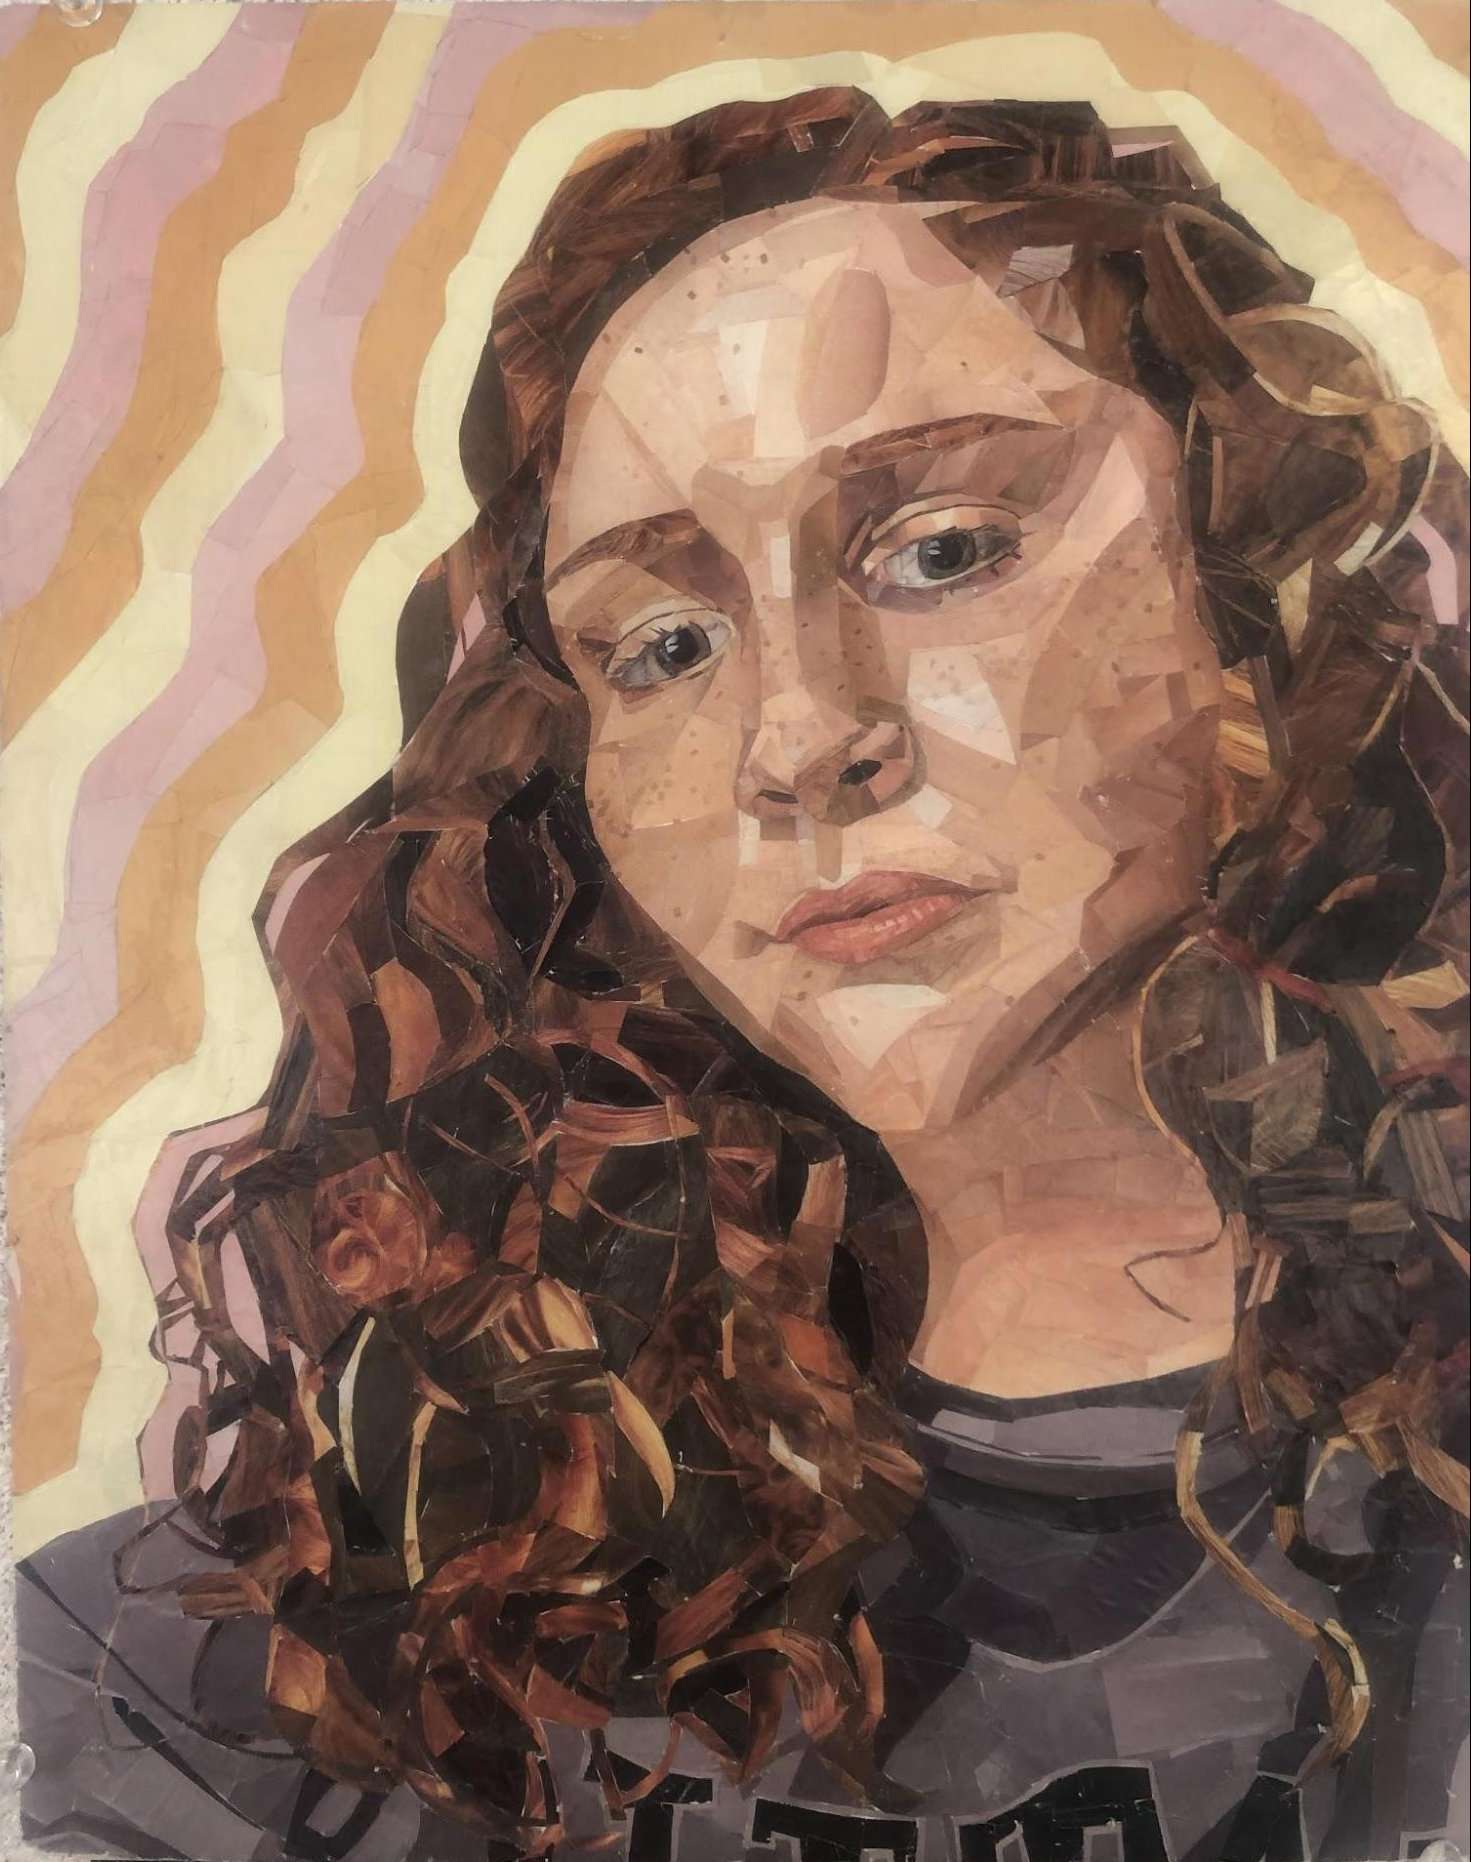
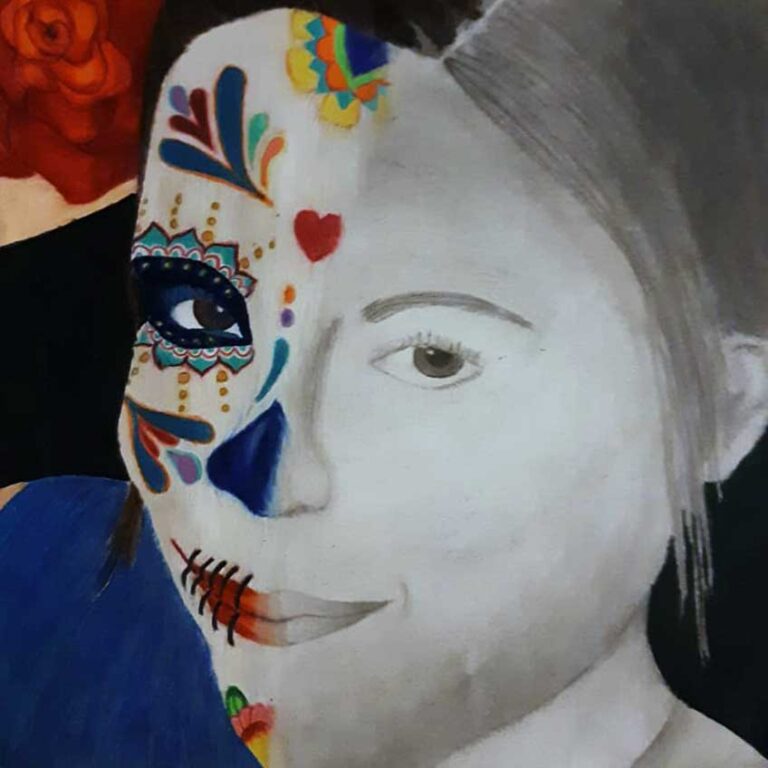
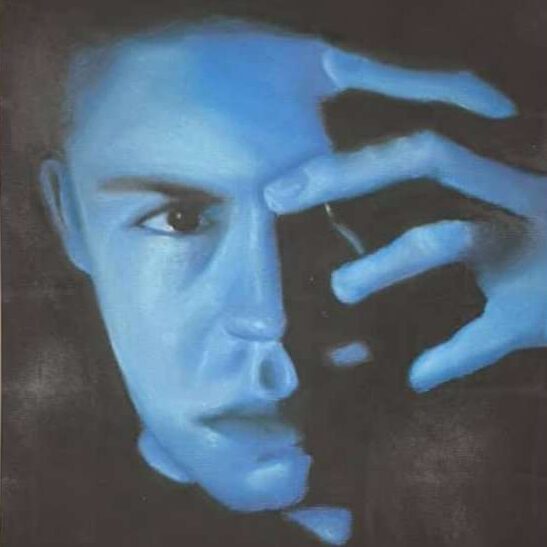
create a close-up, self-portrait with accurate proportions and form
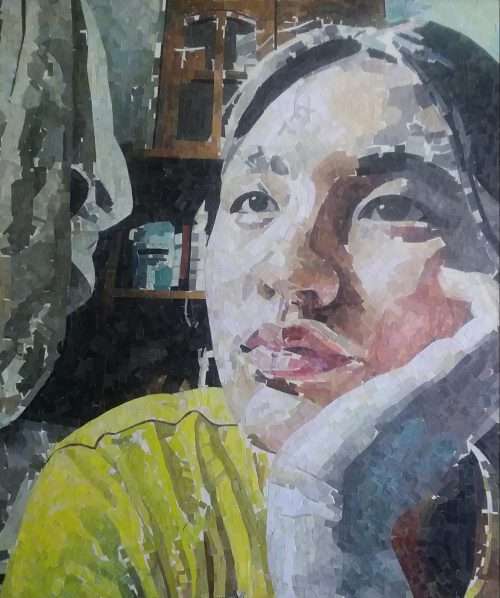
create a “painting with paper” self-portrait that displays realistic colors or expressive colors
Introductory Activity
Students are assigned to take 20-100 photographs of themselves and they will turn in only 2! The two photos that are turned in should be very different from each other. There is a separate handout to help guide students through taking a good reference photo, see the link in the resources.
Use the presentation for the lesson, also found in the lesson to talk through the process. Discuss what makes a good photograph to use. The criteria include close-up, clear, contrast/color, and composition. Students are encouraged to think about utilizing the principles of design when photographing and consider the principles when electing the final two photographs for consideration.
Lesson Process
After the students have received feedback on their photographs they can then collect and sort their collage paper. They can comb through magazines and collect the colors they will need. They can rip, cut, paper punch, tear, etc. After they have a stash of collage material they can then move on to griding the photo on the collage surface, labeling the top A, B, C, etc, and the left side 1, 2, 3, etc. Next, students transfer the lines they see in the photo to the corresponding grid on the collage surface. (There is a link for an explanation of the grid method in the Resource section). Talk about optical mixing of color to students and connect that to the work of Seurat and Chuck Close ( his later work).
The next step is to begin collaging the materials onto the collage surface. The presentation shows how different students developed their images from start to finish. Students are required to take in-progress photos of their collages. Students are also required to keep track of the time they spend on this project. For this teacher, this project is assigned summer work to get ready for an advanced art class.
Vocabulary
value, Positive and Negative Space, collage, contrast, movement, form, variety, grid, rule of thirds, asymmetrical balance, optical mixing, pointillismResources
Artists to look at:
Madeline Rector
Rosalind Freeborn
Dario Manjate
Seurat and Chuck Close
Link for two handouts, one for taking the photographs and the other for directions on collaging: Resources for Self-portrait Collage lesson
Collage Self-portrait Lesson Presentation
Handouts:
The grid method is explained in detail
Proportion Grid Creator
Author & Website/Blog
Lynn Marie Paris, follow her on Instagram
Supporting Images