Grade Level
Duration
6-8 weeks total, meeting 3 periods a week (one short block 40 minutes and two long blocks 85 minutes)
Materials
toned pastel/charcoal paper (finished size 12×18 or 16×20), chalk pastels Rembrandt (Amazon link) or Prismacolor NuPastel (Amazon link), fixative
Media
Chalk pastels
Lesson Objectives
The student will…
Learn about proportion in relation to facial features and apply the knowledge in creating a self-portrait.
The student will learn the process of using the grid technique to capture accurate proportions from a photograph.
The student will learn how to use chalk pastels.
Introductory Activity
The first step in creating this pastel portrait is to learn and practice drawing the human head with correct proportions from the front, side, 3/4 views, and extreme angles. Use the videos linked in the resources for students to follow. The videos allow them to stop and rewatch at their own pace. Next, they learn the correct position of each feature and how to draw the features – eyes, mouth nose, ears, and hair. Again, see videos that can be used in the resource section. Students must fill up a page with at least 3 different angles of each feature.
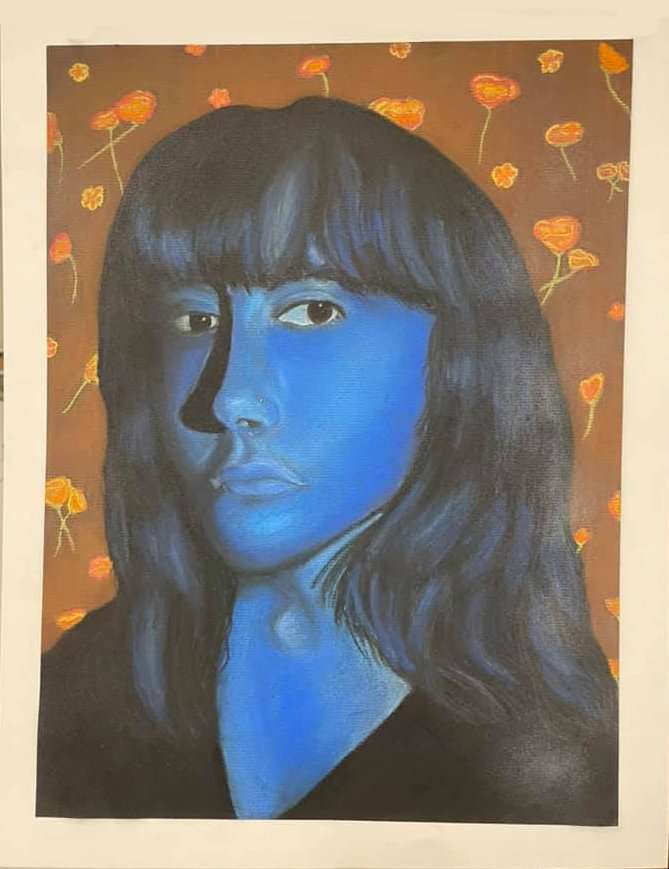
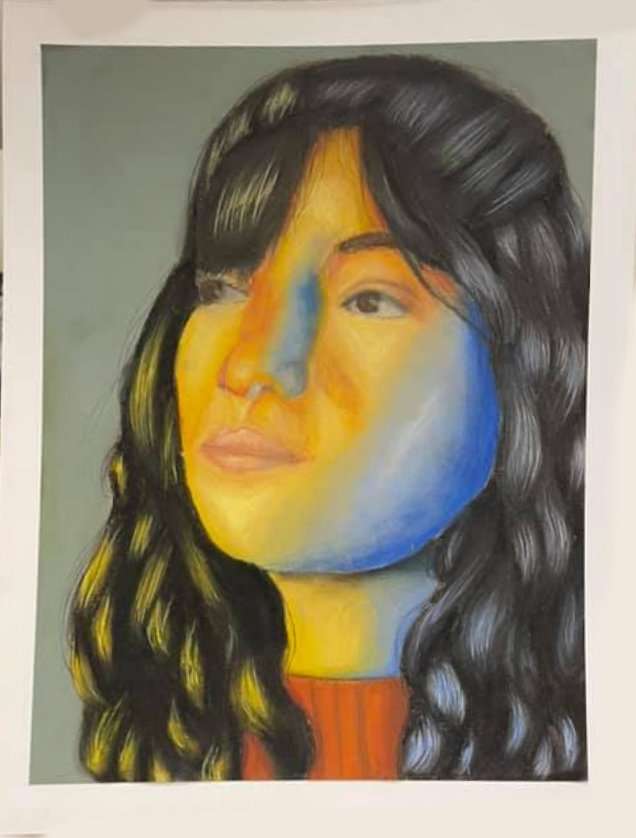
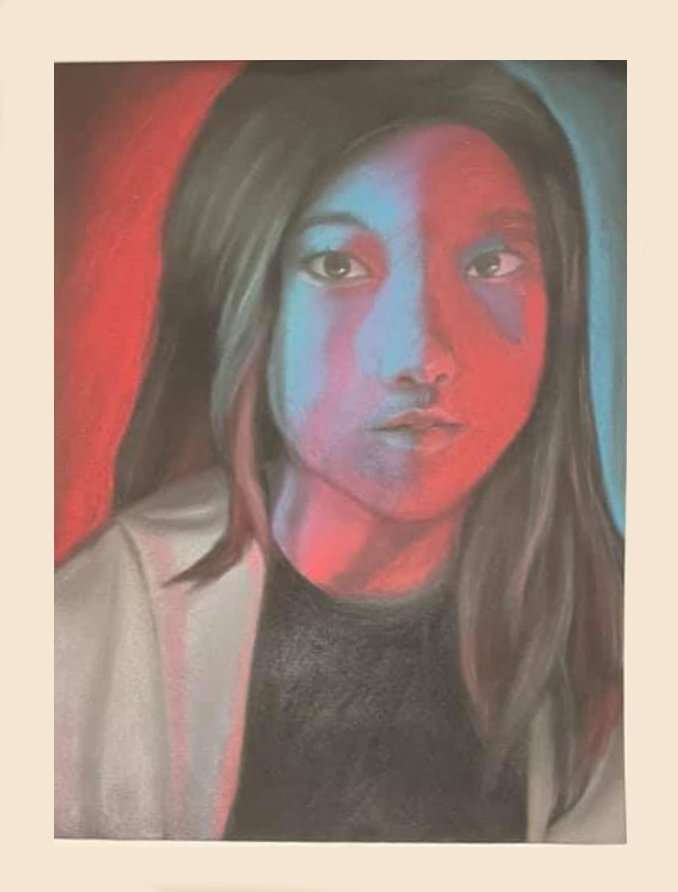
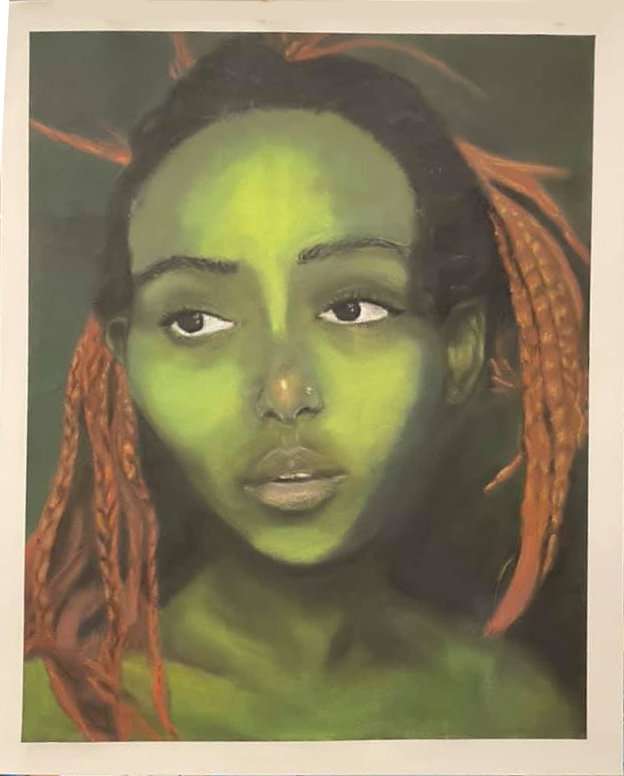
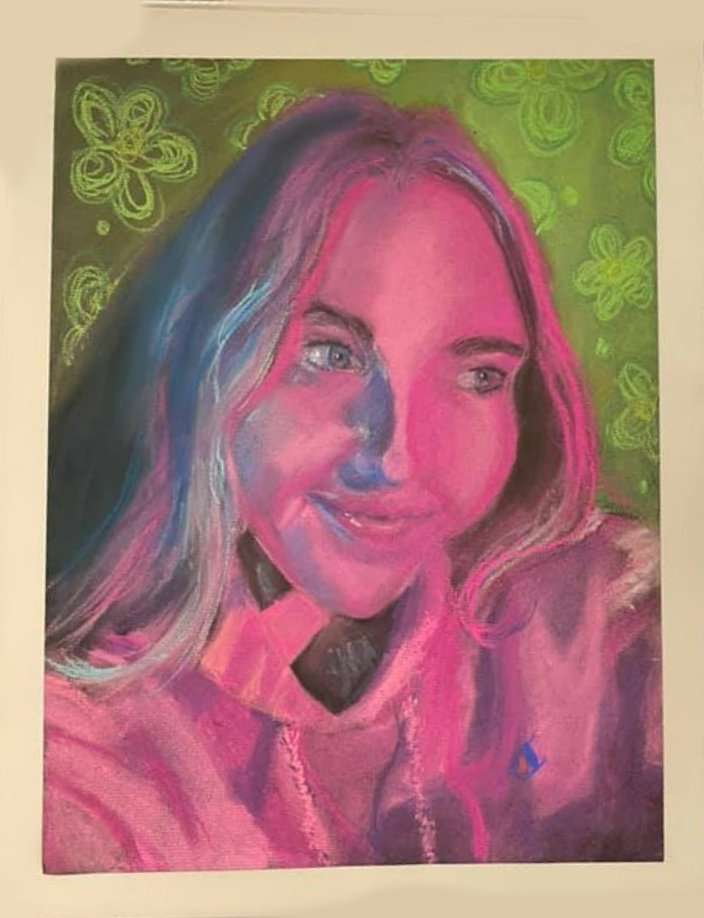
The next step is for students to take reference photos. Use the Composition Presentation for Pastel Portrait to show students the best compositional techniques for successful photographs. In developing their own portraits the students are asked to create a self-portrait that conveys a story or message about themselves through the use of emotion/facial expression and composition, so must pose with that in mind. Encourage students to experiment with colored lighting (colored cellophane over flashlights or colored Christmas lights). Have students take turns holding lights while others use digital cameras (phone cameras if allowed) to take photos of each other. We purposely photographed with colored cellophane over flashlights so kids didn’t feel weird about matching skin tones and it made it more fun and engaging.
For this teacher, the preparation for the chalk pastel portraits took about 4 weeks.
Lesson Process
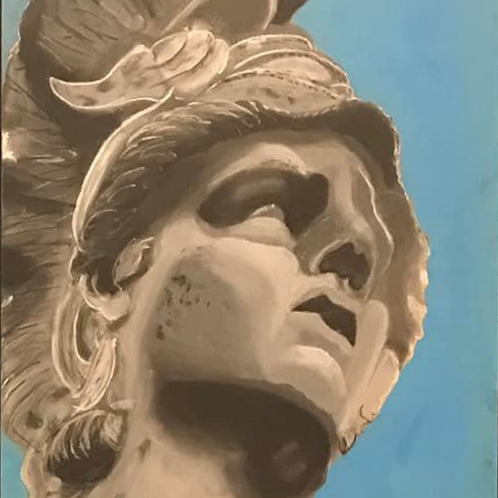
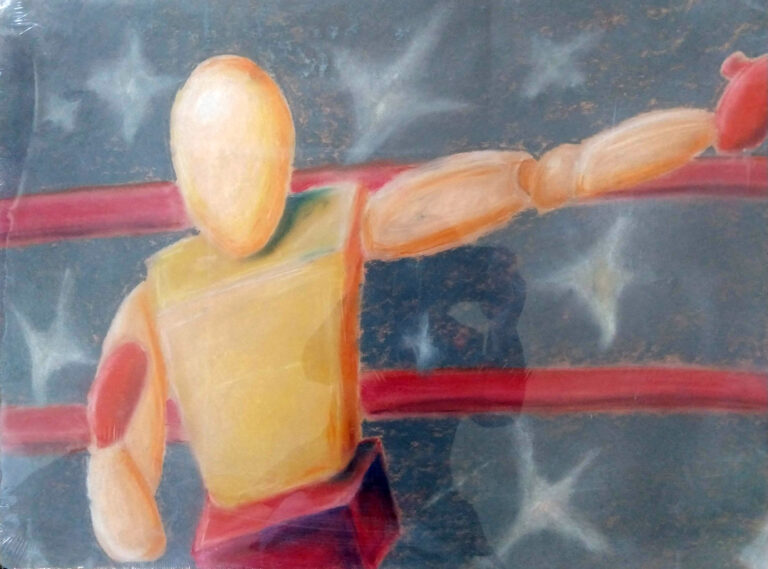
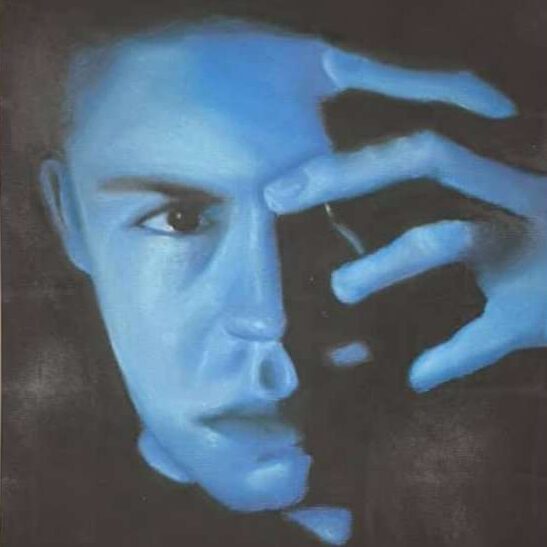
When selecting their photo, the student must keep in mind the final portrait should use the chiaroscuro technique with colored lighting. The portrait must use one or more of the composition techniques covered (rule of thirds, textured background, filling the frame, shallow depth of field, providing direction, leading lines, framing, different angle/perspective, the contrast of color, and rule of space). Their Image needs to fill their paper.
When the student has selected their best image, print the photos and the students can use a cut window box (made from tag board) to tape over the print to figure out the composition/crop further. The windows were cut at 6×9 or 8×10 giving the student the option of a 12×18 or 16×20 enlarged portrait. Students placed the photos in a plastic sleeve and used a marker to create a grid on the plastic with one-inch spaced grid lines. Students then lightly gridded their final sheets in two-inch increments (so photos are enlarged 2x).
The students used pastels while learning the proportion of the face to start acquainting themselves with the media. Students will learn how to blend from light and dark and from one color to another to show chiaroscuro (the use of strong contrasts between light and dark, usually bold contrasts affecting a whole composition. It is also a technical term used by artists and art historians for the use of contrasts of light to achieve a sense of volume in modeling three-dimensional objects and figures. – From Wikipedia)
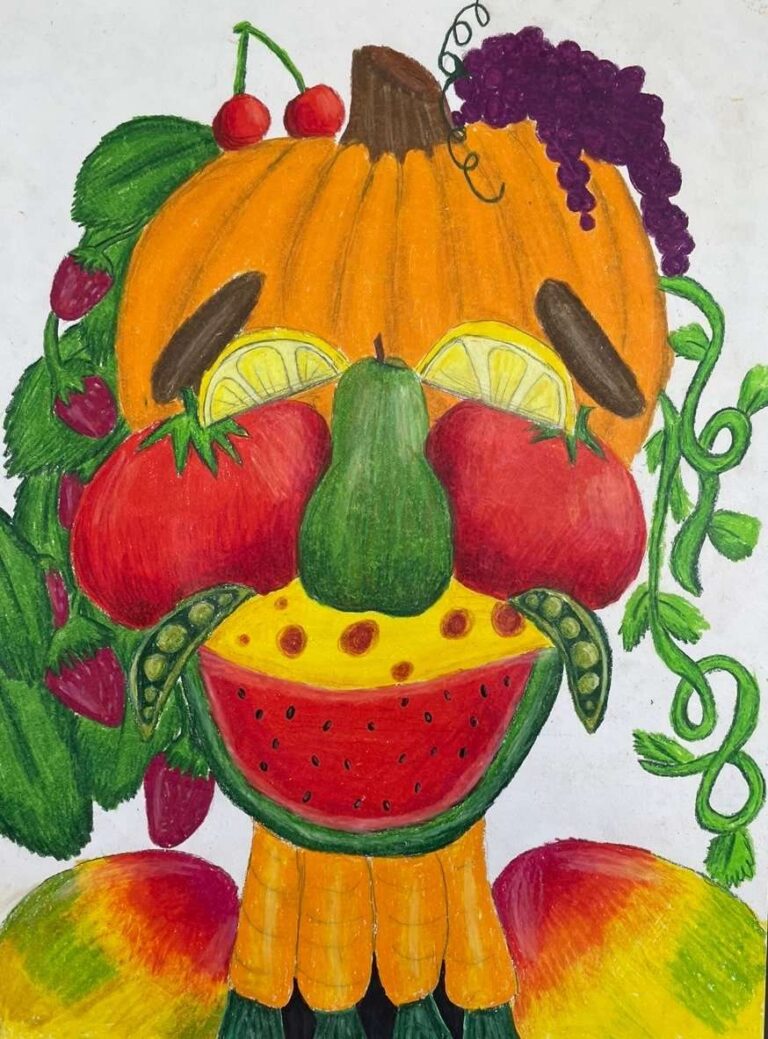
*Optional: remove the background and replace it with a unique pattern.
Vocabulary
portrait, blending, chiaroscuro, volume, proportion, form
Resources
Drawing the head/front view video
Drawing the head/side view video
Drawing the head, Loomis method for 3/4 view video
Drawing the head, Extreme angles video
How to use chalk (also called soft) pastels
Author & Website/Blog
Lisa Guiseppe
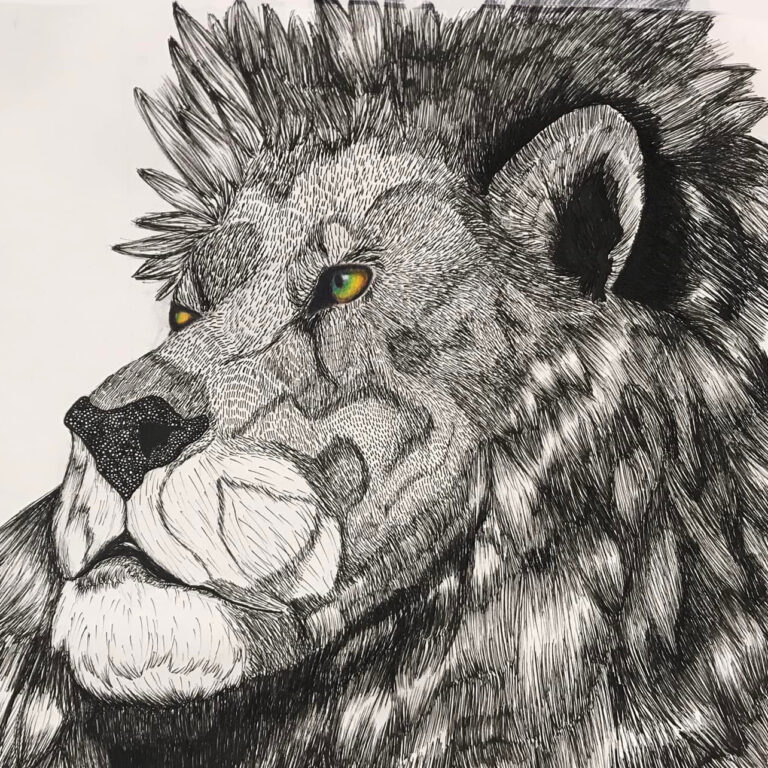
Supporting Images