Grade Level
9-10Duration
10 classes, 45 minutes
Materials
Exacto knife, extra blades, scissors, stapler, fade resistant construction paper of a variety of colors (enough black for each student), glue (I prefer Elmer’s used sparingly) white color pencils, paper or sketchbooks for design development, pencil
Media
Paper
Lesson Objectives
Explore the connections between culture and art.
Understand shape, and the different types of shapes including organic, free form, geometric shapes, and positive/negative shapes.
Be able to interpret a mola appropriate subject matter using shape and pattern
Understand how to use and care for exacto knives safely.
Introductory Activity
The teacher should have mola examples. This is easy to find on the Internet. I keep a file of mola example for students to look through and often make it a homework assignment for students to research molas. To keep my folder full, I often make it an extra credit assignment to bring in printouts or photocopies of examples students’ find. There is a large bank of you tube videos and websites that can be used to show students or to have students reference.
I use Google Earth to allow students to help locate where the Kuna Islands are located. We look at images of the area, people, landscape, etc to connect how geography influences the topics the Kuna people are inspired to reflect in the mola designs. we look at the Kuna people in their mola clothing and finally, just mola designs.
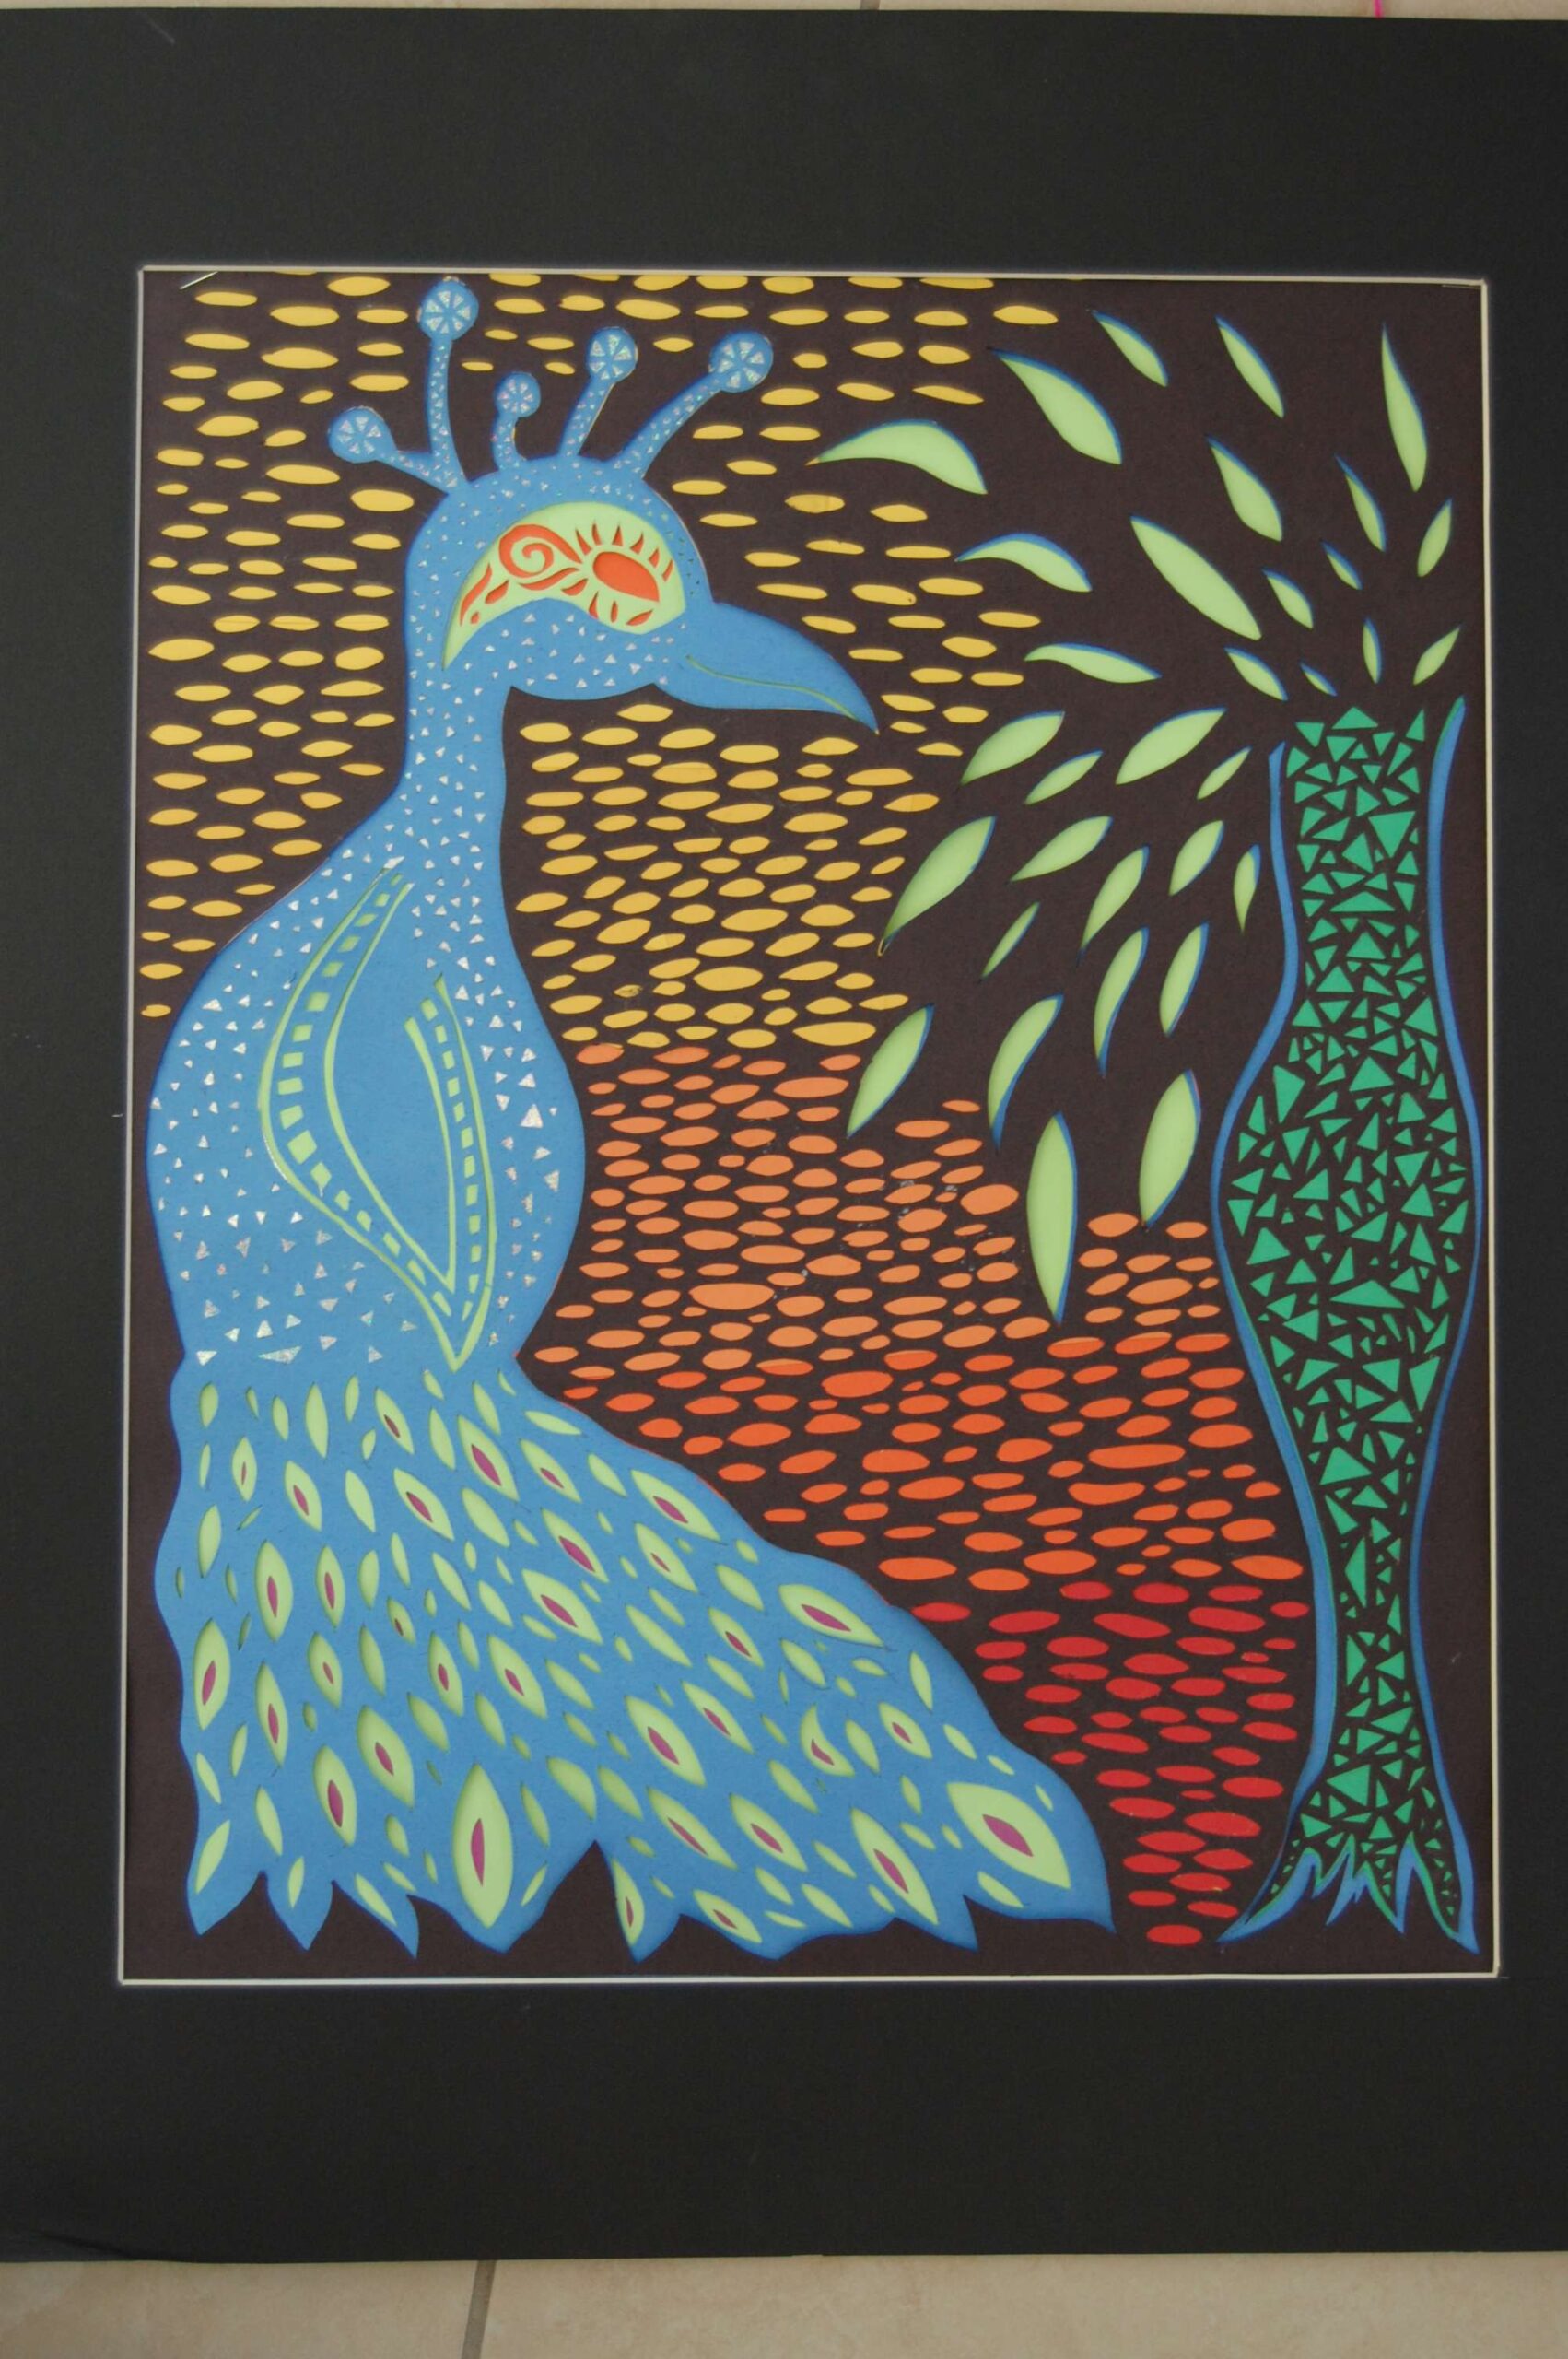
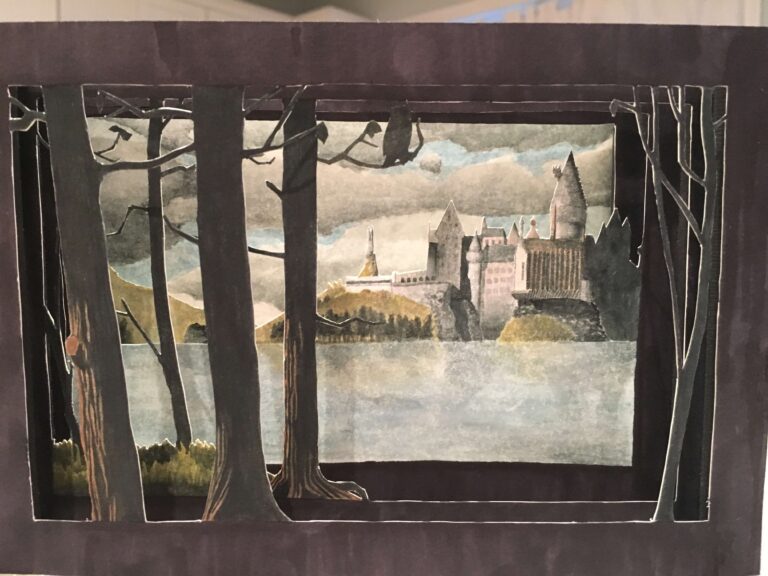
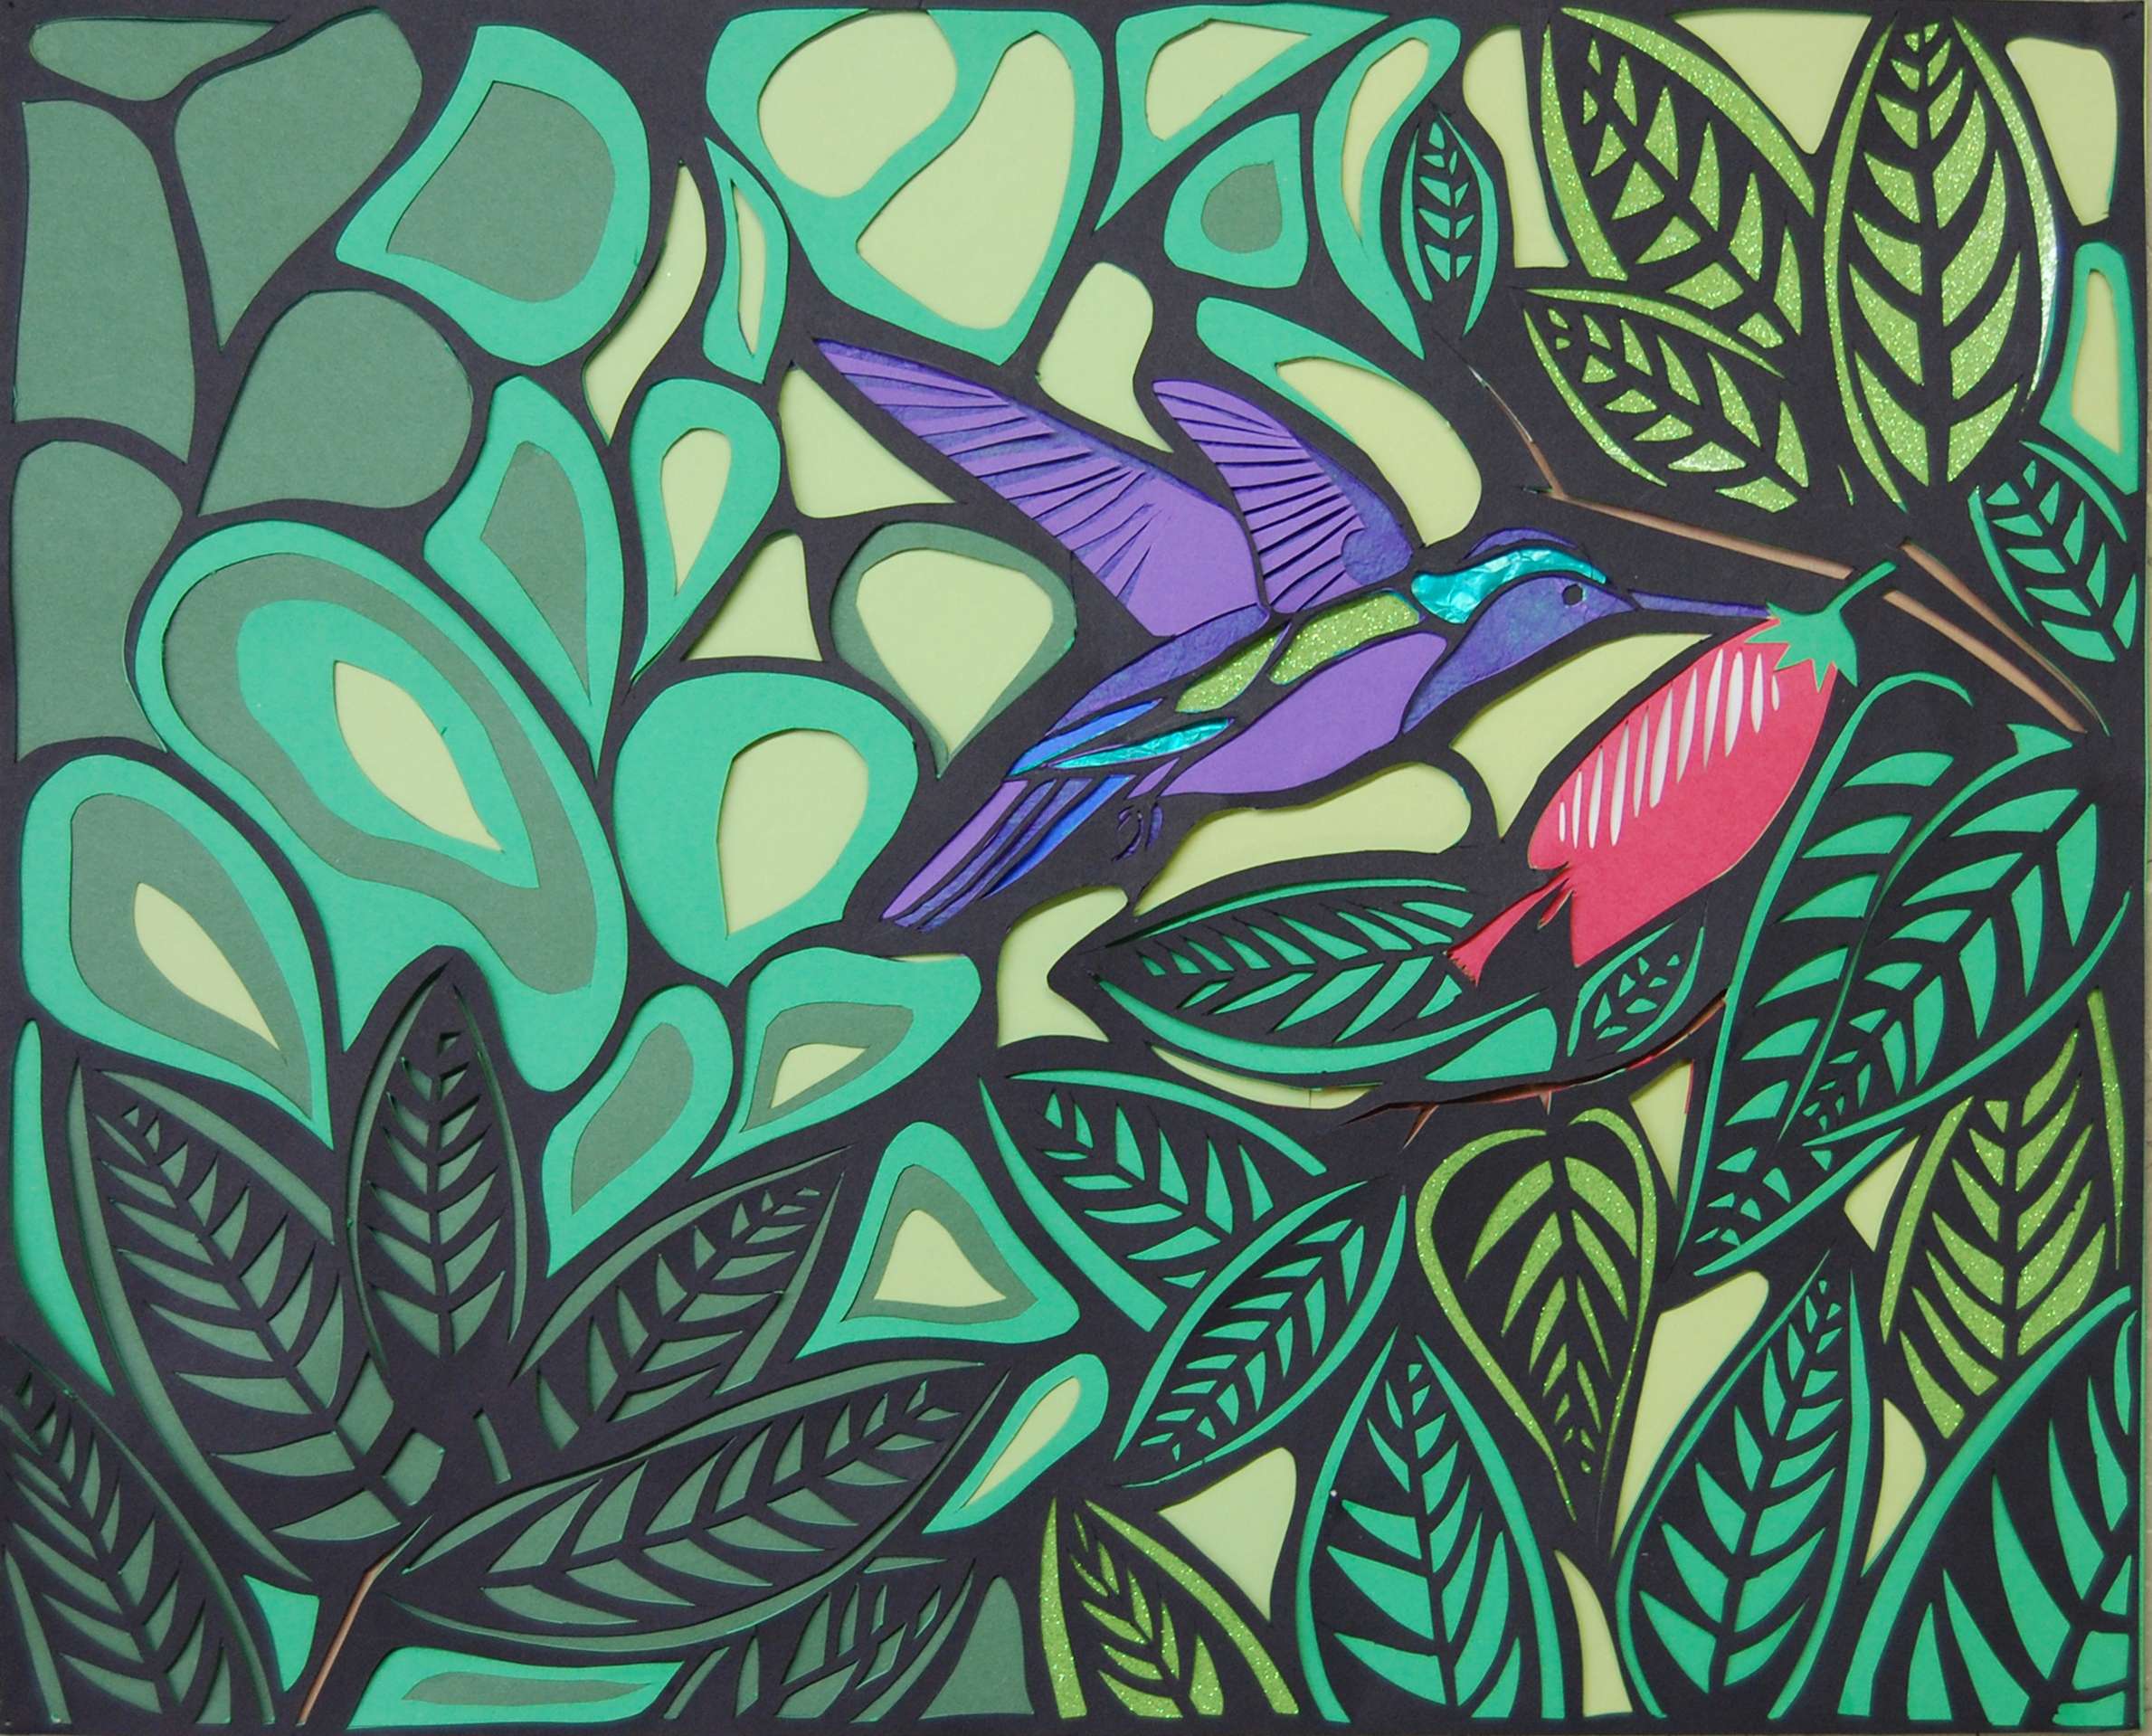
I have students come up with three to five examples in their sketchbooks, which must be in keeping with the topics typically found in mola designs identified in discussion. Topics include sea life, land animals, flowers, plants and geometric designs. Tribal teachings, superstitions and village life are also recorded in the fabric panels., This encourages students to explore a variety of topics and designs and teaches them that the first idea is not always the best.
Lesson Process
Students, with teacher input, pick their best design. Students then look at their design and think about the major colors they will need. I think it helps to have sample mola projects that are not assembled so students can have an understanding how to plan their own mola. For example, I show students how spot color can be added rather than whole sheets of construction. Students pick 3-4 sheets of color and staple together on the top left and right. Students sketch the large shapes of their design.
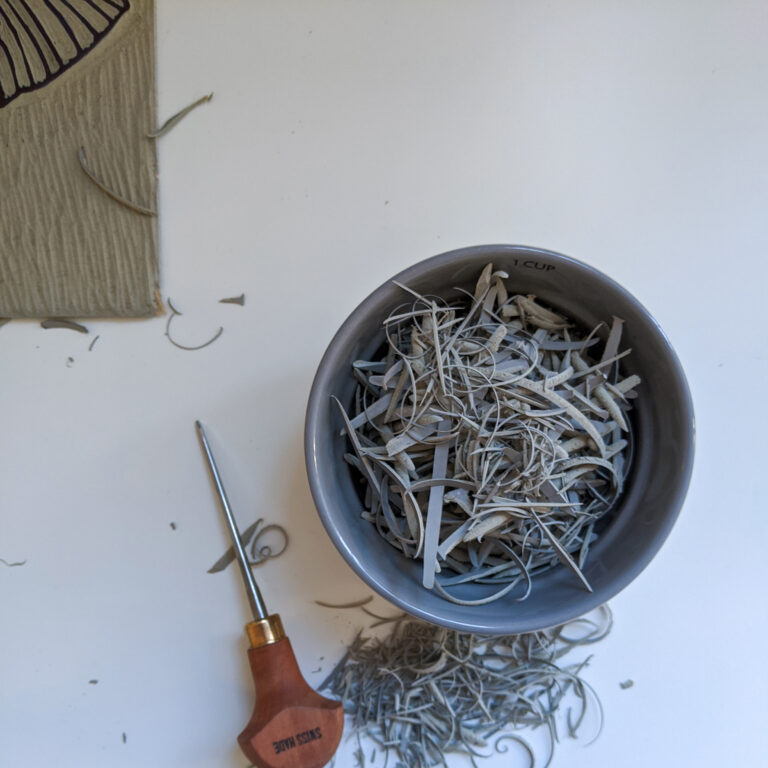
Teachers demonstrate safe use and handling of an exacto knife. Have students practice with a small grouping of colored paper.
Begin cutting shapes, placing a piece of oak tag between layers. Work down through the layers to reveal all the colors in the grouping. It is also possible to add pieces back, although this should be done in the reverse order of colors.
Finish by adding tacking the layers together with small amounts of glue. Occasionally I have a student who reverses each paper to hide pencil lines and erasures. As long as the image works in reverse, this can be helpful in terms of craftsmanship.
Vocabulary
Mola, Kuna islands, South America, shape, organic shape, geometric shape, positive and negative shape, pattern, repetition, foreground and backgroundResources
Google Earth
Molas and other Guna art – San Blas Islands
The Colorful History Behind Panama’s Mola | Travel | Smithsonian Magazine
Molas from the San Blas Islands of Panama – Molas
Author & Website/Blog
Supporting Images