Grade Level
Duration
3-5 class periods, 45 minutes long
Materials
- Rice paper or other absorbent printing paper cut into 7- by 9-inch pieces—one for each child
- 1-inch square gum erasers—one for each child plus a few extra
- Guide sheets—print one for each child
- Black fine-line permanent markers (Faber-Castel markers are odorless.)
- A variety of linoleum carving tools—liners, v-gouges, u-gouges, and large gouges
- Exacto knife
- Broad-tipped watercolor markers
- Scrap paper for testing prints
- Magazines for printing pads—one for each child
- Toothbrush
- Paper towels
- 1-inch deep Styrofoam trays from the grocery store to make holders for the markers (optional)
Media
Drawing, graphite paper
Lesson Objectives
For the student to
- Learning about relief prints
- Experiencing the power of repetition in design
- Experimenting with different colors and printing patterns.
Introductory Activity
- The watercolor markers will be used repeatedly. Capping and recapping them becomes tedious. To make the process easier, and keep the markers from drying out, construct holders using Styrofoam trays. In the bottom of each tray, cut several holes slightly smaller than the diameter of the marker lids. Turn the trays upside down and push in the lids with their open sides facing up. Leave the lids in the holders while using the markers. When not in use, the markers can rest in their lids without snapping them tight. (See picture below.)
- Set out the Styrofoam holders, watercolor markers, permanent markers, and gum erasers.
- Set out the linoleum carving tools, toothbrush, magazine pads, and scrap paper.
- Have an X-Acto knife available, but set it aside.
Lesson Process
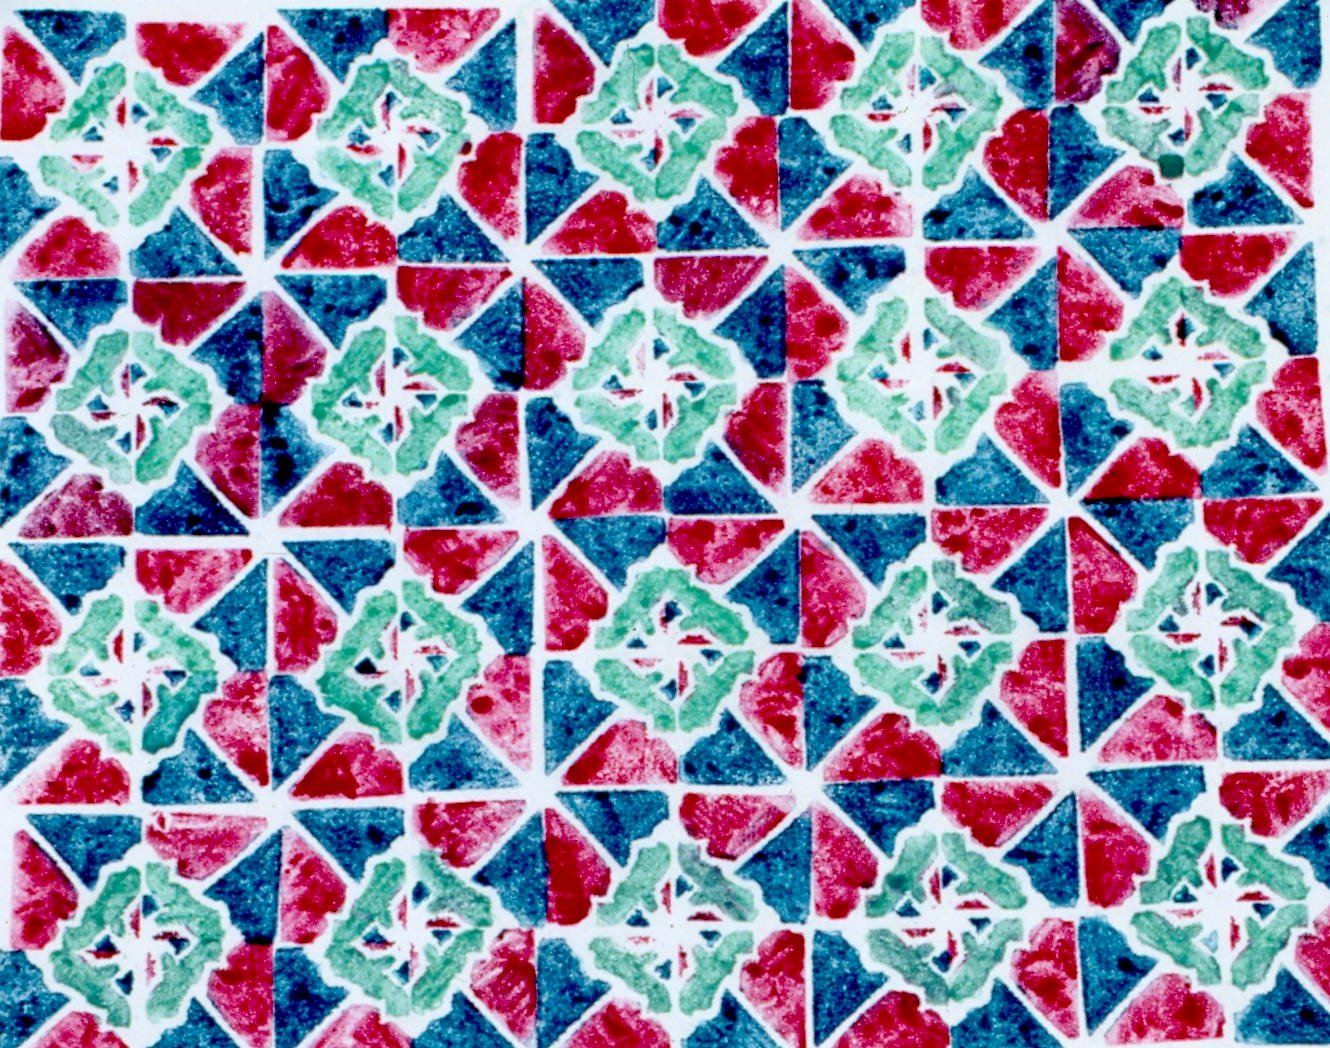
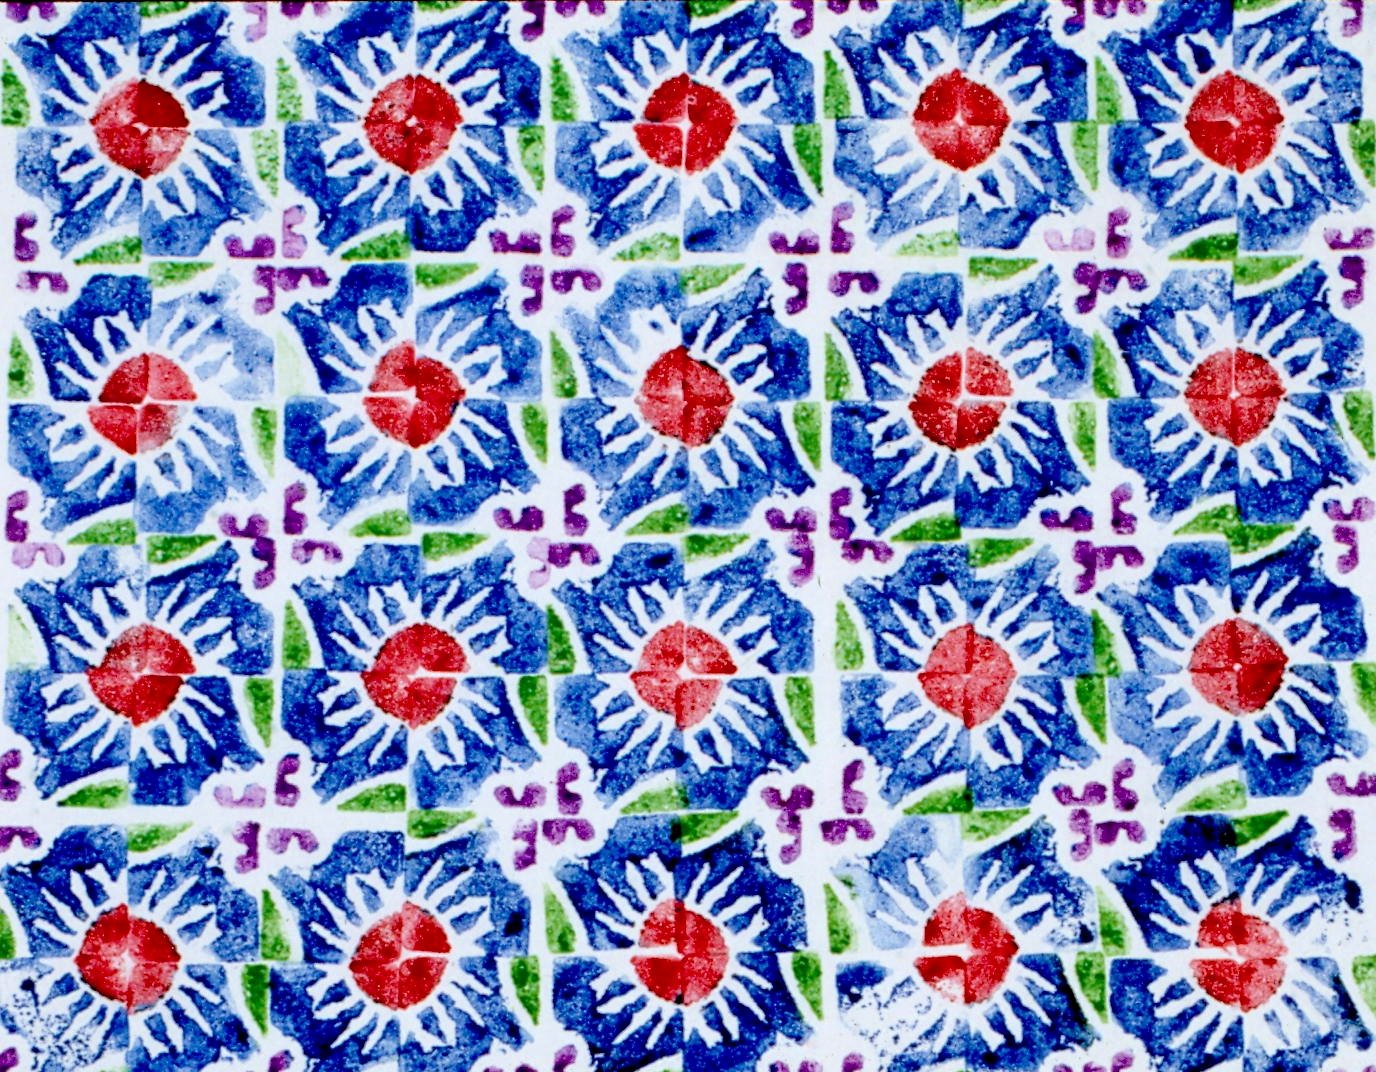
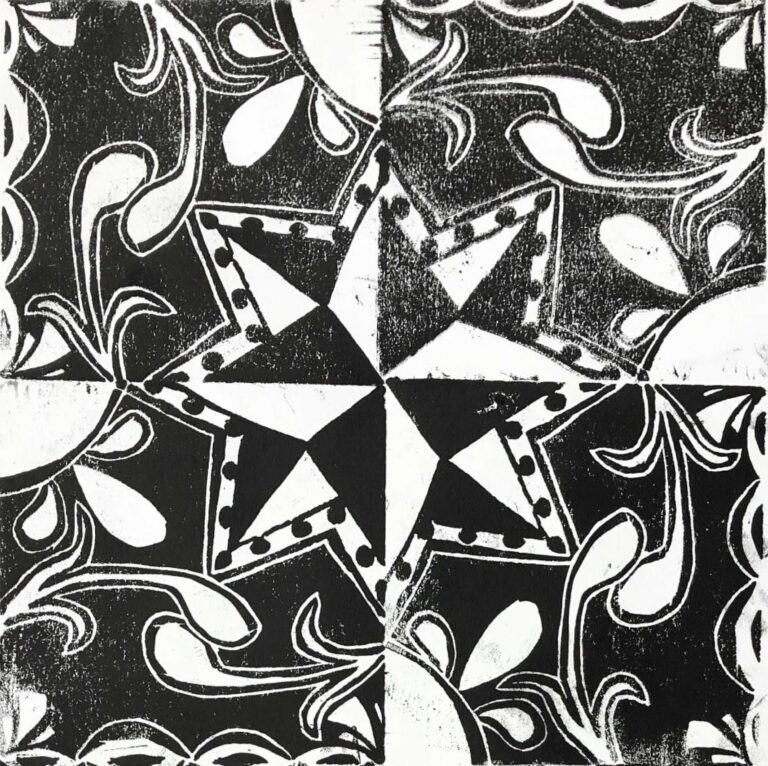
- Explain to the children that they will be carving designs into erasers and using watercolor markers to make relief prints. When printed, the areas that are cut away will remain the color of the paper, while the uncut or raised areas will print the colors that have been applied to them. The repetition, or repeating, of relief prints can create surprising new patterns.
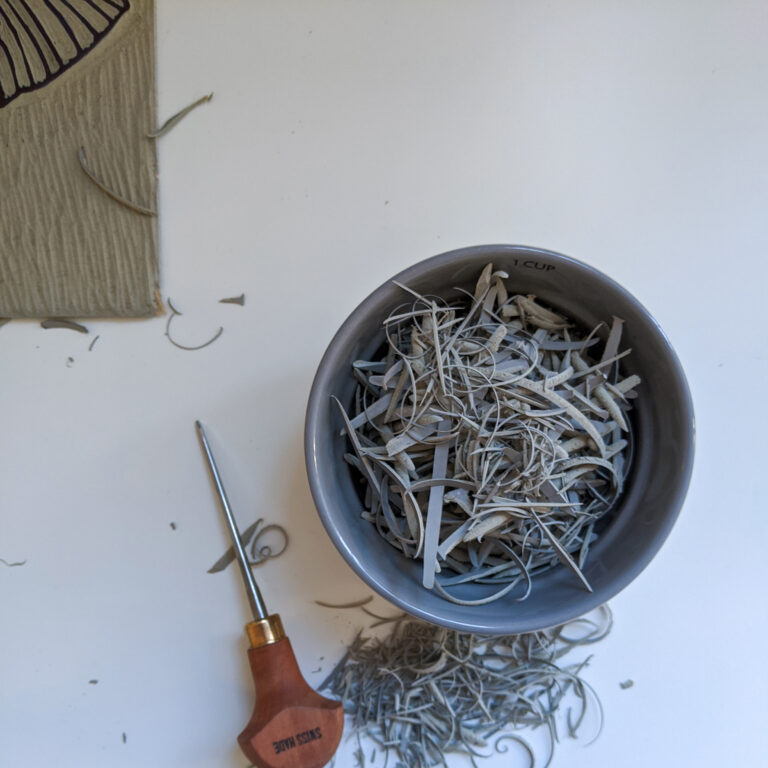
- Demonstrate to the children the proper use of the cutting tools. Hold the side of the eraser that is closest to you and always cut away from your hand. With the tool almost horizontal to the eraser, push slowly into the surface, cutting away only a thin layer. The liner and v-gouge make fine lines; the u-gouge makes wider lines. The large gouge is used to cut away large sections. Avoid making deep cuts into the eraser which is not necessary and will make carving more difficult.
- On a piece of scrap paper, plan a few simple designs. Choose one to draw onto the eraser with a black marker. Cut out the lines or the spaces between the lines with the carving tools. Remove any bits of eraser caught in the cut-away areas gently with a toothbrush.
- Demonstrate the printing process by placing a piece of rice paper on a magazine pad. Explain that the softness of the magazine pad will make clearer, crisper prints. Choose two to four colors of markers to fill in the different sections of the design on the eraser, using the lighter colors first. Work steadily so that the print can be made before the watercolor dries. Press the carved side of the eraser down firmly on the paper, hold for a second, and lift in a straight-up motion. Check to see that the lines are printed clearly. If not, make repairs by trimming where necessary, applying more color, and printing again. Emphasize that the watercolor must be reapplied before each impression is made.
- Experiment with different colors by wiping off the eraser with a damp sponge and drying it well. Apply new colors and test again.
- Demonstrate some ways the children might make their prints, such as in a circular pattern or alternating the prints in opposite directions.
- Have the children plan their designs, draw them on their erasers, and carve them with the linoleum tools. Remind them to always cut away from their hands and only cut a thin layer from the erasers.
- After experimenting with various combinations of colors and printing patterns, have the children write the ones they’ve chosen to use for their project on their scrap paper. Store the erasers along with the papers until the next session.
Second/Third Session
Preparation
- Make copies of the guide sheet, planning one for each child.
- Set out the erasers and plans from the previous session.
- Set out the Styrofoam holders, watercolor markers, magazine pads, rice paper, guide sheets, and black markers.
How to Begin
- Explain to the children that, in this session, they will be repeating their relief prints to create surprising patterns.
- Lay a guide sheet on a magazine pad. Center the rice paper over the guide sheet and carefully tape the edges to hold the paper in place.
- With a black marker, draw an arrow on the back of the eraser pointing to one of the eraser’s corners. Each print should be made within one of the squares on the guide sheet. The direction of the arrow should remain consistent throughout the printing process. For example, when printing in a circular pattern, the arrow should rotate, always pointing to a circle on the guide sheet each time a print is made.
- Have the children make their prints in their planned patterns. Be sure the children understand that the watercolor needs to be reapplied before each impression is made.
NOTES
- Be sure the surfaces of the erasers are square, so the prints will line up properly.
- Sharing a variety of linoleum tools will work well. Each child does not need to have a full set.
- The children can practice and get a feel for the cutting tools by carving a few lines into the bottom of their erasers.
- It’s good to have a few extra erasers. However, if a child makes a mistake while carving the design into the eraser, it is not always necessary to start over. When the print is repeated, it will still make an interesting pattern.
- Occasionally an X-Acto knife will be needed to remove a section of the eraser. This should be done under the guidance of an adult.
- When applying color to the eraser, put on the lighter colors first to keep them from picking up the darker colors. If the markers become discolored, wipe them with a paper towel.
- Use magazines instead of newspapers to pad the printing surfaces. Newspapers tend to leave marks on the rice paper.
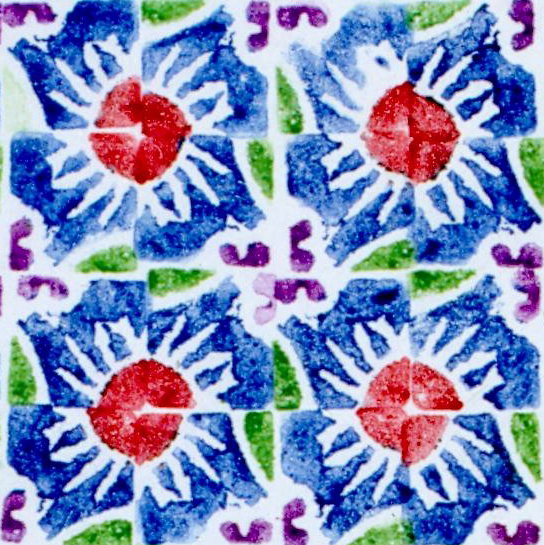
- Although random designs on the erasers form interesting patterns, some of the children will appreciate the extra challenge of lining up their prints. For example, when printing in the same direction each time, a line starting in the middle of the left-hand side and ending in the middle of the right-hand side will result in a continuous line. When printing in a circular pattern, a line in the middle of the right-hand side and ending in the middle of the bottom side will result in a continuous line that will eventually form a shape. All the prints shown in this lesson were made in a circular pattern.
- If time permits, it’s fun to see the effects of using different colors and different printing patterns.
Vocabulary
relief print, repetition, patternResources
Author & Website/Blog
Julie Voigt
This lesson is republished from her blog with the teacher’s permission.