Grade Level
9-10, 11-12Duration
6 periods, 45 minutes in length
Materials
Variety of plant cuttings, watercolor paper cut into long verticals, watercolor sets, markers, brushes, watercolor cups
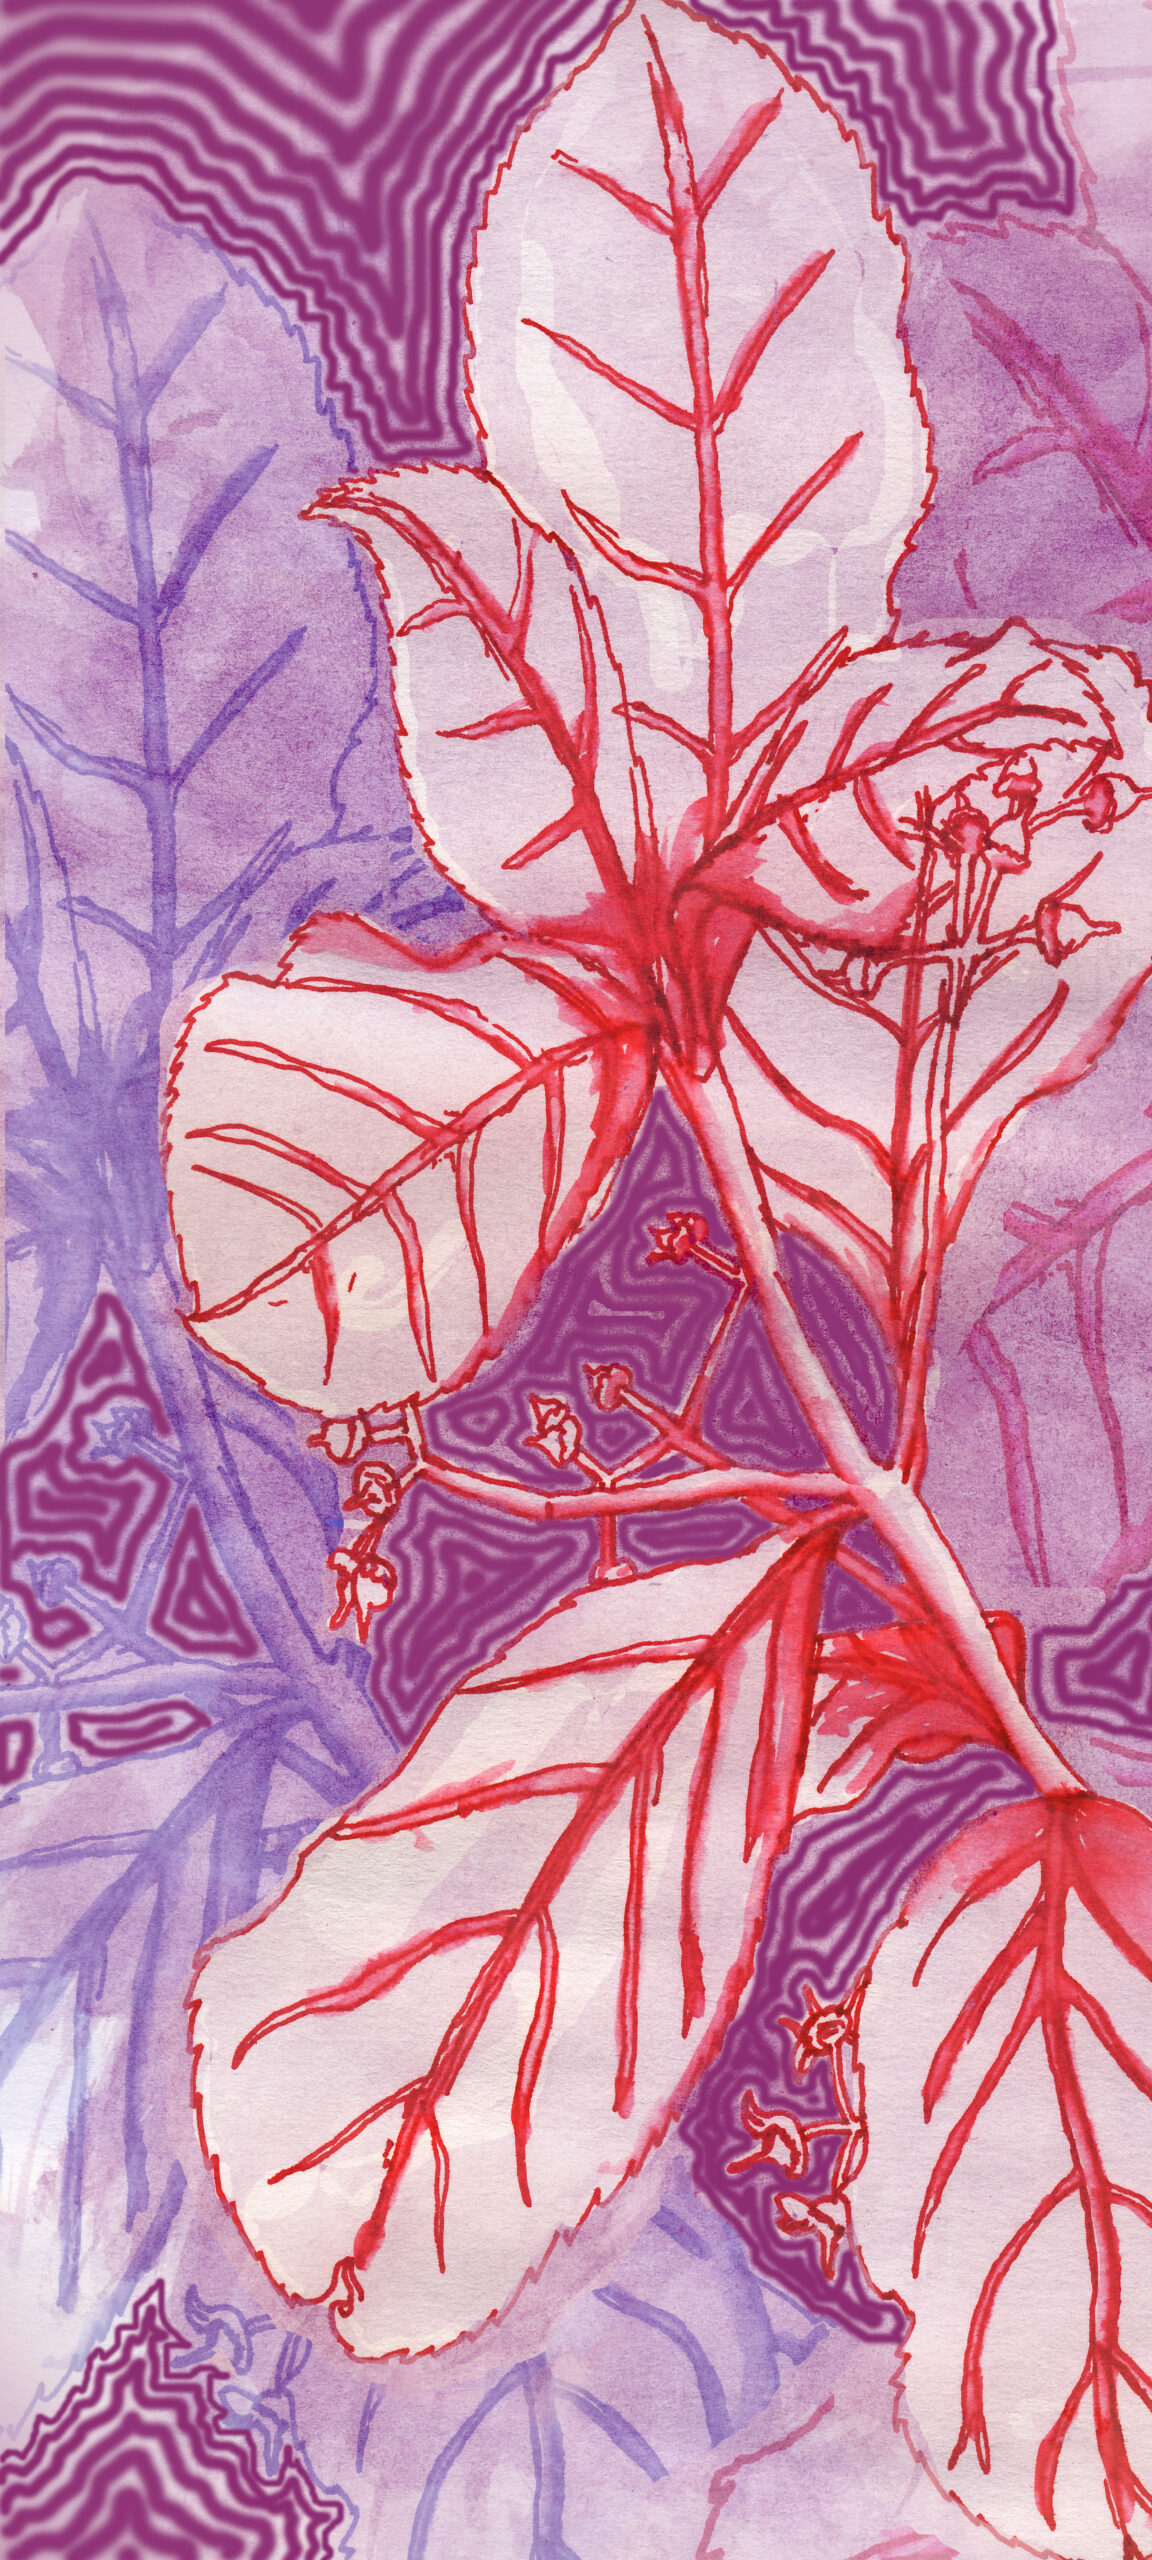
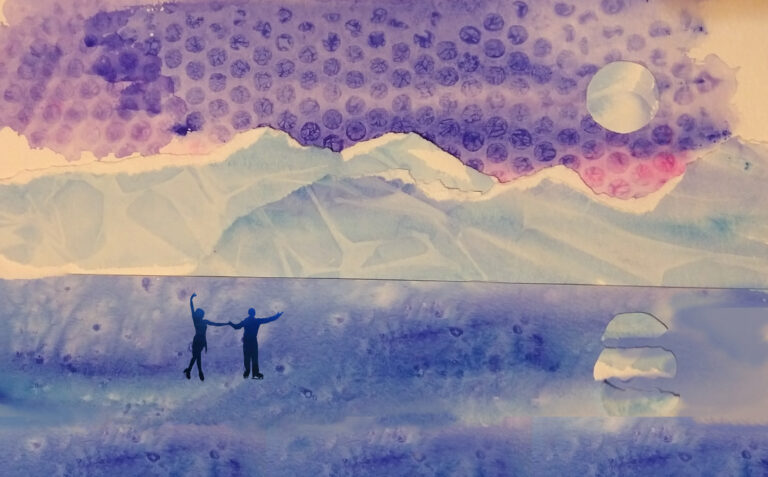
An alternative method (purple example) was created in Photoshop with scanned sketches and would require a scanner, computer, and program such as Photoshop to execute
Media
Watercolor, Markers
Lesson Objectives
The objective was to have students
1) Learn and apply contour line drawing.
2) Learn and apply calligraphic line
3) Explore water-based media, Crayola markers, and traditional pan watercolor sets
Introductory Activity
Students learn about contour line drawing. Warm-up activities include the traditional blind contour drawing of hands. First, demo drawing a blind contour drawing of your own hand on the board. Then have students do a couple of timed studies, the second one being a modified blind contour (allowed to glance). For the completely blind contour drawings consider having students place their drawings in a brown paper grocery store bag to help students not look. Students have to be encouraged to really look, concentrate, and draw SLOWLY. The next day I have students do a warm-up in their sketchbook but this time we work from plant cuttings that are set out in vases at each table and they draw with thin point Crayola markers. I suggest Students are then shown how the media is water soluble and how the color can be spread and manipulated with a wet paintbrush. Students experiment with that in their practice sketches.
Lesson Process
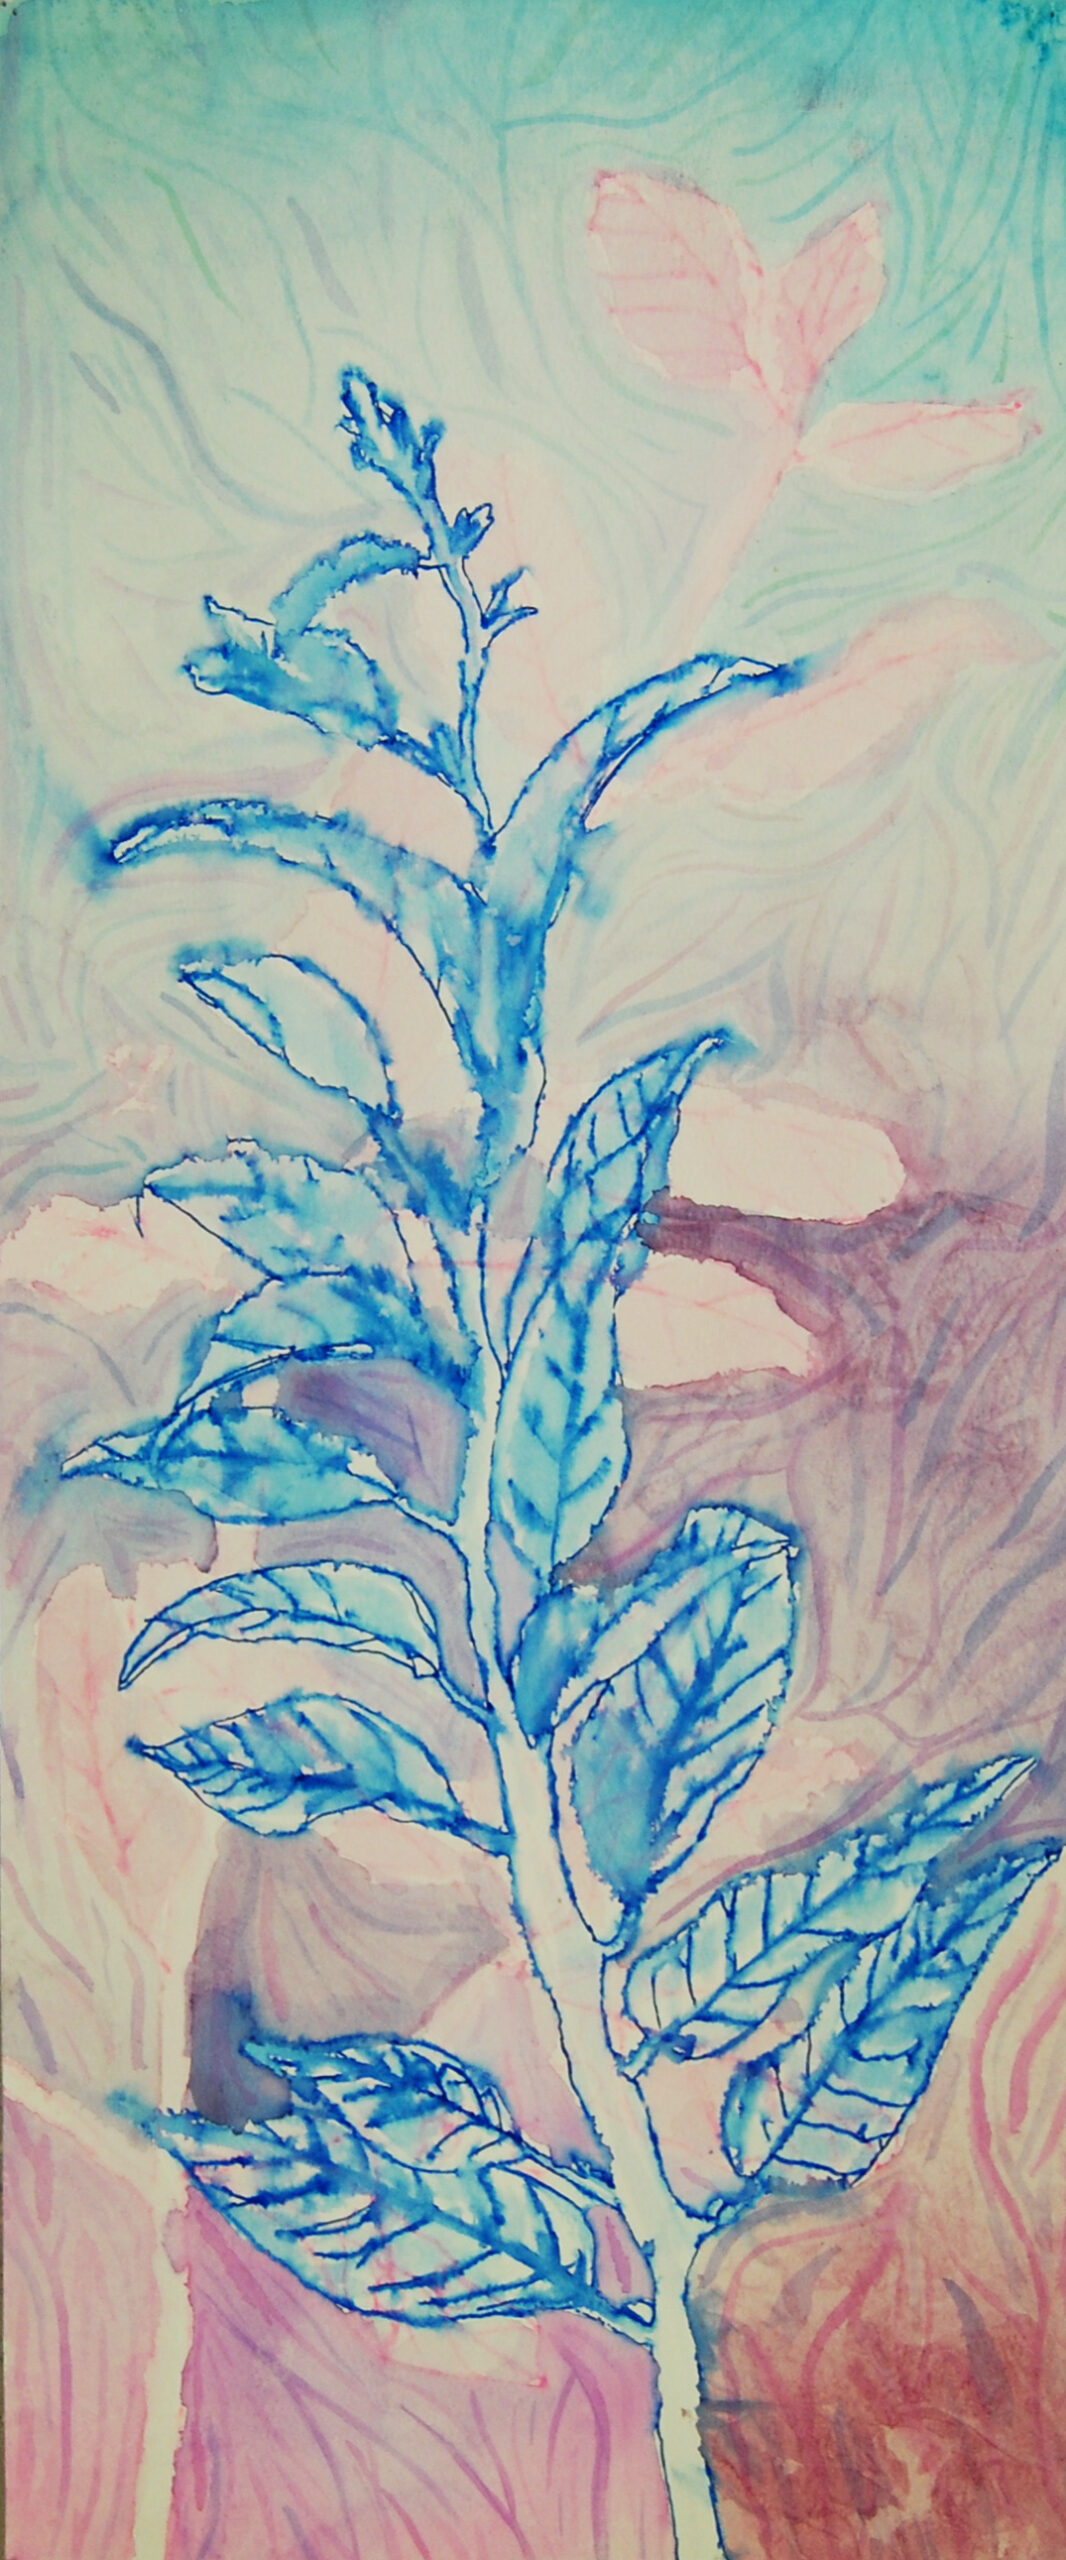
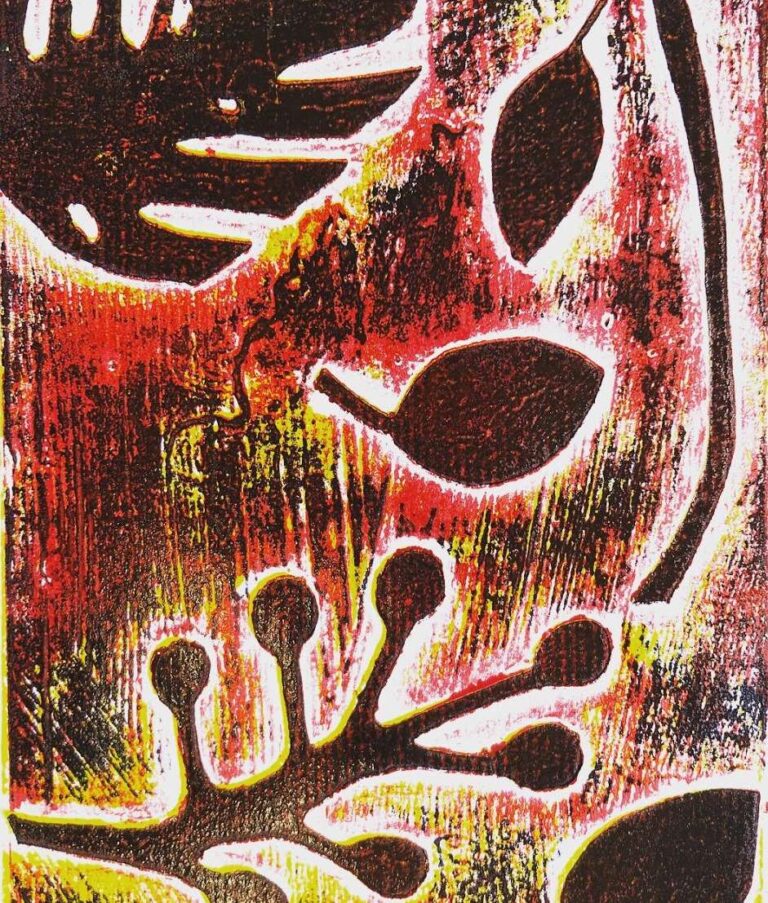
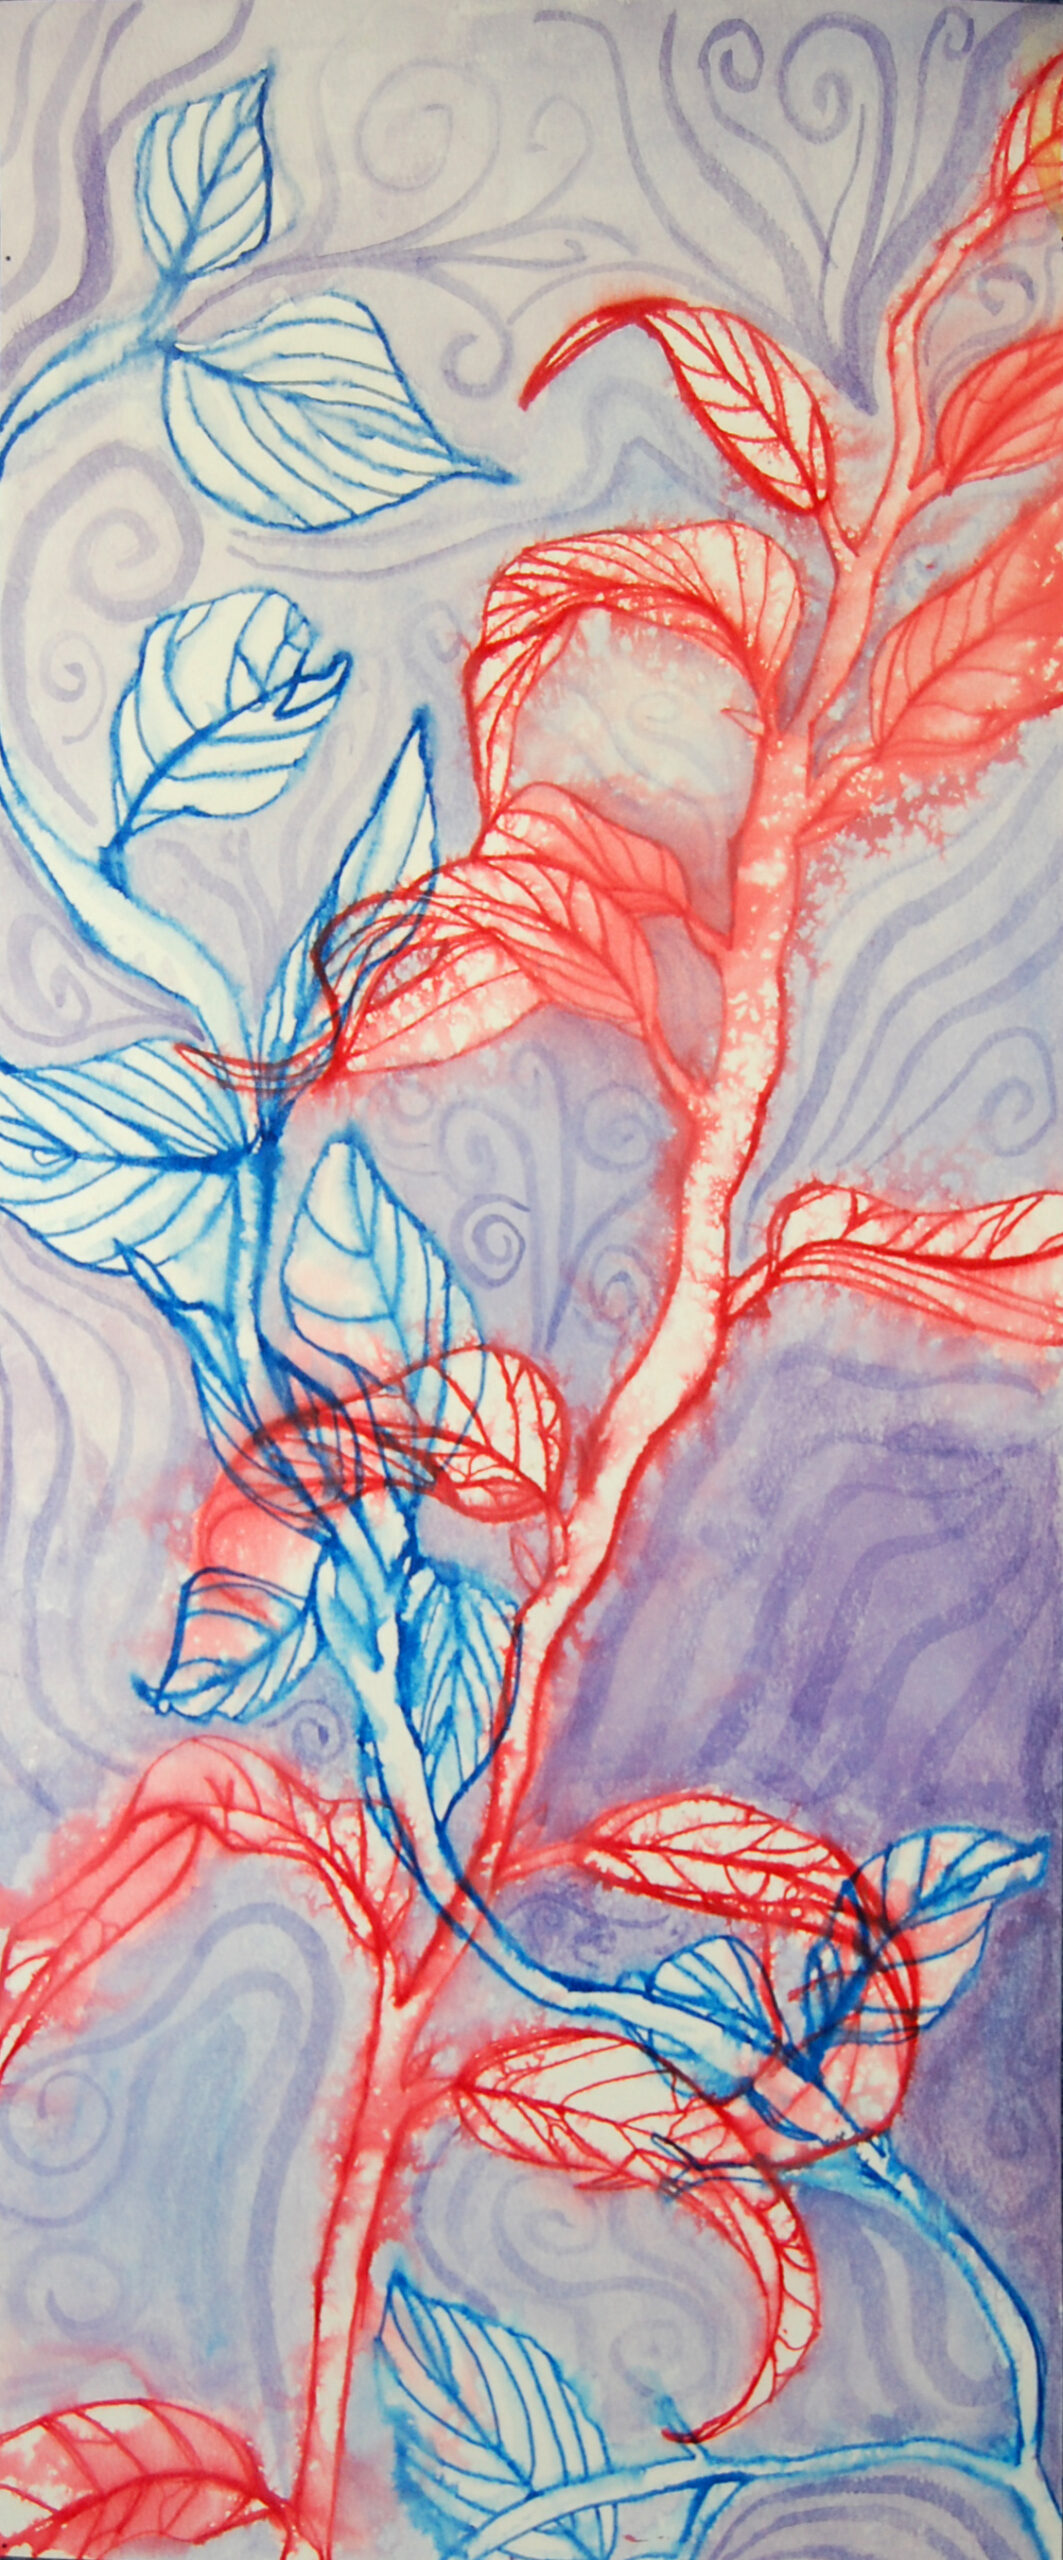
Students are provided a long sheet of good-quality watercolor paper and carefully use a fine-tip Crayola marker to do a modified blind contour drawing of a plant at their table. I find the long vertical improves their compositions and works with the overall shape of the long plant cuttings. Students do a second modified blind contour drawing of a different plant the next day in a second color. They can think about the composition as they draw the plant and if happens to overlap with the first one, great. Some students may even add a third depending on the size of their drawing and the use of space. Students are encouraged to draw life-size or even larger.
Students can start working with water to extend the color from the water-based marker into the plant or the background. I also show students how to spritz their pieces with a spray bottle of water for some interesting effects. In the example for this lesson, you see this was actually done after the first drawing as the second doesn’t have the bleeding. I usually encourage this to be attempted towards the end of the period and the work needs to be on a board for it to be easily transferred to the drying rack.
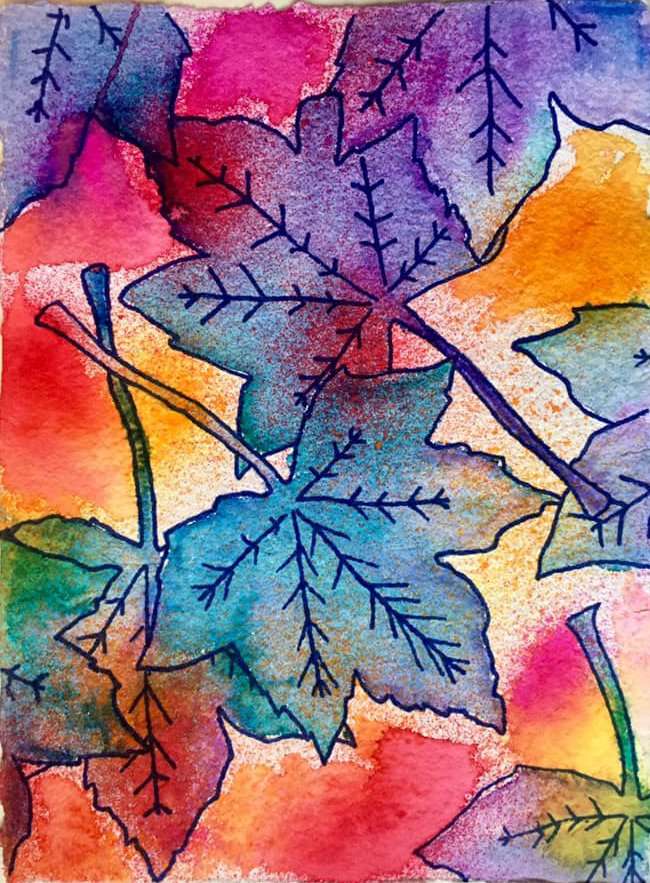
Next, we talk about a calligraphic line defined as a “line or a group of lines either derived from or resembling letter forms and characterized by qualities usually associated with cursive writing, especially that produced with a brush or pen.” Students go back to practicing in their sketchbooks by creating thick and thin lines with various brushes. Students will work in a complementary calligraphic line style into the background of the piece. Students can use pan watercolors for washes in the background or even for touches of color in the plant itself. I also show students how to add salt to create textural effects. We also talked about how to keep the lines from competing by color selection and by allowing the plant colors to stand out while the background color and lines might be more muted.
Vocabulary
contour line, blind contour line, modified contour line, calligraphic line, watercolor, water-based media, bleeding, washesResources
Allison Kunath – Blind Contour Portraits
Contour Line – Mrs. Cook’s Art Class
Shevaun Doherty
Drawing on the Right Side of the Brain, by Betty Edwards, J.P. Tarcher, Inc., Los Angeles, Distributed by Houghton Mifflin Company, Boston, 1979.
Author & Website/Blog
Supporting Images