Grade Level
7-8, 9-10Duration
8 classes, 45 minutes
Materials
Paper, Pencil, tempera paint
*I have also occasionally done this lesson in Illustrator/Photoshop (either, or a combo)
Media
Painting, Graphic design
Lesson Objectives
For the student to…
Understand how to identify simple shapes to draw to build more complex forms.
Identify and utilize symmetry, reflection symmetry, and line of symmetry in creating these designs
Understand the use of positive and negative in drawing and designing
Introductory Activity
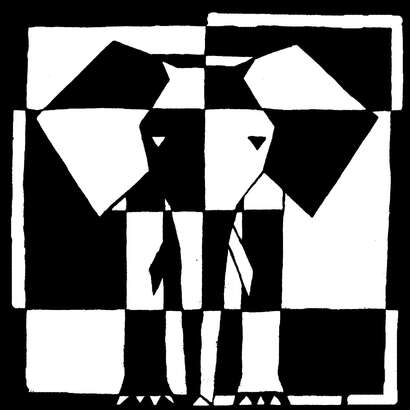
This lesson is my take on a lesson that I feel has been around for a long time. Rather than just seeing it as a positive and negative lesson, I focus on two parts, the drawing part and the designing part. And beyond that, there are interdisciplinary connections to be made between Math and Geometry with concepts related to shape and symmetry.
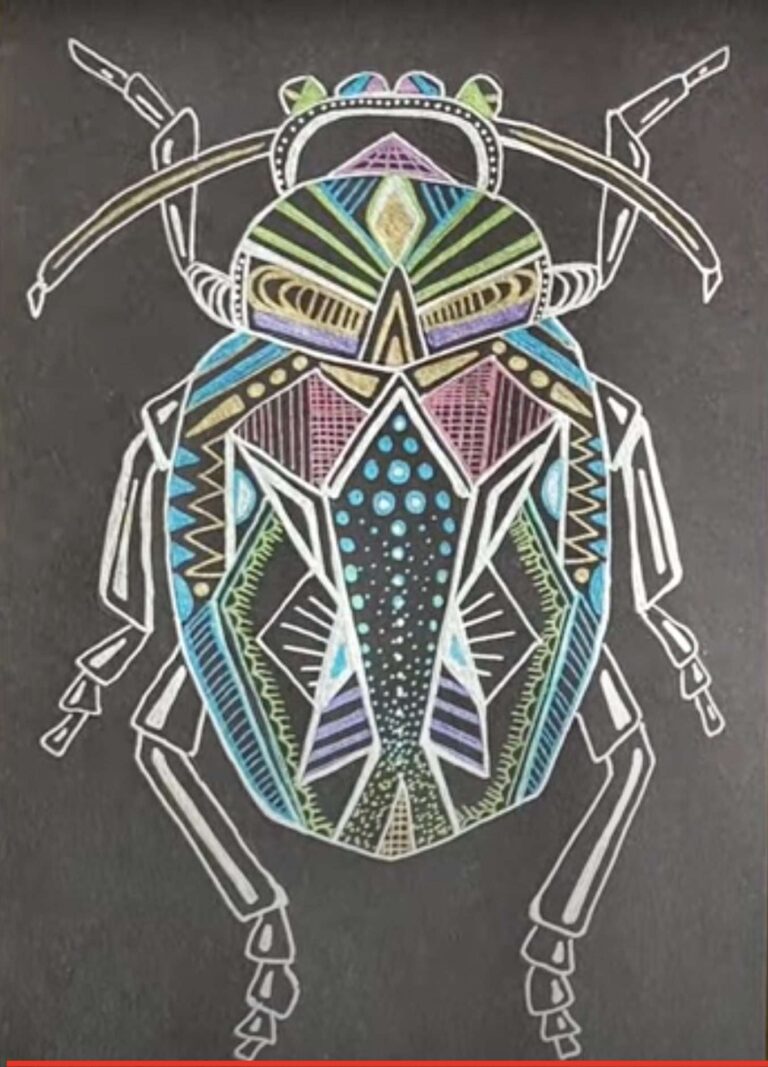
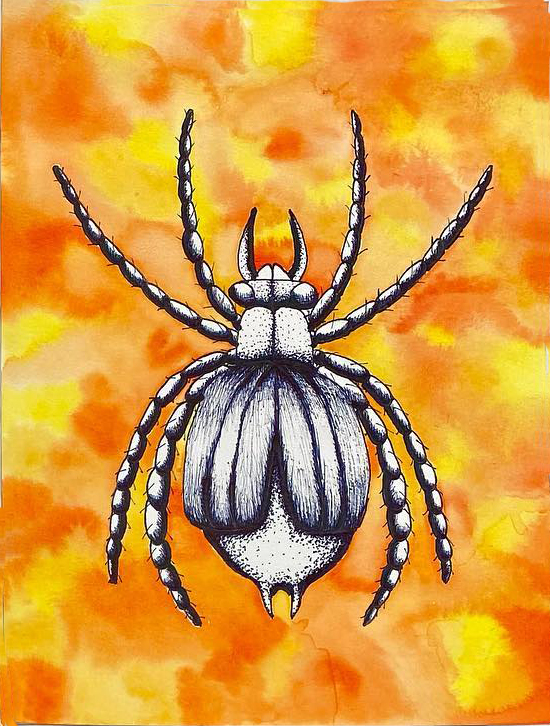
To begin I recommend going over what symmetry means and where we observe it in nature. We also look at some examples of symmetrical photos of animals and we walk through how to break the animal into basic shapes. (see owl example). We also talk about stylization as the goal of this project is to create a design based on an animal, not a realistic rendering. Knowing when to stop is key, leaving some of the geometry can be critical.
Students are required to find a symmetrical example of an animal for homework. I talk about what makes a good animal. Specifically, a photo that has some complexity to it. I always mention that a student who tries to choose a simple photo often struggles with a lack of information. I always say to avoid an animal that is smooth, simple, or just oddly proportioned for a square (occasionally I let a child work with a different dimension if their animal would benefit from that.
Lesson Process
Students work from their images to recreate their drawings in their sketchbook first in a square format (unless another format was selected). When approved, they move on to a good sheet of paper, I made the size 12×12. Students create vertical and horizontal in the center (and as every good art teacher knows, you do have to teach students how to measure twice for each line). They can use tools or stencils to help them draw the shapes. On the final they only need to draw one side (they can fold and trace using a light table or window) although some students prefer to sketch both lightly as the space relationship (for example, are the eyes too far apart or too close) can help them make decisions. After they have developed the animal’s shapes and added detail, you can then show them how to pattern it using positive and negative designs. I have done this with black and white as well as with contrasting colors as well. In the first quadrant, they work from the center out to create the pattern, labeling it as B (black) or W (white) LIGHTLY. At times they will likely encounter a black shape that butts up against another black shape and they can use a white line to differentiate. When the first quadrant is complete the mirror image is the same in reverse (what is black becomes white. They then plan out the lower left quadrant. As a shape crosses over the horizontal axis it should reverse, what is black becomes white, etc. Work out from the center outwards. It is important that the backgrounds reverse.
If this is part of a lesson taught during Covid-19 remote learning, have students develop the left half and go over the design including the horizontal center line in a black fine-tip sharpie or black ballpoint pen, and scan or photograph it. Bring it into an editing program like online Pixlr and crop and then paint bucket the positive negative design. When done, expand the canvas board and copy, paste, transform (flip), invert, and place the right half.
Vocabulary
symmetry, line of symmetry, circle, oval, square, triangleResources
How To Draw Any Animal From A Square, A Triangle And A Circle
(this is a similar concept in a simpler form, could be a good project at a lower grade level to scaffold skills)
Author & Website/Blog
Supporting Images


