Grade Level
Duration
This teacher’s school has a modified block schedule. Over the course of the week, the students have Ceramic classes for 45 minutes one day and then two more days for 80 minutes. This project took about three weeks.
Materials
Clay and basic clay tools, glazes and underglazes, transfer paper, 4×4 templates out of cardboard, exacto knives, Chinese Clay Art underglaze transfers
Media
Ceramics
Lesson Objectives
For the student to
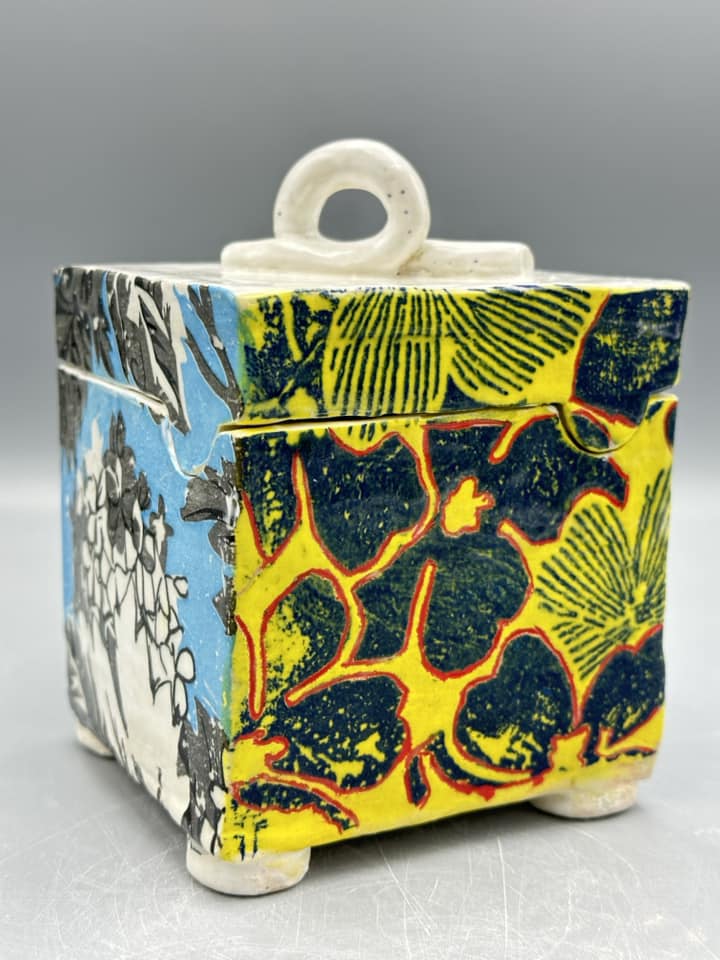
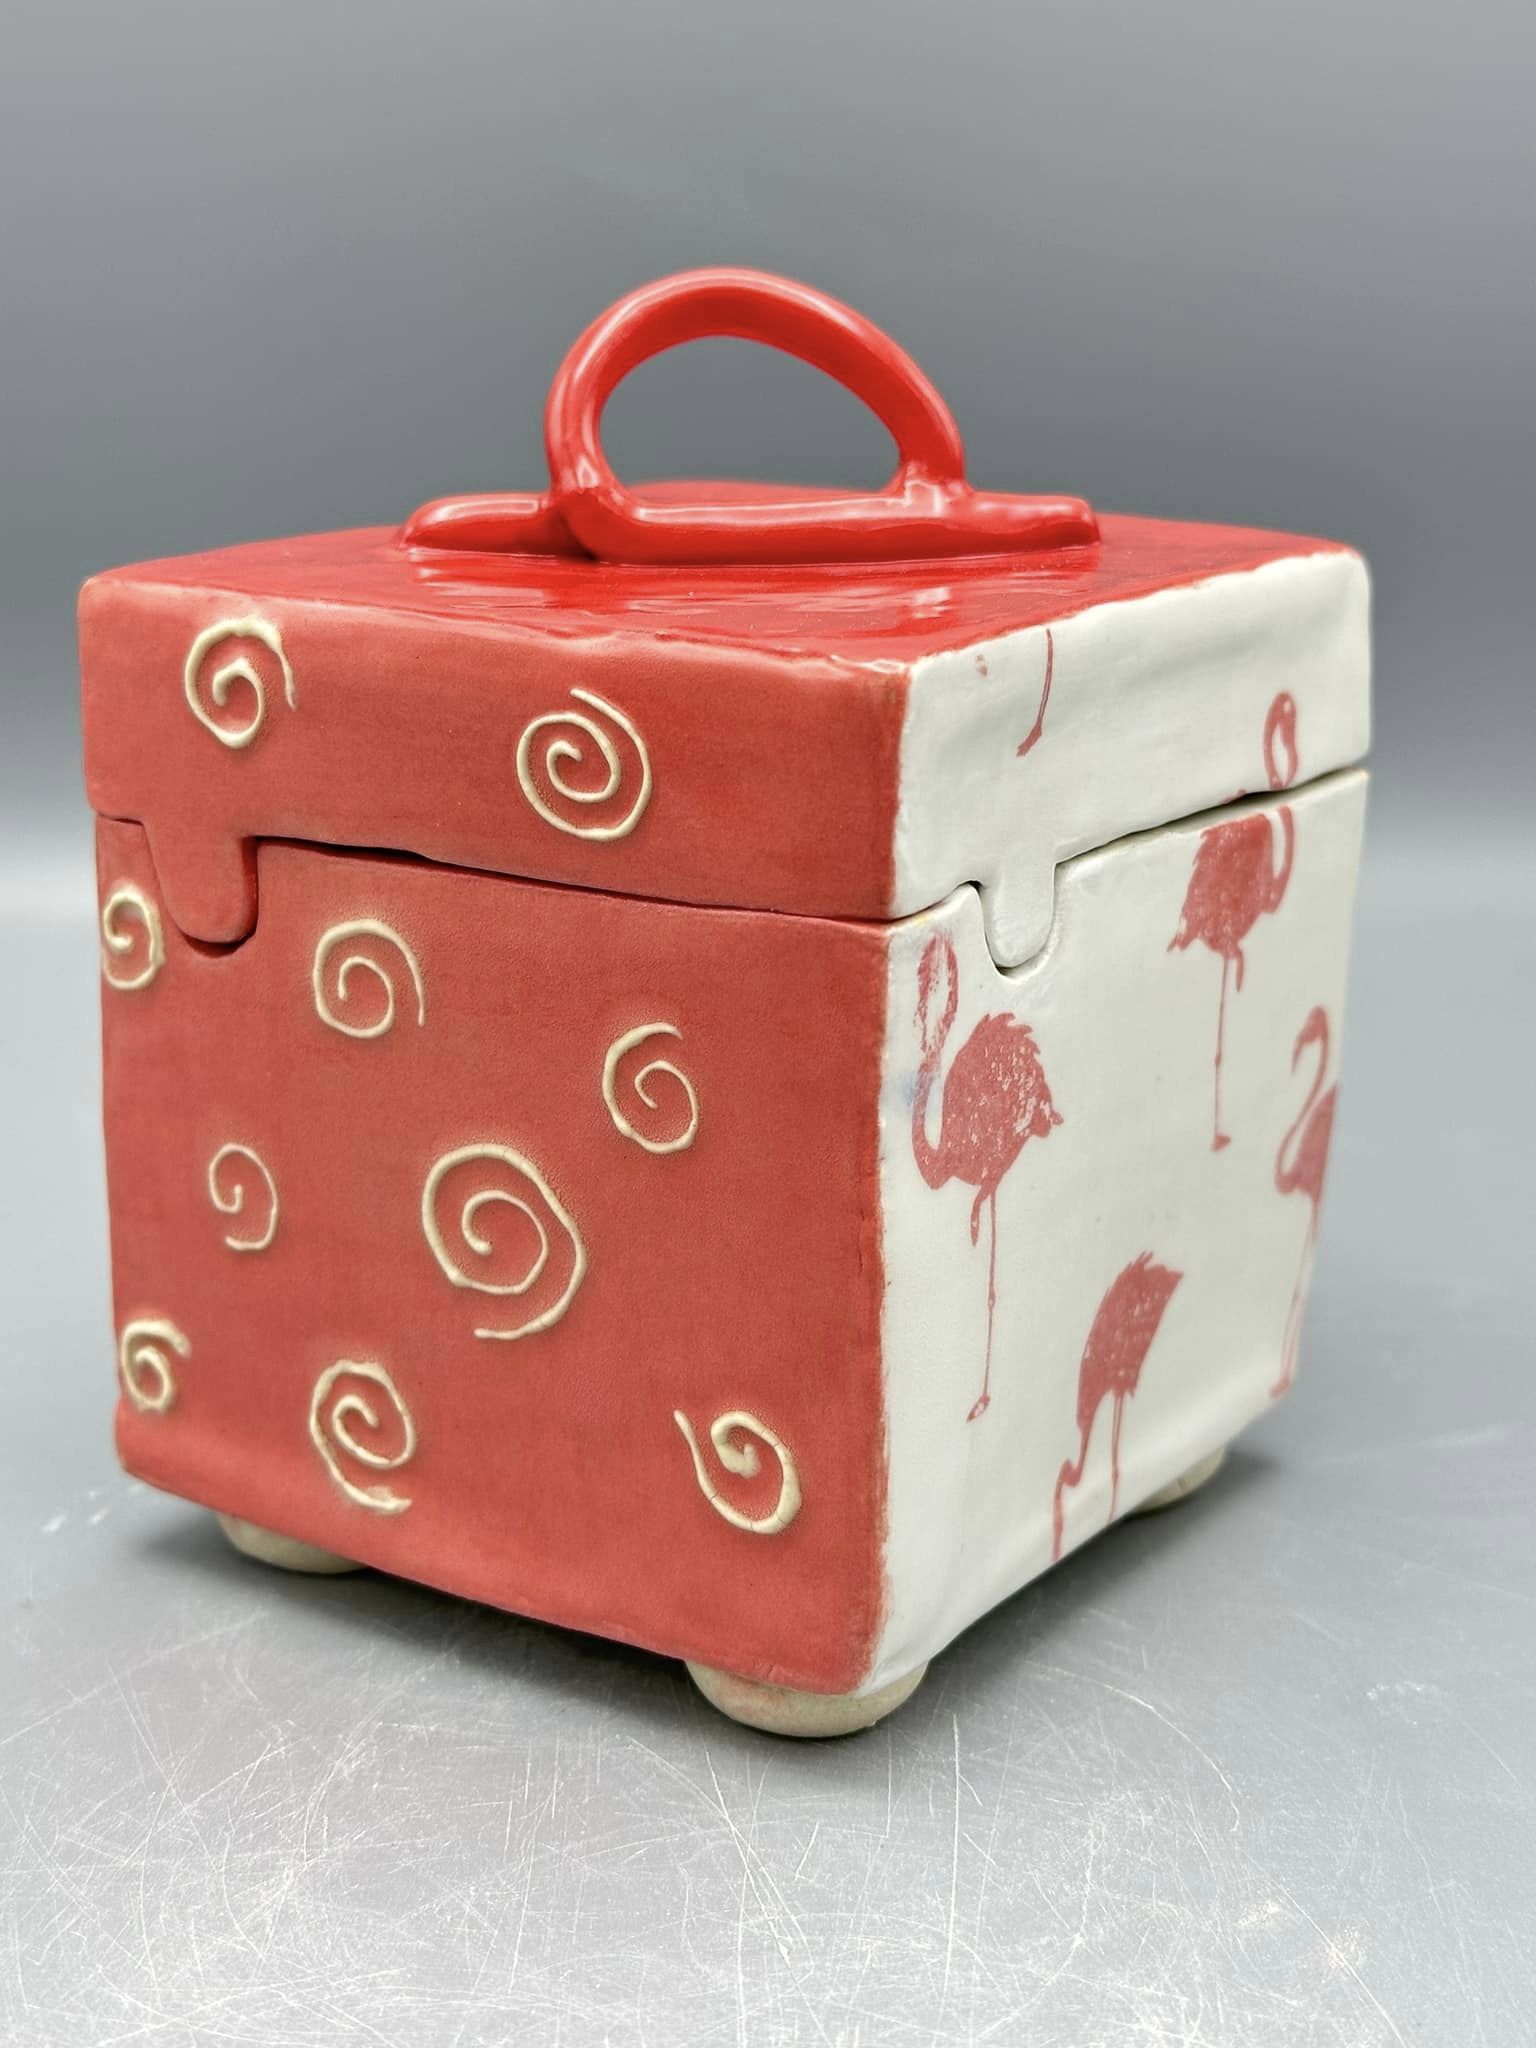
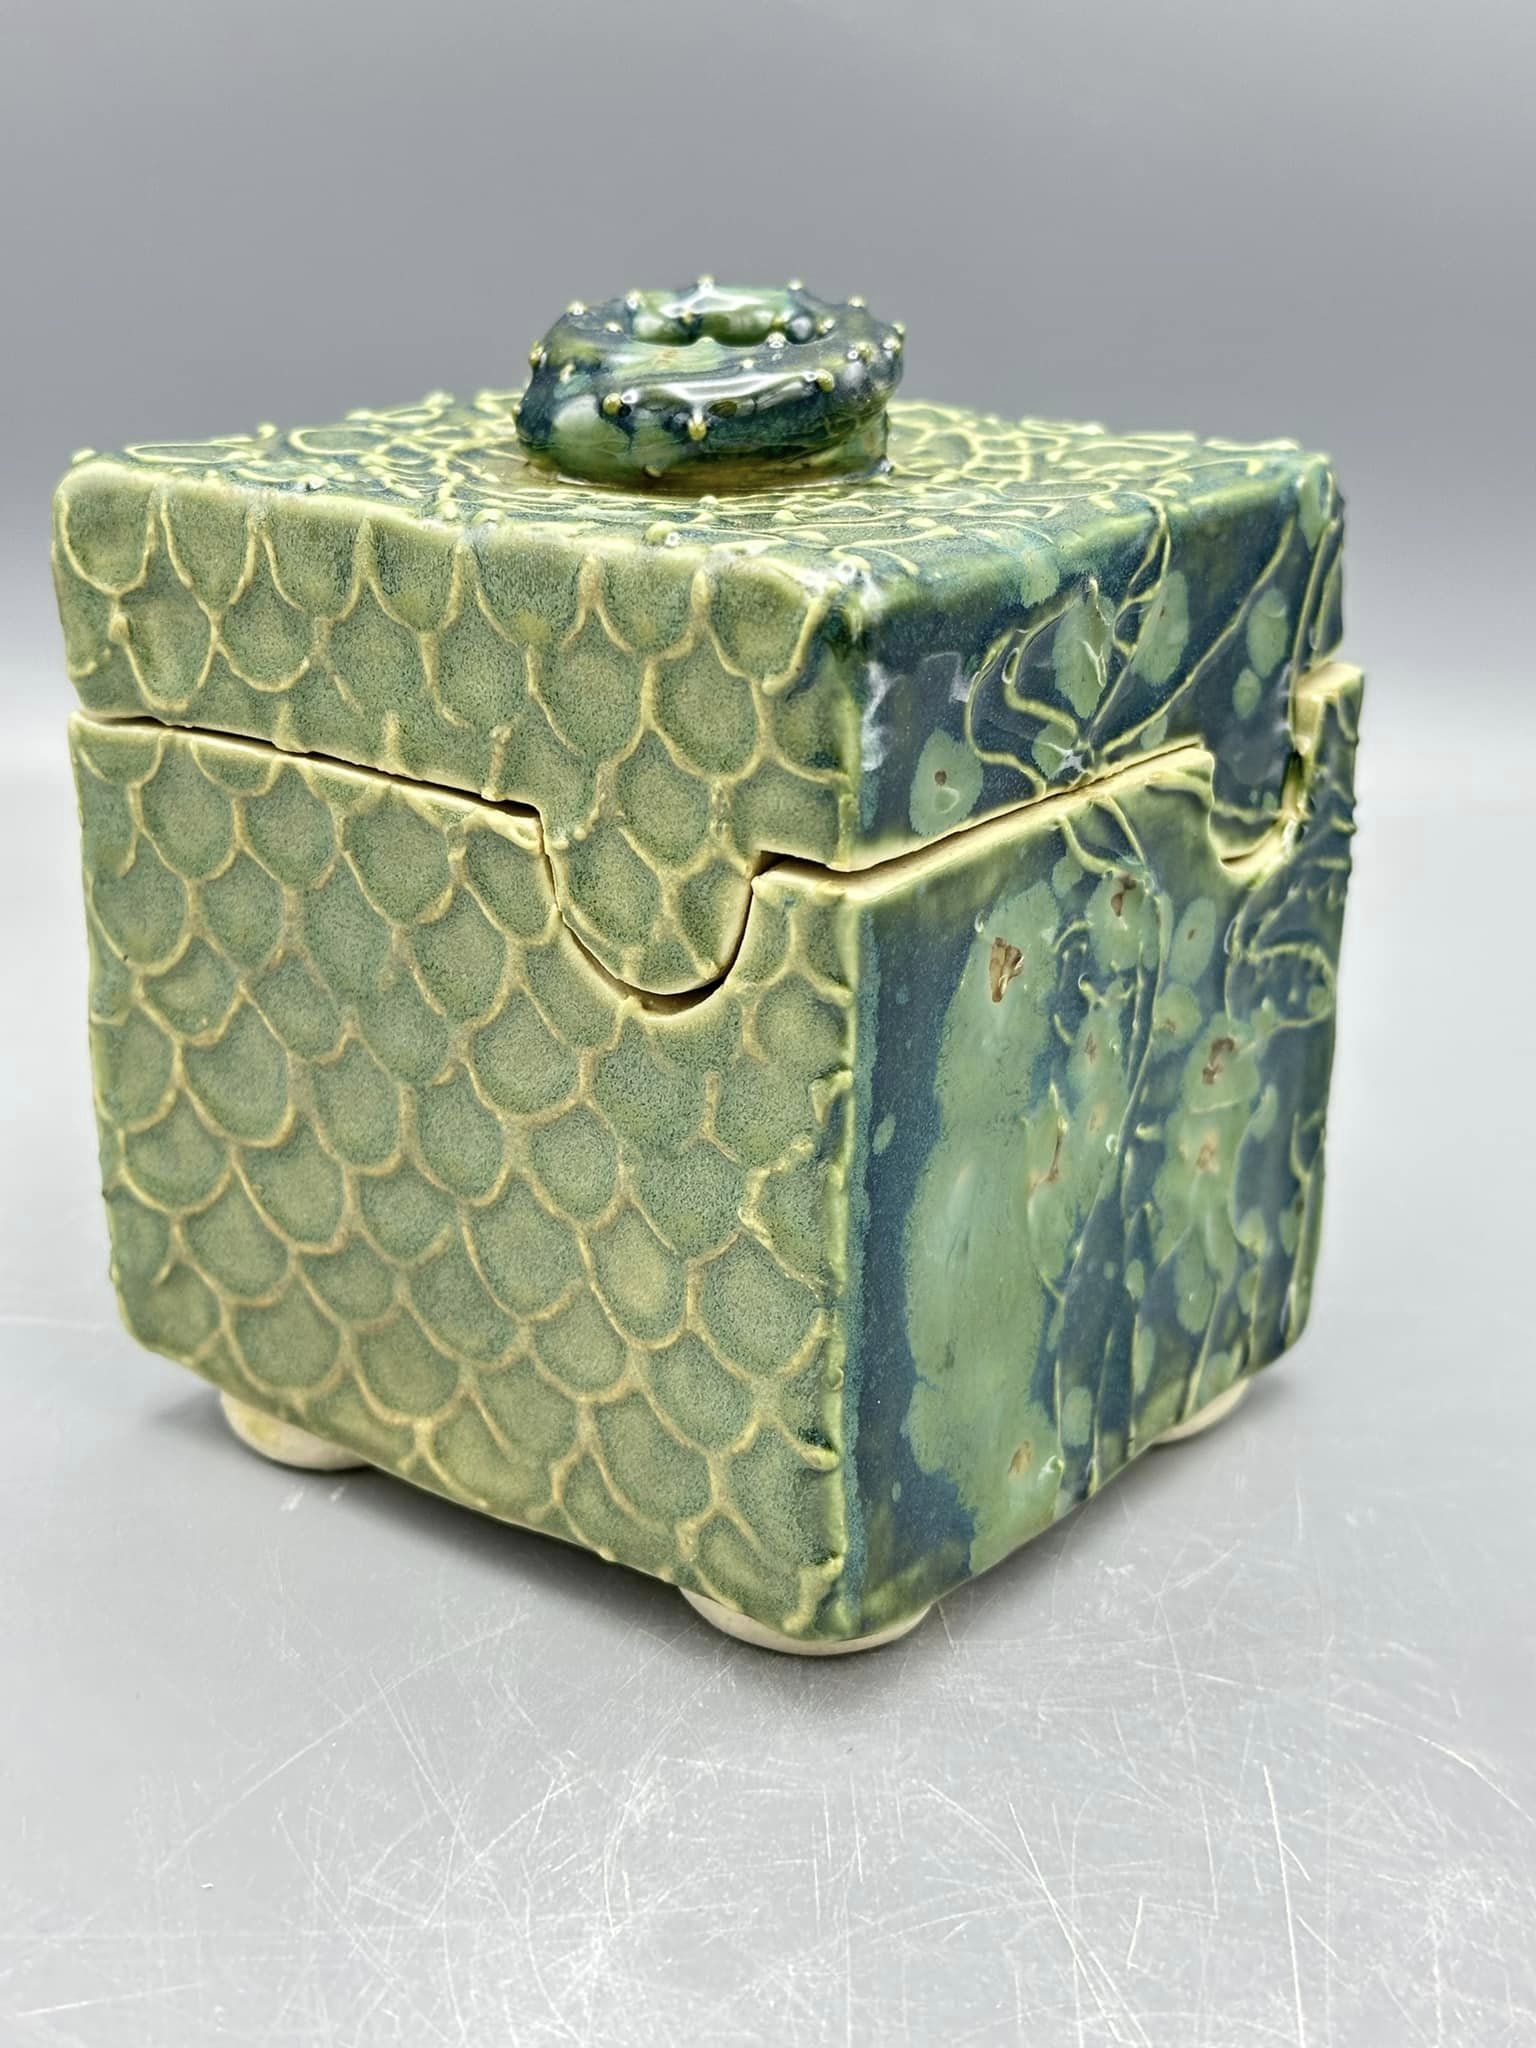
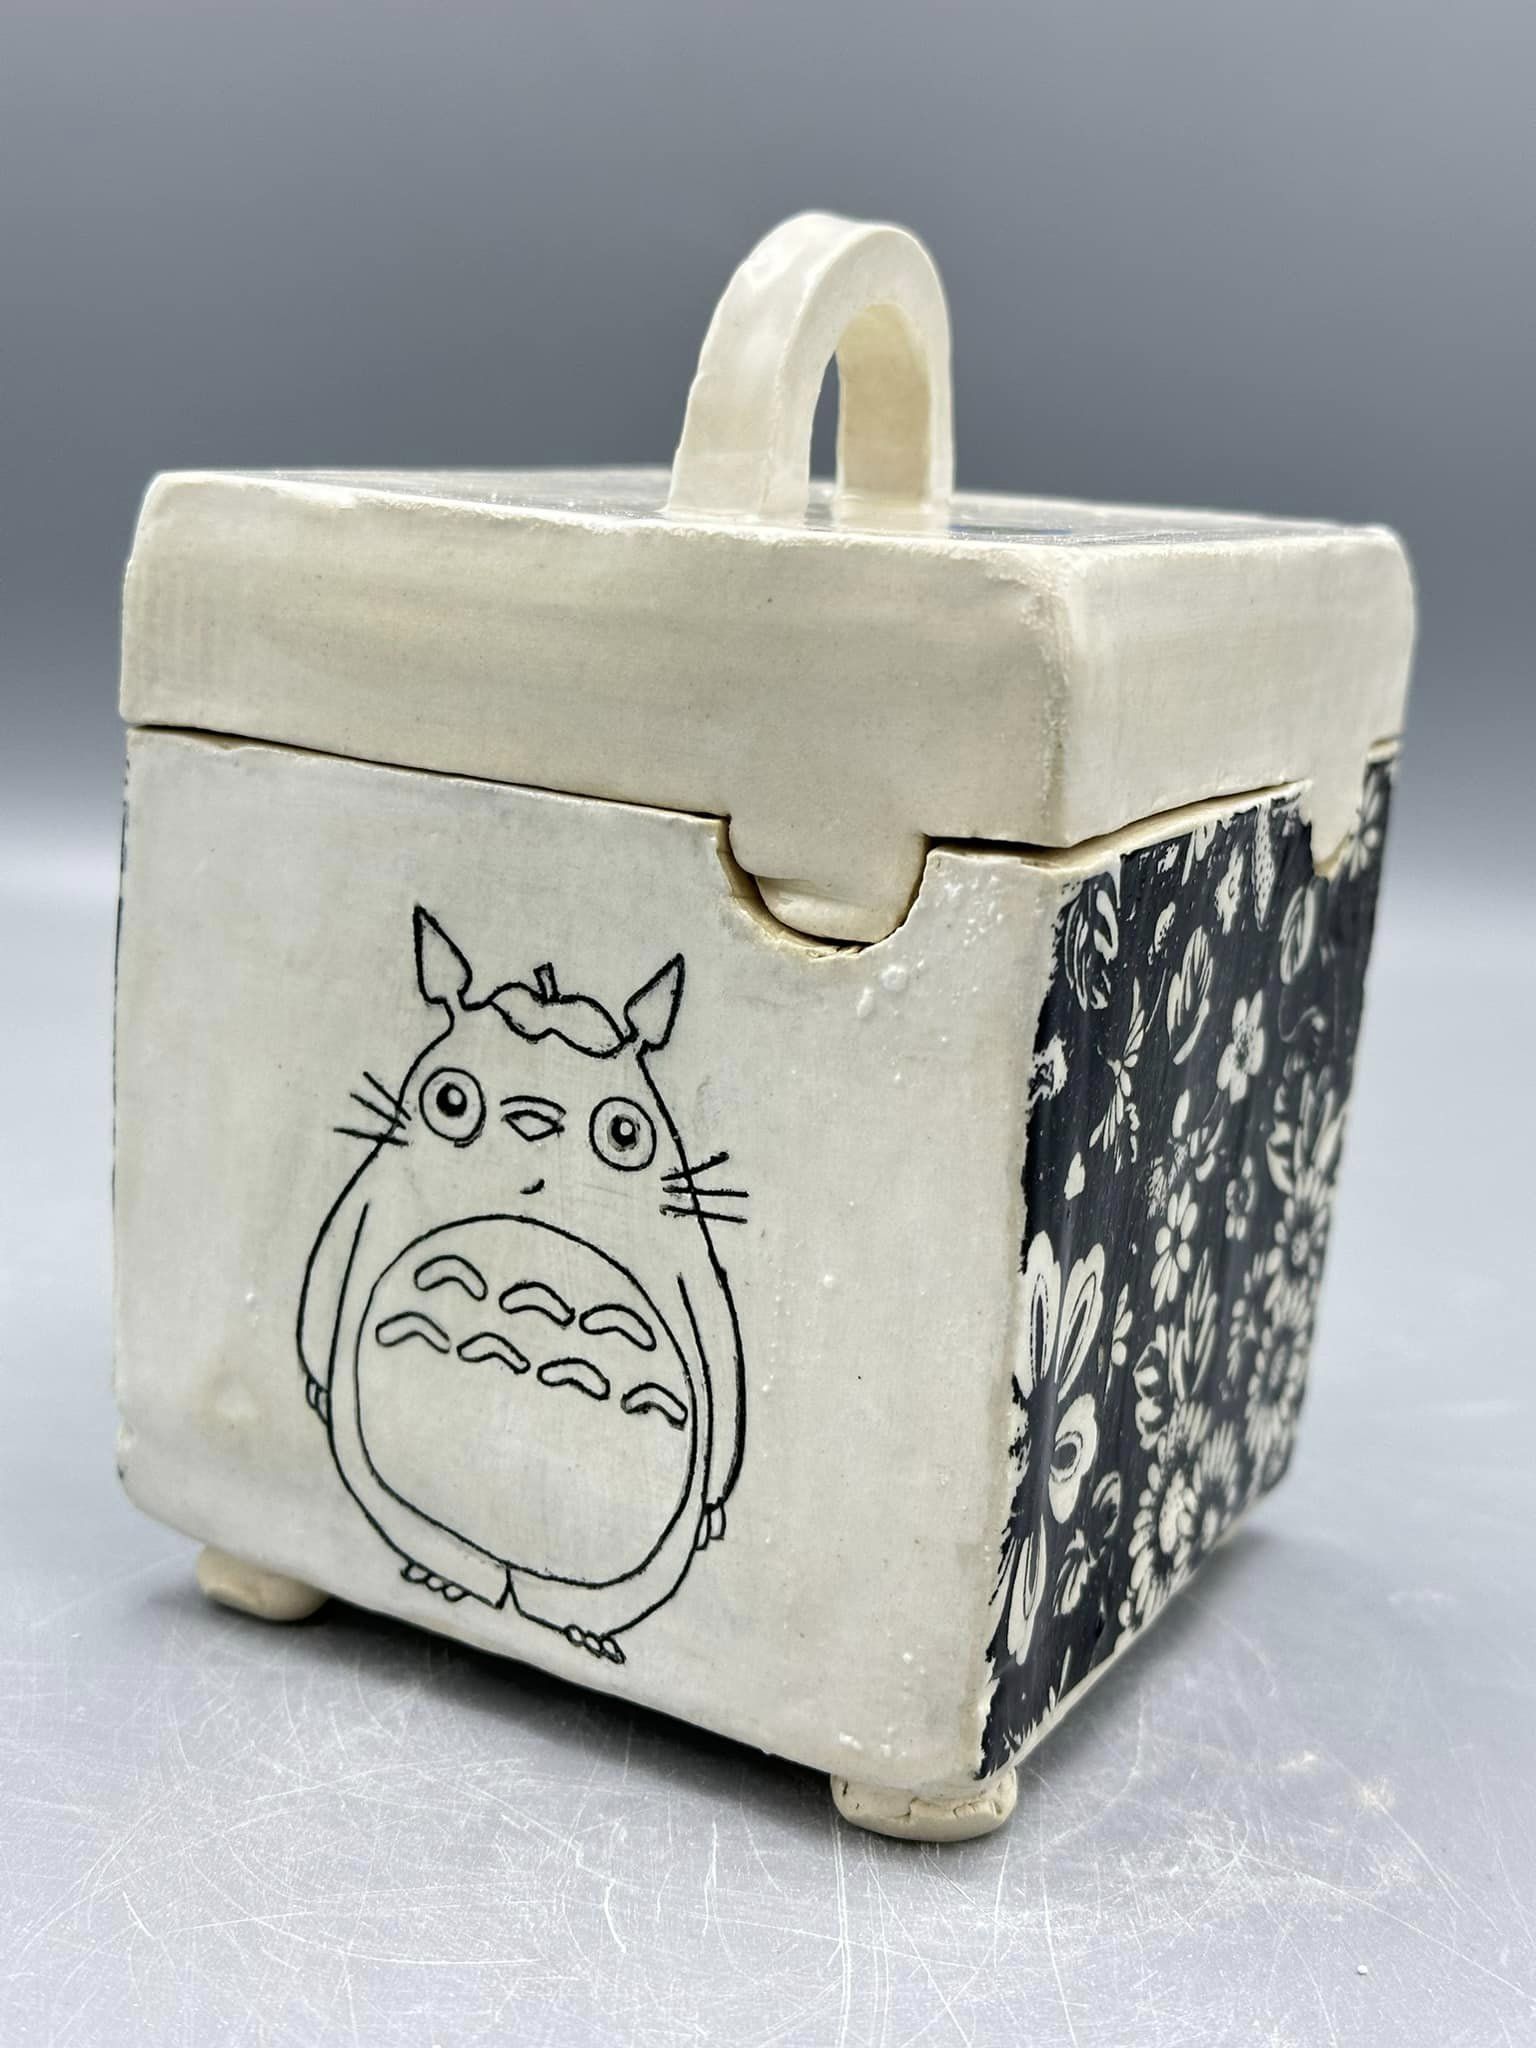
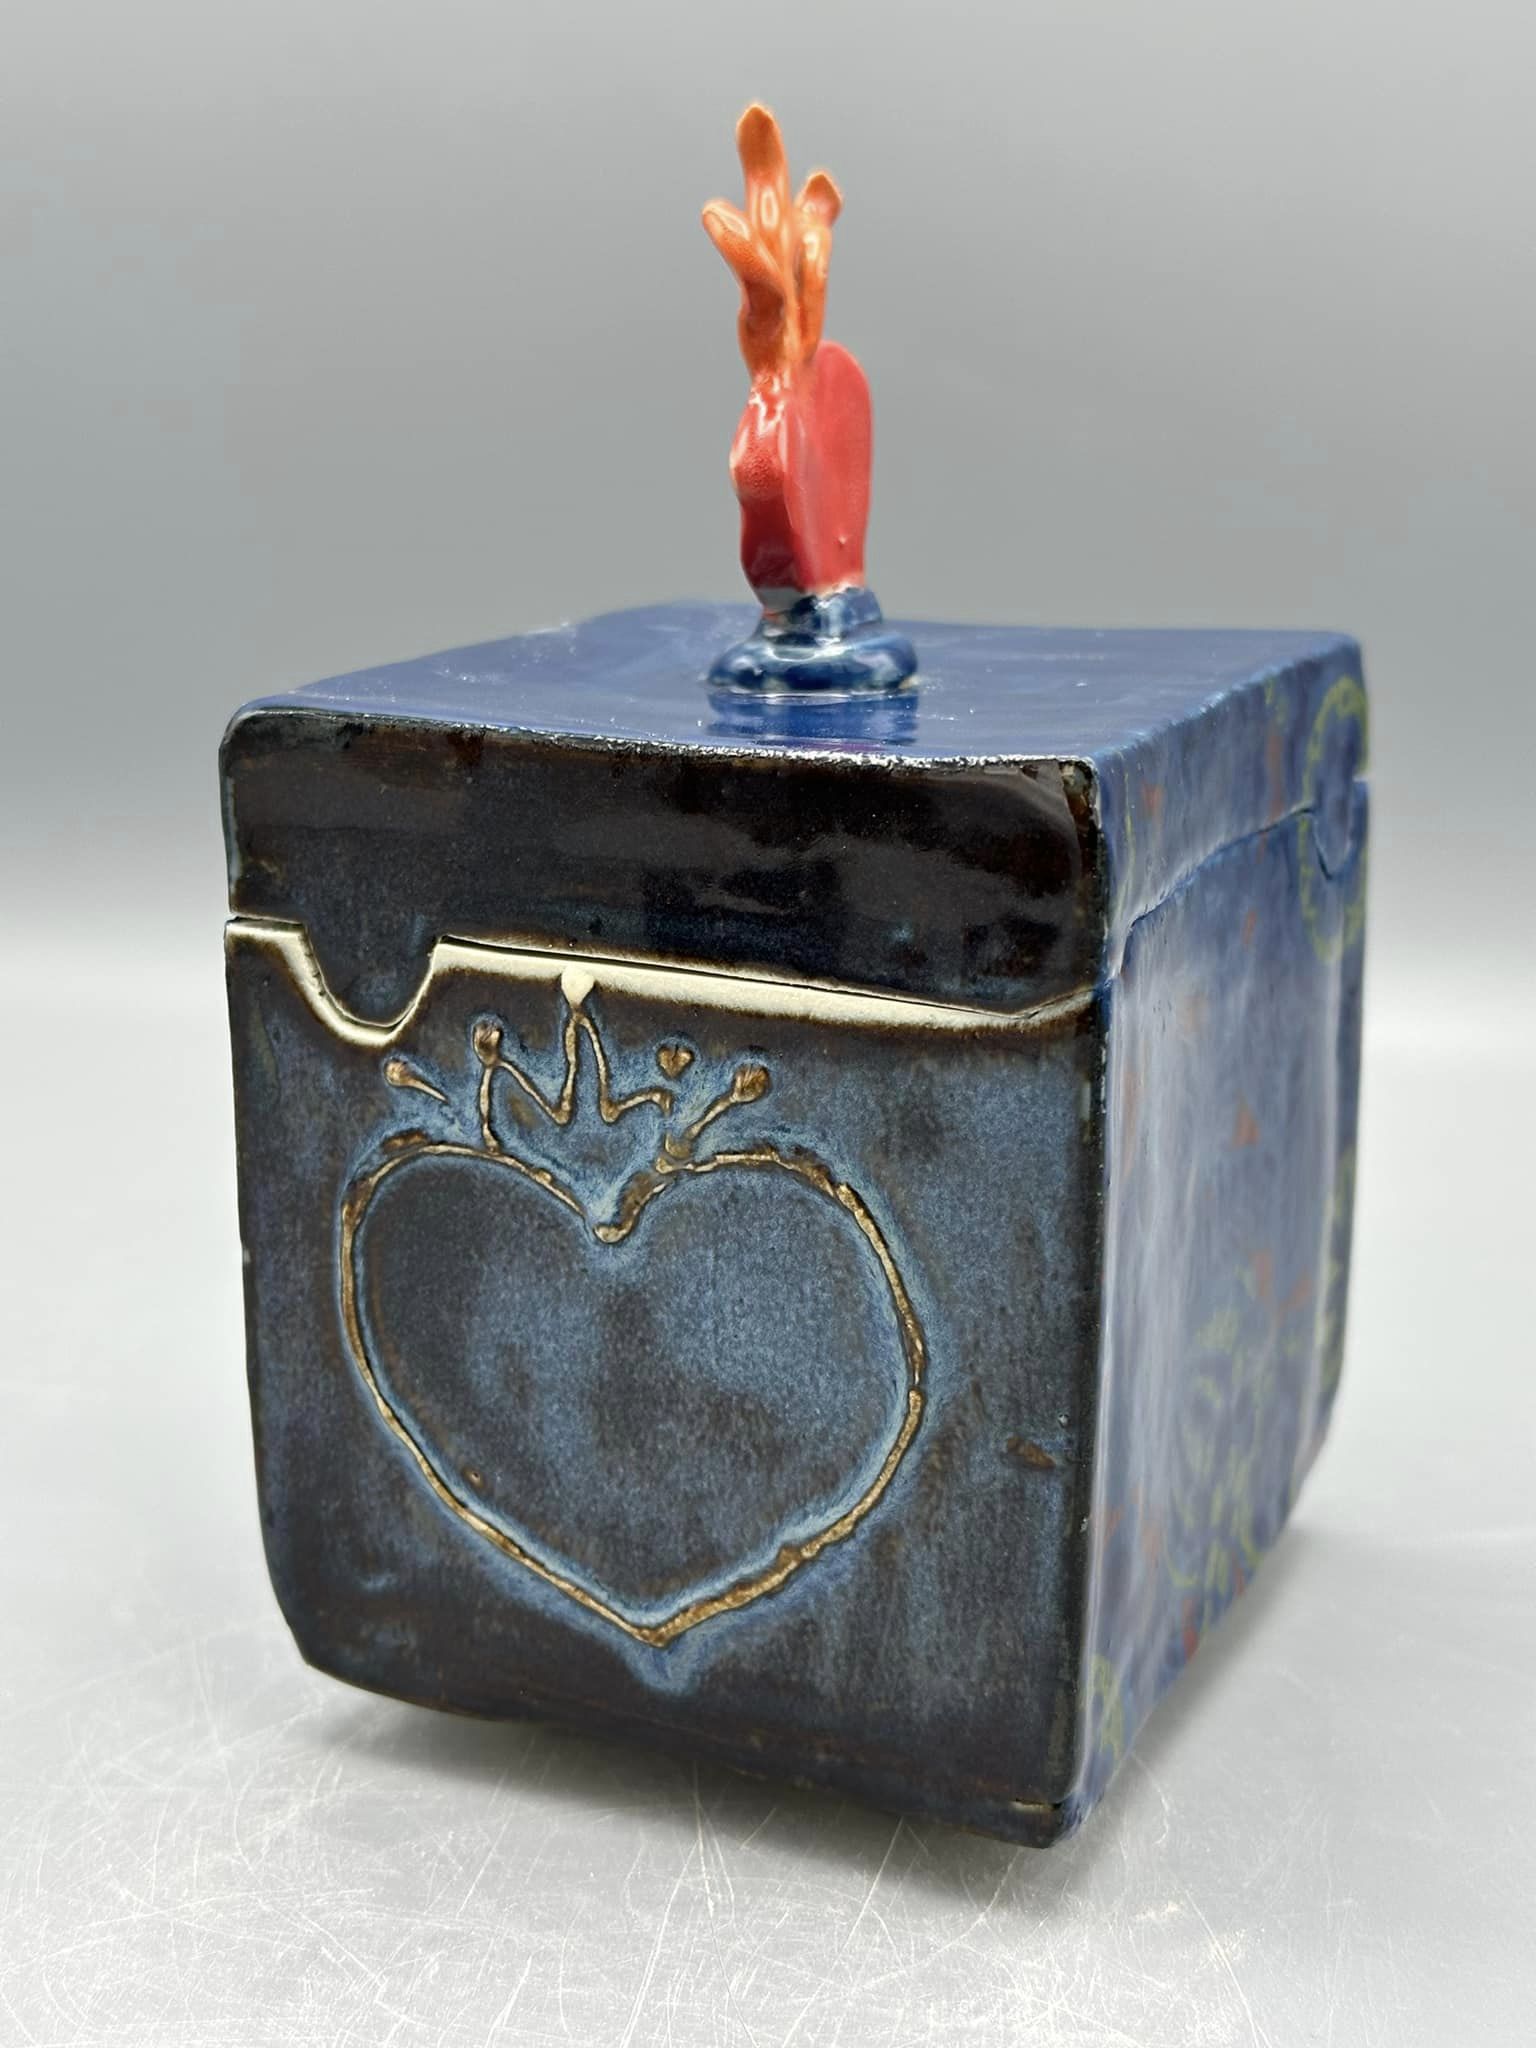
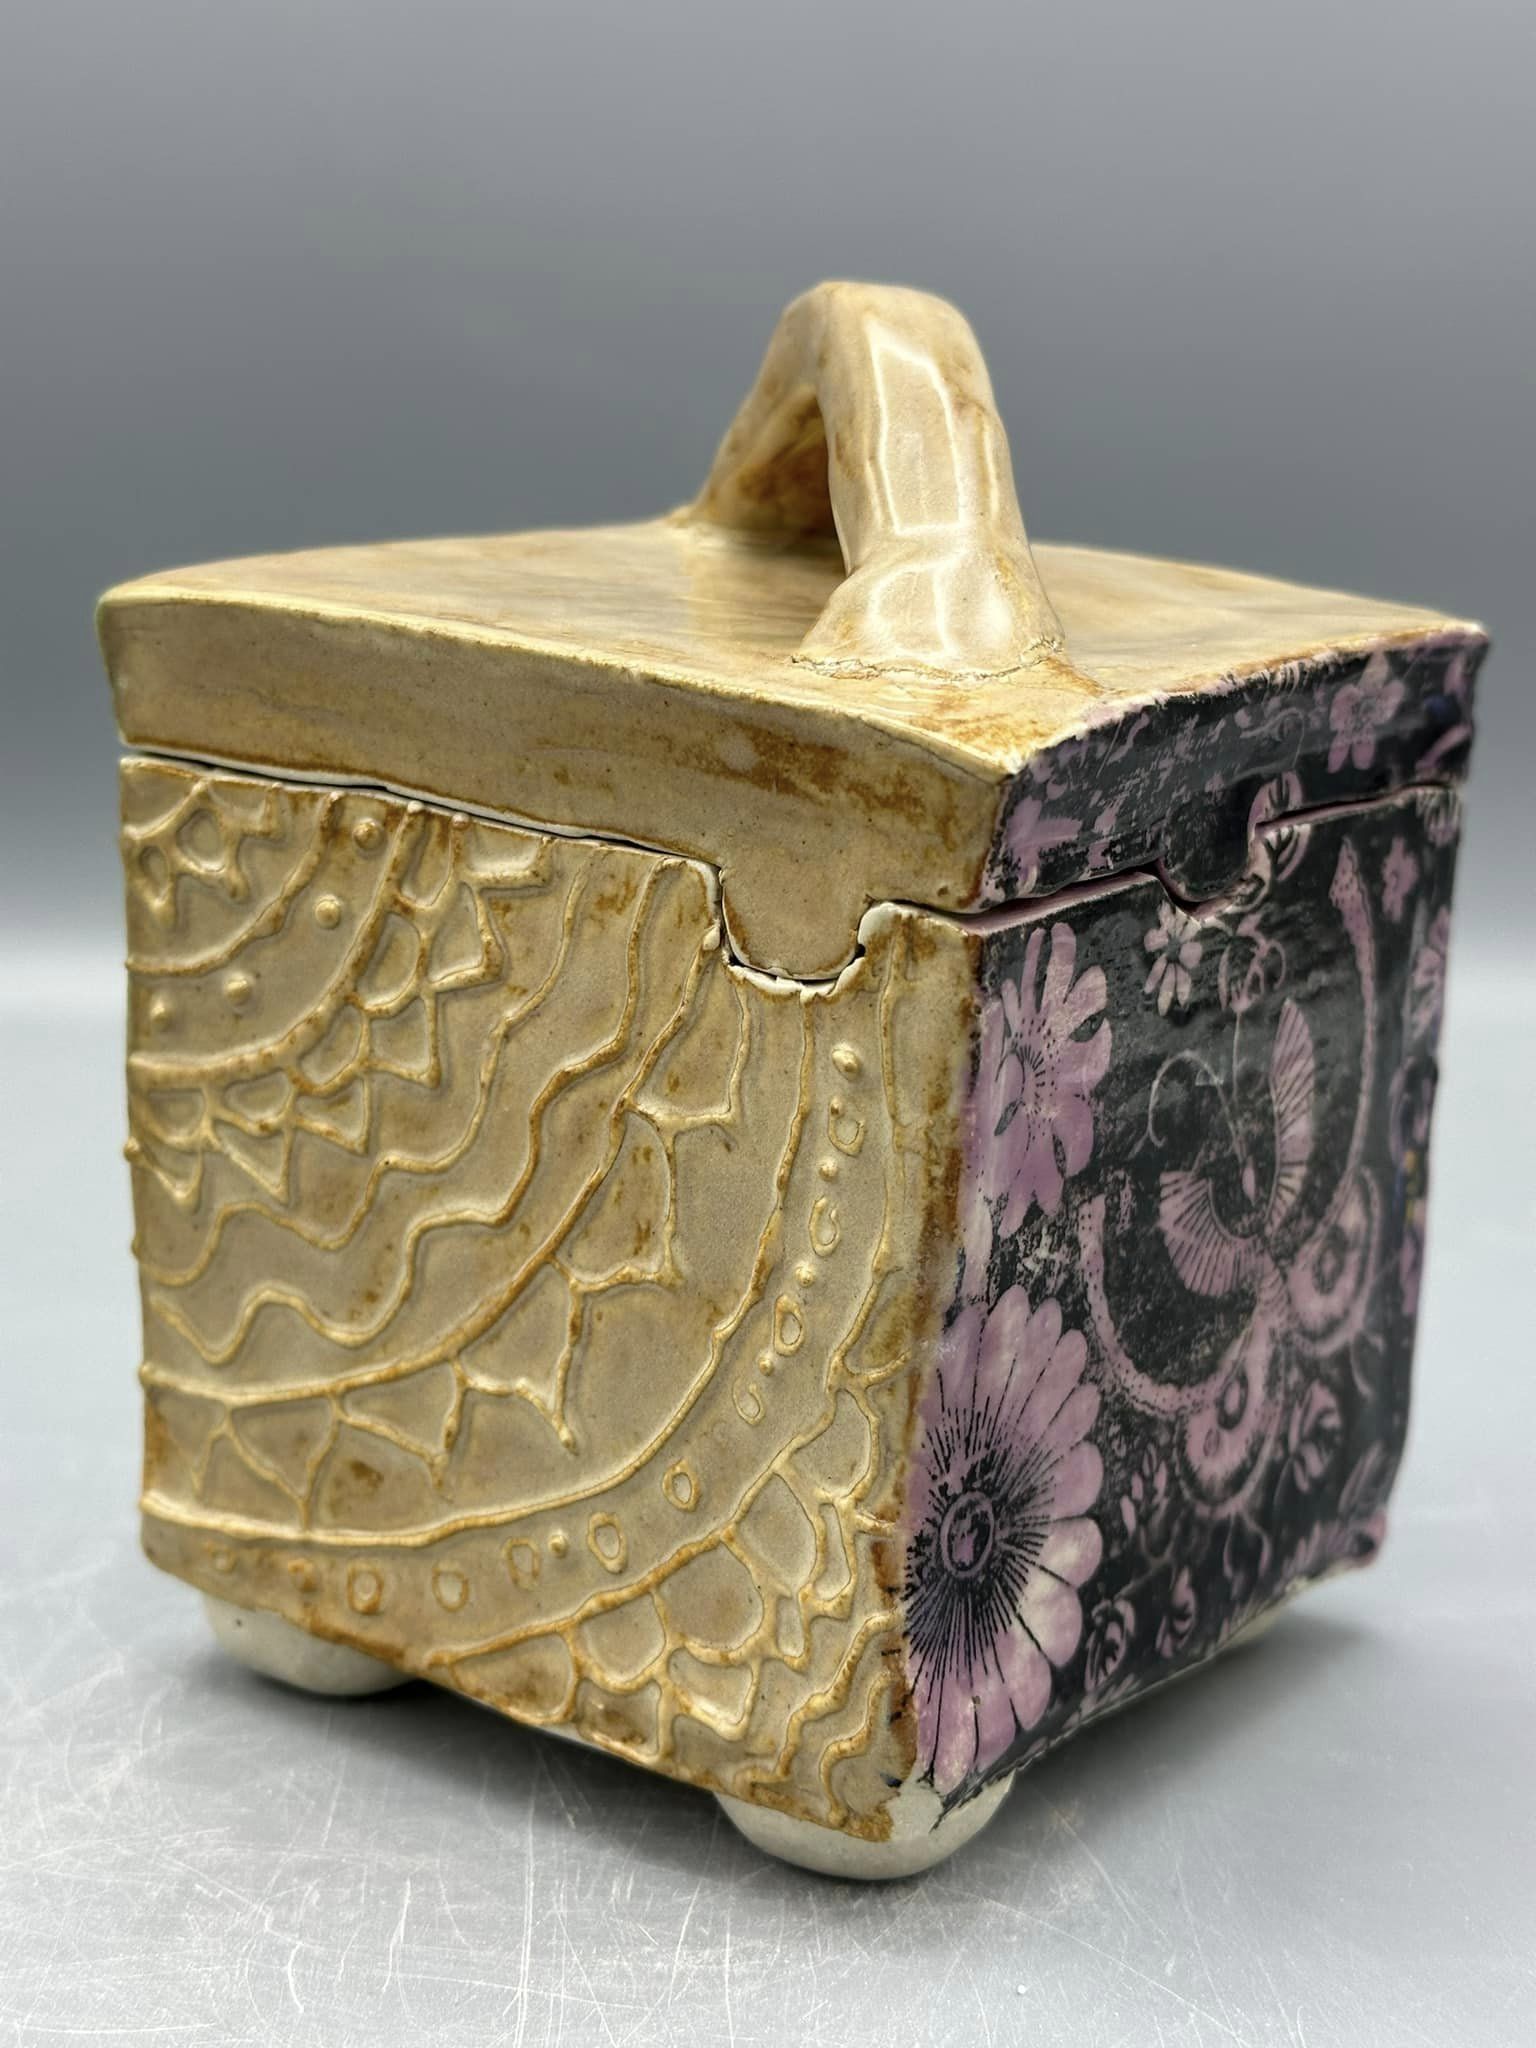
- learn how to construct a symmetrical, lidded clay box with a nob or handle.
- learn to roll clay to an even thickness using a rolling pin and square dowels OR a slab roller.
- properly access clay for stiff but not dry to then join clay pieces by scoring, slipping, sticking, and smoothing (SSSS).
- Learn a variety of surface decorations including slip trailing, underglaze transfer, Mishima, paper masking.
Introductory Activity
Students learn how to roll slabs with even thickness using both rolling pins and dowels as well as using a slab roller. Demonstrate making a box
Lesson Process
All the steps for the hand-building process are illustrated in a slideshow that can be found in the resource section of the lesson.
Hand-building
1) Start by cutting out 4 squares. You will have a cardboard template to make sure they are square. Cut them out on newspaper (or canvas) on top of an upside-down cafeteria tray (or another similar stiff surface) so you won’t have to move them. Moving them will distort the shape.
2) WAIT FOR THE SLABS TO FIRM UP to a leather-hard state (leather-hard clay means the clay is firmed up and can hold a shape but is not dry). Arrange the sides in this pattern. Figure out which squares match up the best.
3) Score, slip, stick, and smooth the edge of one square to the inside of another. Then firmly press down to stick them together. Roll out a coil and score it. Score the areas around the seam of the slabs. Smoosh the coil into the seam and smooth it out to reinforce the attachment. Follow the pattern and add the next square to the one laying down. Repeat the process of slipping, scoring, pressing together, and adding the coil to reinforce the third side. Carefully roll your three sides up and score, slip, stick, and smooth the remaining square. Then lower the three sides onto the fourth. This uses the weight of the three sides to help secure the fourth. Repeat the coiling process and your box should have four secure sides. You should score up the outside seams and then smooth them out. This will help reinforce the seams and hide them.
4) Roll out another slab and trace one of the open ends of your box to cut out the top/bottom. Repeat for the other top/bottom. Let this slab dry to almost leather hard and then score, slip, stick, and smooth.
5) Create feet to add to the bottom of the box and score, slip, stick, and smooth to the bottom. When you flip the box over, the weight of the box will help secure the feet to the bottom. You can also see if the box is level and gently press down to make adjustments.
6) To cut out the lid, measure down an inch and trace a line all the way around the box. The simplest way to make a secure lid is to cut notches on each side. We use half circles as they hey shrink evenly with the box. An X-acto knife works best to cut the lid off. You’ll need to smooth out any rough cuts. Note how one corner has notches close to the other. This helps you know how your lid is supposed to fit as you work.
7) You didn’t have access to the seams on the top and bottom so you need to smooth those out as well to reinforce them.
8) Add a handle to the lid. Have fun with it. The teacher chose a simple handle for the demo because it was faster but you can make anything as long as it’s secure.
Glazing
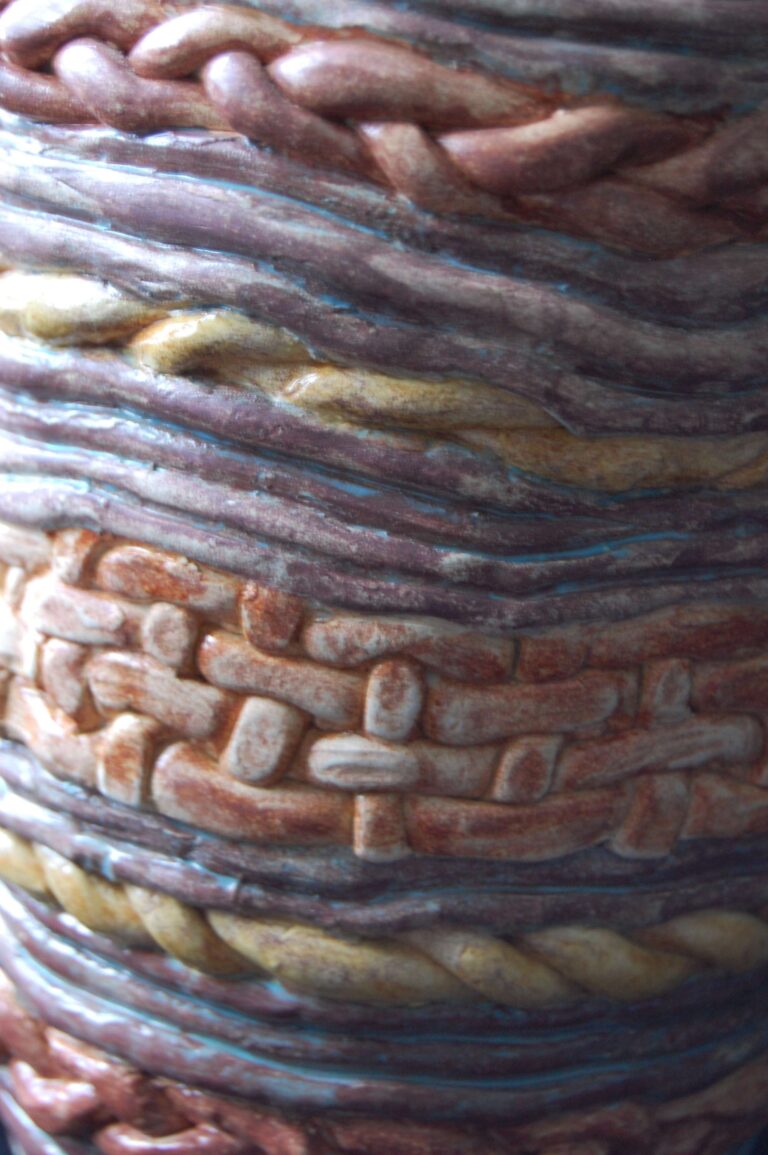
Students were introduced to slip trailing, underglaze transfer, Mishima, and paper masking. See the resource section for a link to a video demonstrating all the techniques. Students were required to use at least two of the four techniques.
Vocabulary
slab, slip, score, leather-hard, feet, handle, Mishima, underglaze transfer
Resources
Author & Website/Blog
Andy Williams