Grade Level
9-10, 11-12Duration
6-8 classes, 50-minute periods
Materials
Clay, basic clay tools, slip, India ink, sharpie, gesso, spray sealant
Media
India Ink, Sculpture, Ceramics
Lesson Objectives
The student will…
Display foundational techniques for making handbuilt ceramic work.
Create a slab-built pottery.
An awareness and appreciation of letterforms.
Explore decorative surface treatments that explore a variety of lines, line weights, and patterns in the manner of Zentangle art.
Introductory Activity
Introduction to clay and clay handbuilding tools. What is a slab? How to create a slab with even thickness when rolling clay by hand. If you have a clay roller, it’s even better. Students should also be knowledgeable about how to attach clay pieces through scoring, slipping, and blending the clay.
In addition to these basic Ceramic handbuilding concepts, introduce students to Zentangles. Zentangling “is an easy-to-learn, relaxing, and fun way to create beautiful images by drawing structured patterns.” These patterns, also called “tangles” are created with
Lesson Process
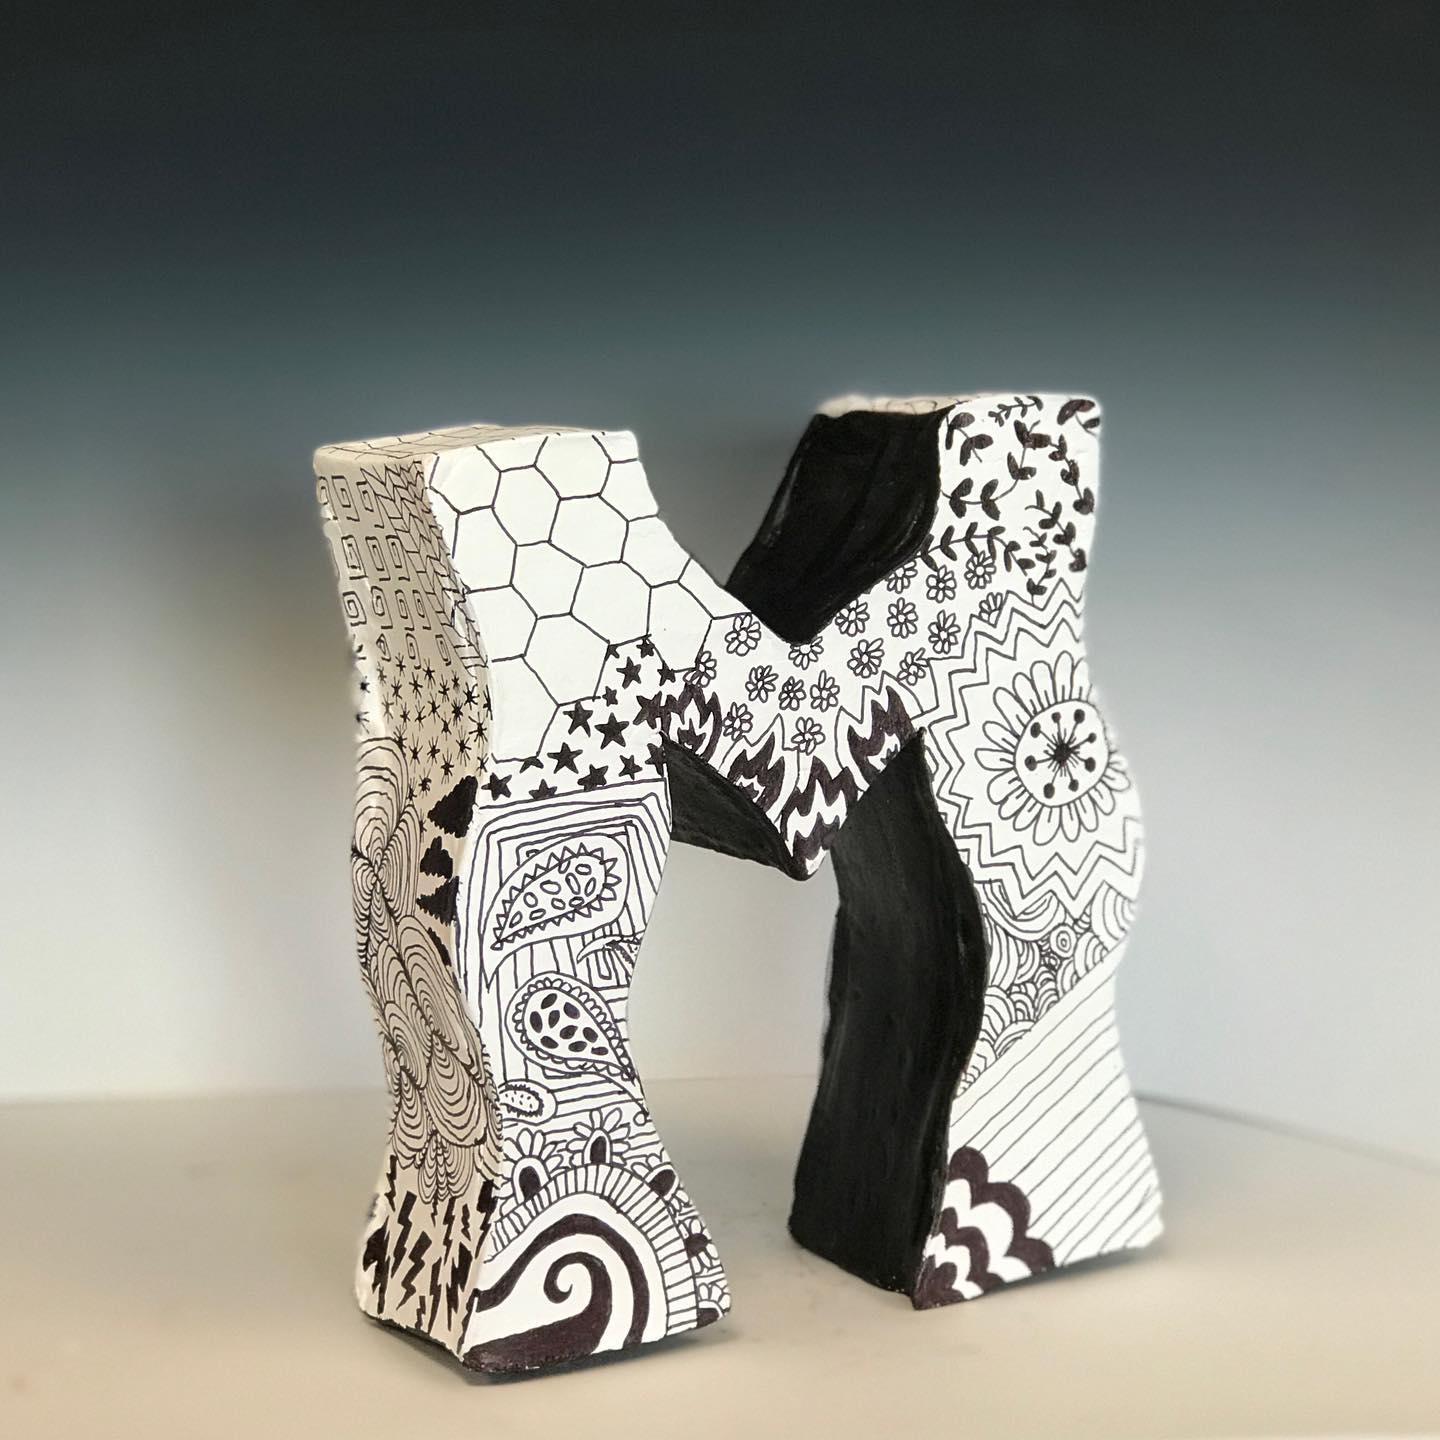
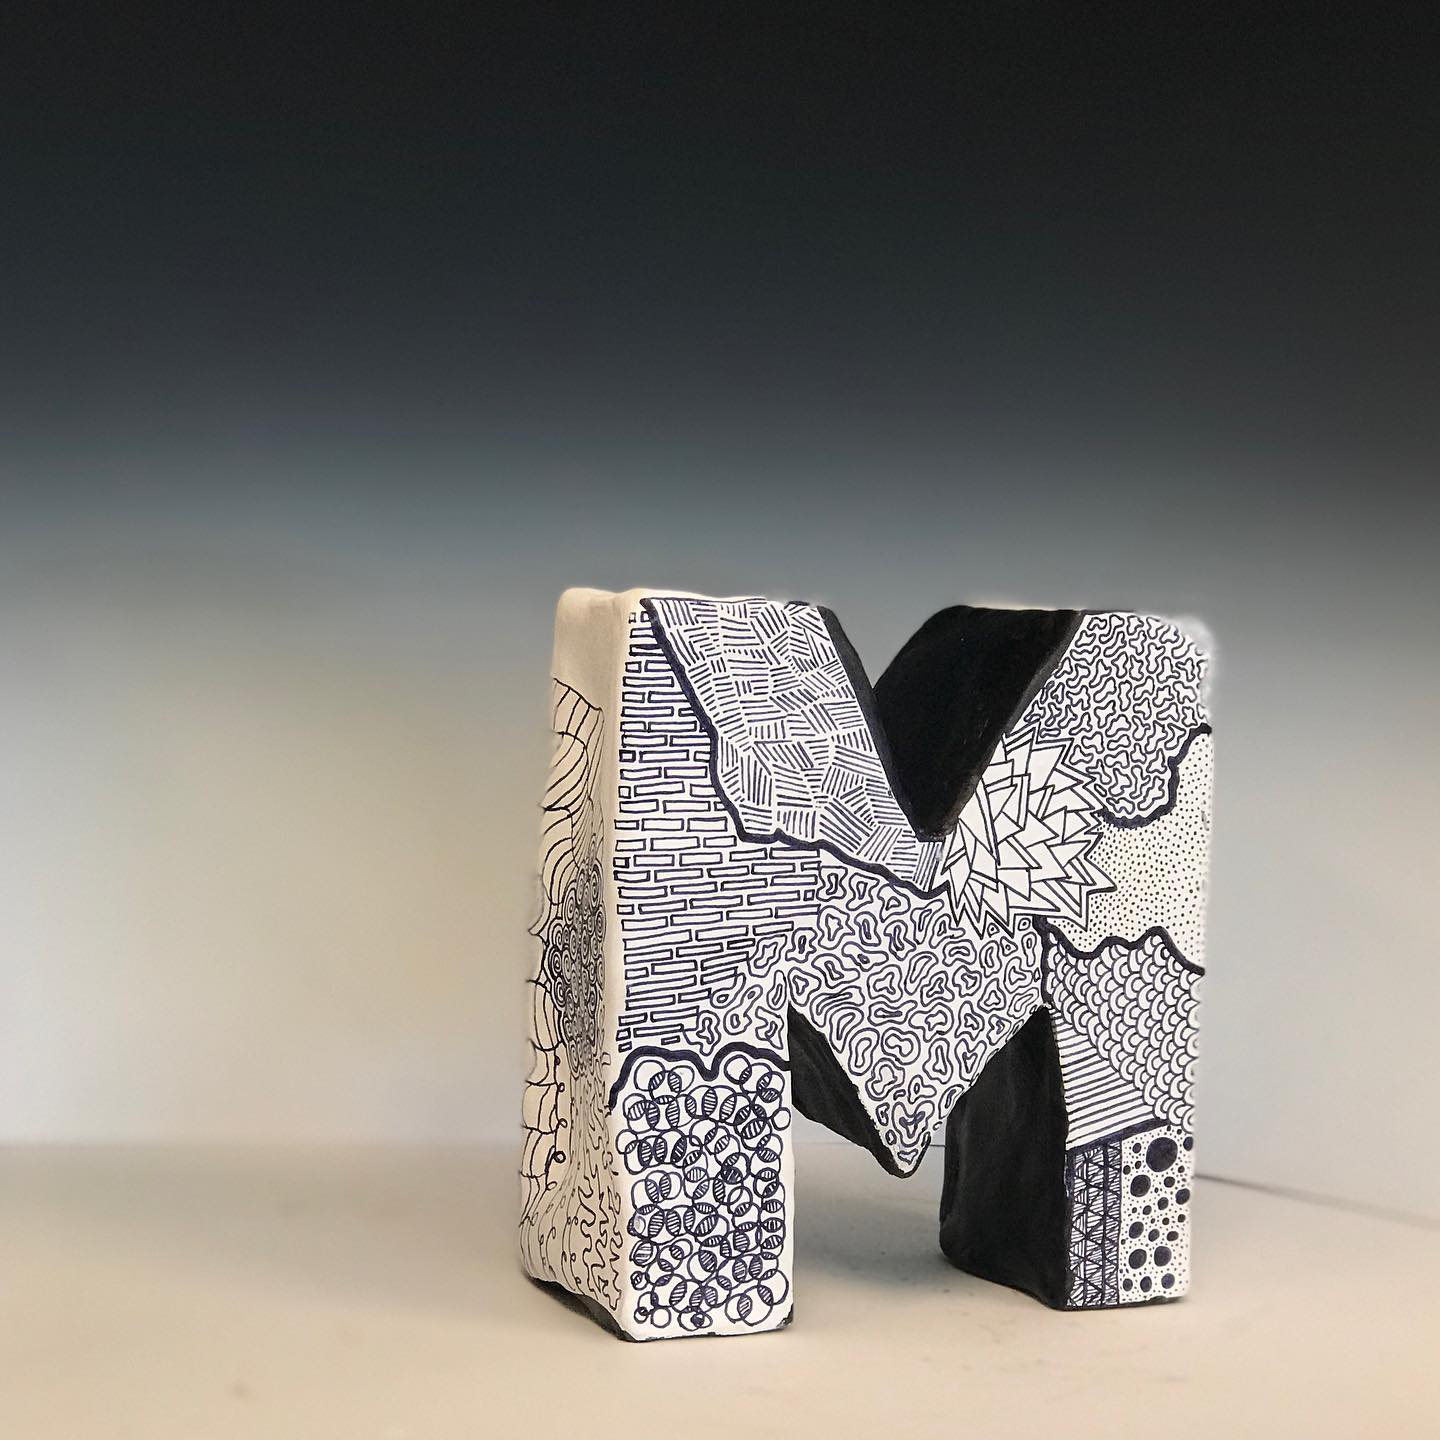
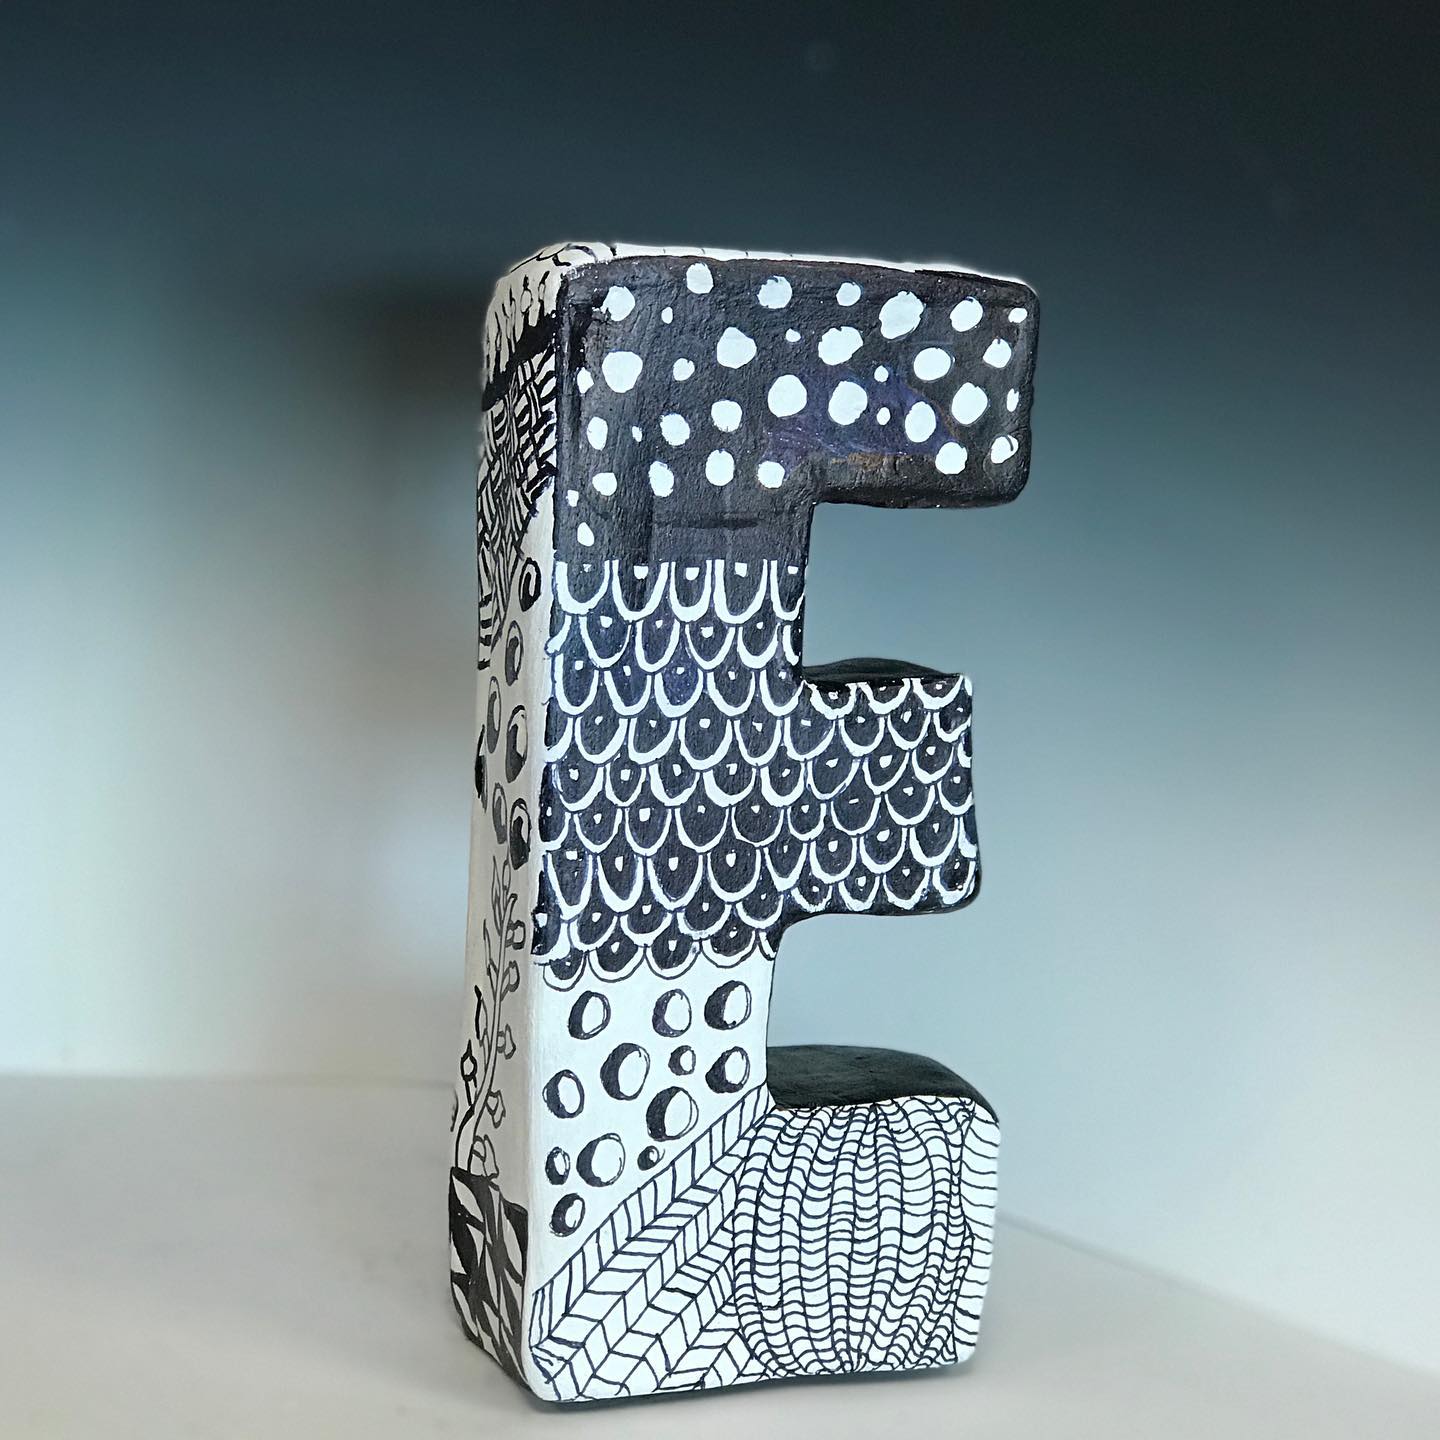
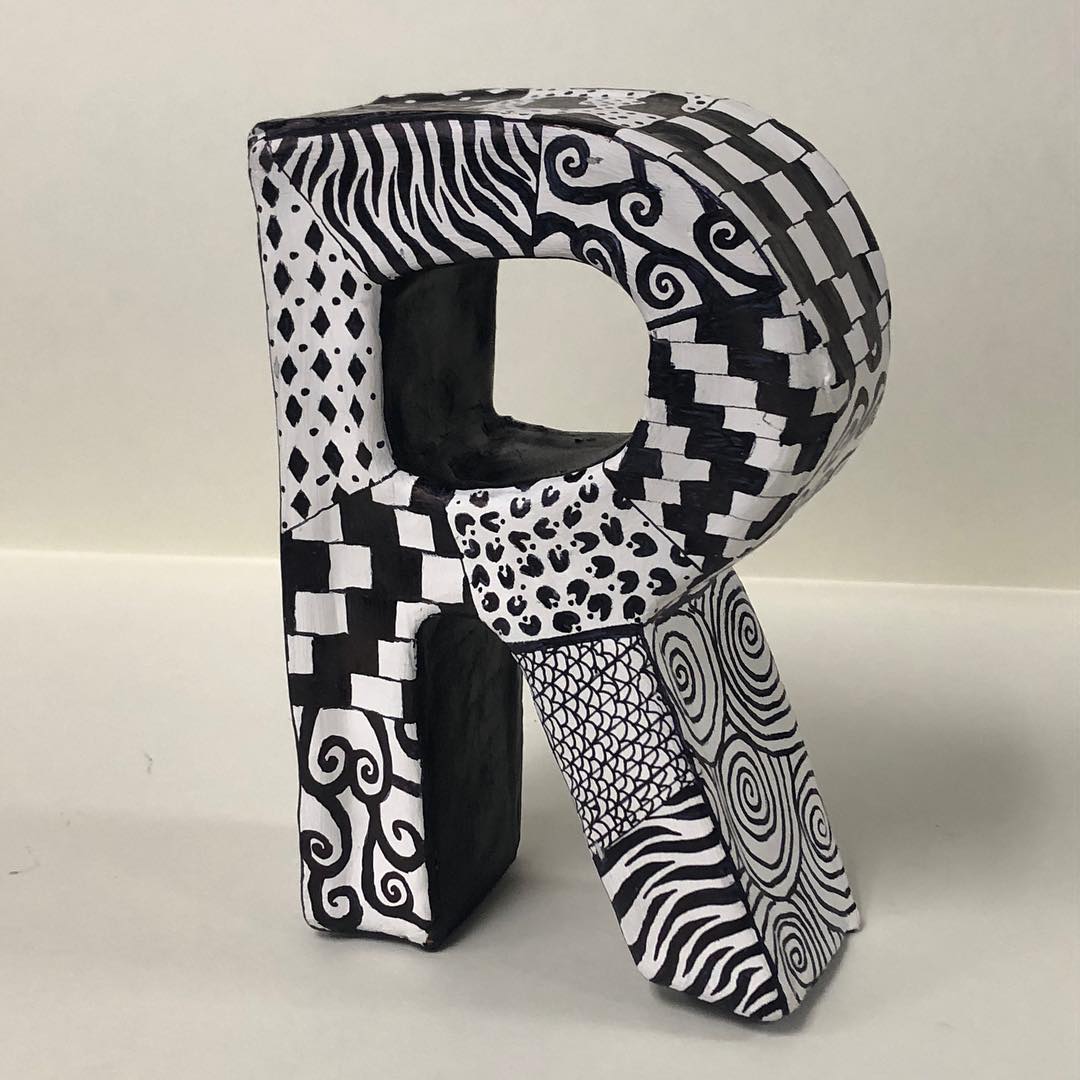
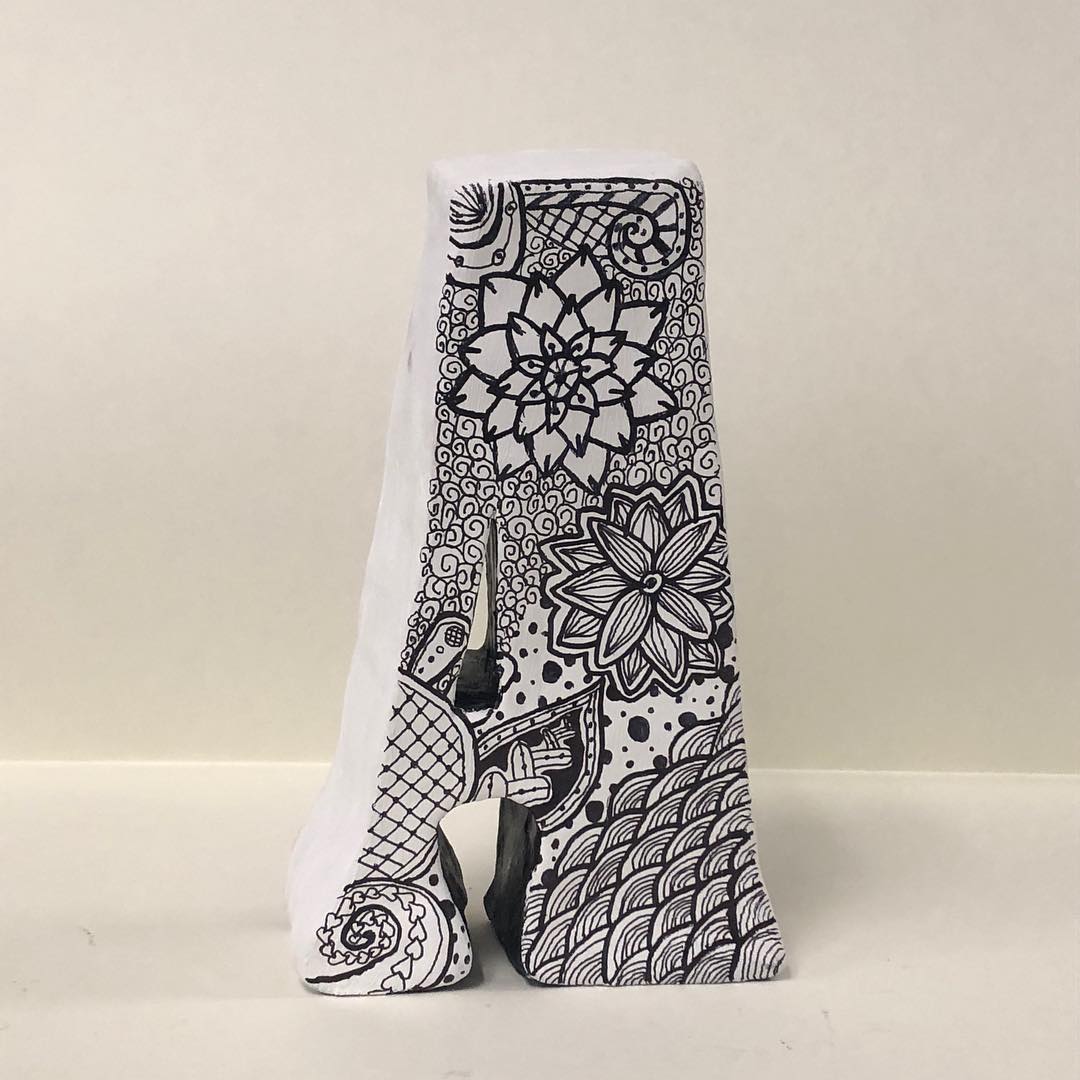
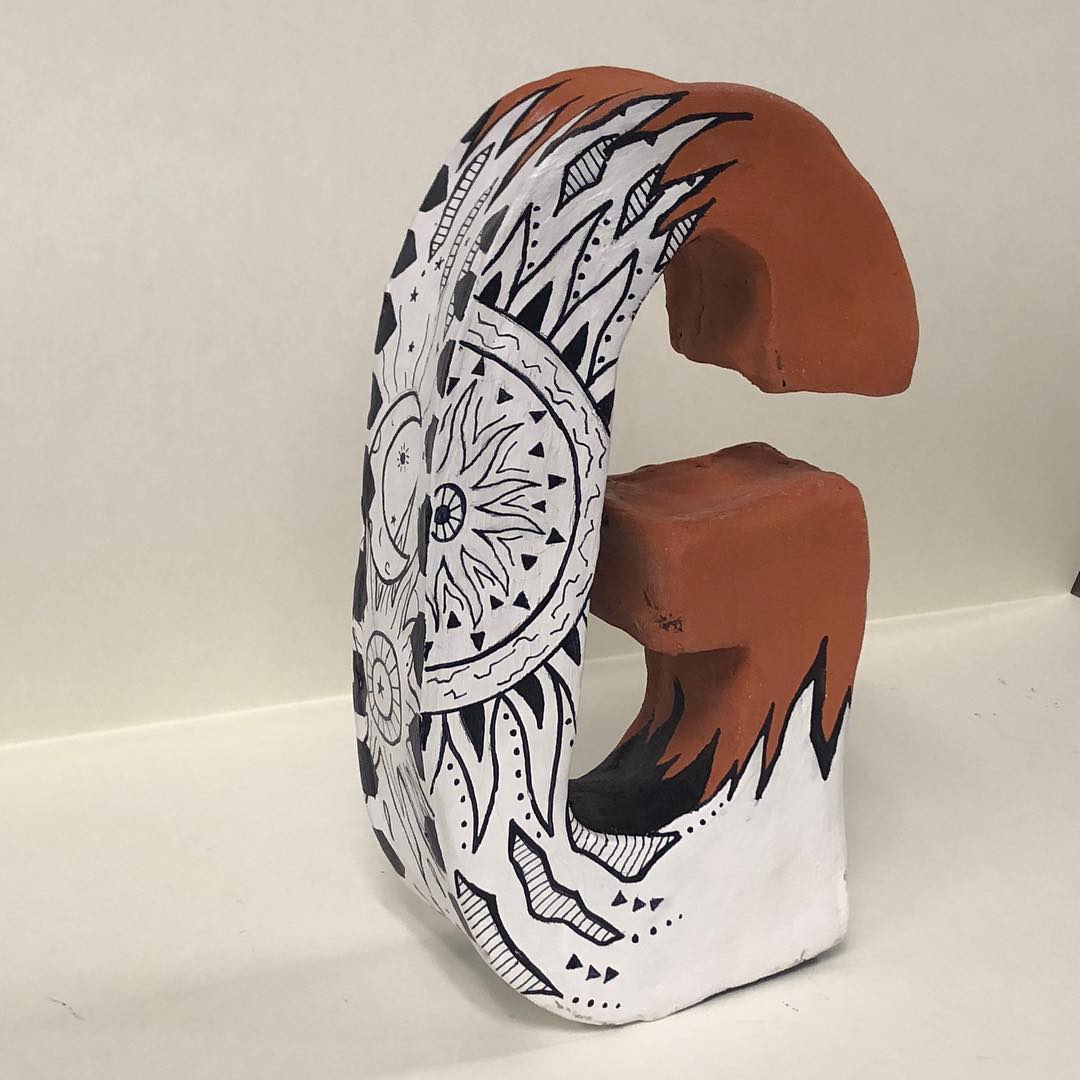
Students select a font for their project. The font shouldn’t be too thin and think about the complexity of the letter when it will be 3D. Students can use a word editor to print their letter large (make it white with a black outline to save ink and print to fill an 8.5×11 paper. Students can roll a slab large enough to cut out two letter forms; one slab is for the front, and one is for the back. You want the slabs to sit out a bit to stiffen up. It will bow inward when you try to construct if it is too soft. It is too stiff, and it will not attach. Students will cut strips from a rolled slab for the sides of the letter. It’s important that the strip be a consistent width. The next step is scoring along the edges of the letter. Score the back of the front side and the front side of the back. Take the clay strip, score on the bottom edge, and attach it to the letter’s side with slip, using a clay modeling tool to blend the clay. Continue all the way around the letter. Slip and score the walls at any edges that occur in the letter.
Some students used newspaper inside the letter after completion and while it dried to help the clay hold its form.
After drying and firing, use gesso to coat the clay work. Use Sharpies to draw zentangles-inspired designs. India Ink can be used in hard-to-reach areas of the sides of the letter, like the inside of the R in one of our examples. Those areas are too tight to get a sharpie in to draw the Zentangle-inspired designs. These ceramic students achieved success in all 50 students’ projects. The teacher reports that two didn’t stand after firing, and it was fine after adding a little hot glue kickstand.
Vocabulary
clay, ceramic, Zentangle, slab, handbuliding, slip, scoringResources
A handout for students on the process can be found HERE.
A similar lesson is found HERE and HERE.
Visuals of the process, HERE.
Zentanle patterns, step-by-step, HERE.
Zentangle.com
Author & Website/Blog
Kelcey Smith Daffan, follow on Instagram @artgrowfonder
Supporting Images
Lesson Process
Students select a font for their project. The font shouldn’t be too thin and think about the complexity of the letter when it will be 3D. Students can use a word editor to print their letter large (make it white with a black outline to save ink and print to fill an 8.5×11 paper. Students can roll a slab large enough to cut out two letter forms; one slab is for the front, and one is for the back. You want the slabs to sit out a bit to stiffen up. It will bow inward when you try to construct if it is too soft. It is too stiff, and it will not attach. Students will cut strips from a rolled slab for the sides of the letter. It’s important that the strip be a consistent width. The next step is scoring along the edges of the letter. Score the back of the front side and the front side of the back. Take the clay strip, score on the bottom edge, and attach it to the letter’s side with slip, using a clay modeling tool to blend the clay. Continue all the way around the letter. Slip and score the walls at any edges that occur in the letter.
Some students used newspaper inside the letter after completion and while it dried to help the clay hold its form.
After drying and firing, use gesso to coat the clay work. Use Sharpies to draw zentangles-inspired designs. India Ink can be used in hard-to-reach areas of the sides of the letter, like the inside of the R in one of our examples. Those areas are too tight to get a sharpie in to draw the Zentangle-inspired designs. These ceramic students achieved success in all 50 students’ projects. The teacher reports that two didn’t stand after firing, and it was fine after adding a little hot glue kickstand.
Vocabulary
clay, ceramic, Zentangle, slab, handbuliding, slip, scoringResources
A similar lesson is found HERE and HERE.
Visuals of the process, HERE.
Zentanle patterns, step-by-step, HERE.
Zentangle.com
Author & Website/Blog
Kelcey Smith Daffan, follow on Instagram @artgrowfonder