Grade Level
9-10, 11-12Duration
Six weeks, 47-minute periods meeting every day
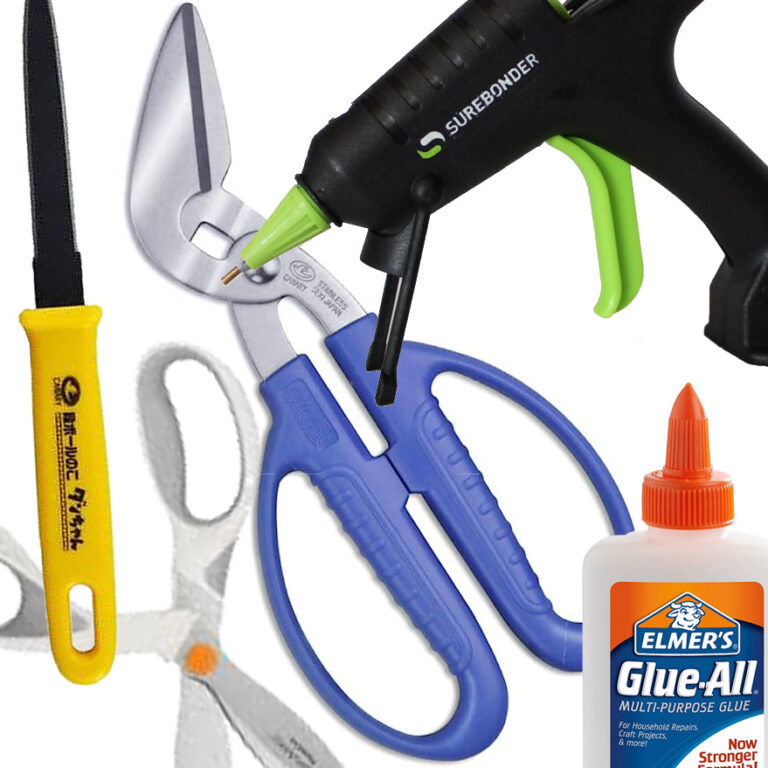
Materials
Cardboard, glue guns, glue sticks, Elmer’s Glue, tape, mat knives, bull clips, erasures, sketch paper or sketchbooks
Any of the following can be used to execute the project: Graphite powder, pencil sets (the type that comes with a range of pencil hardness, such as 6B, 5B, 4B, 3B, 2B, B, HB, F, H, 2H, 4H, and 6H, often comes in a tin case), or charcoal pencils.
Media
Drawing
Lesson Objectives
For the student to:
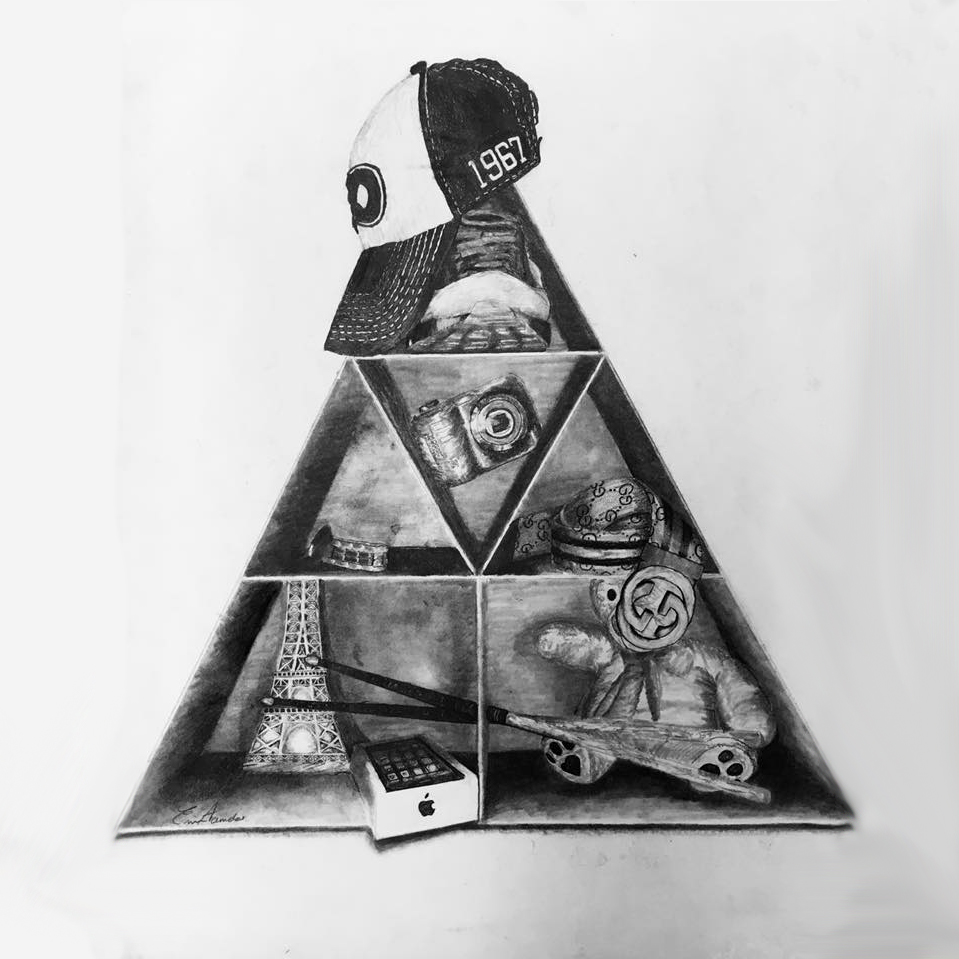
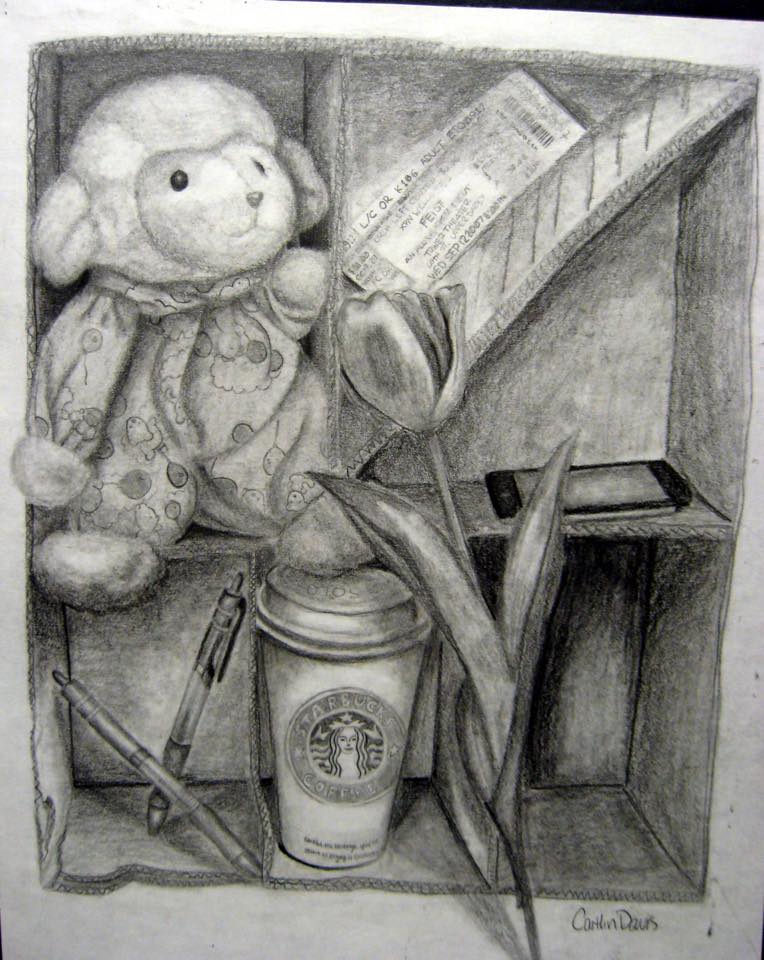
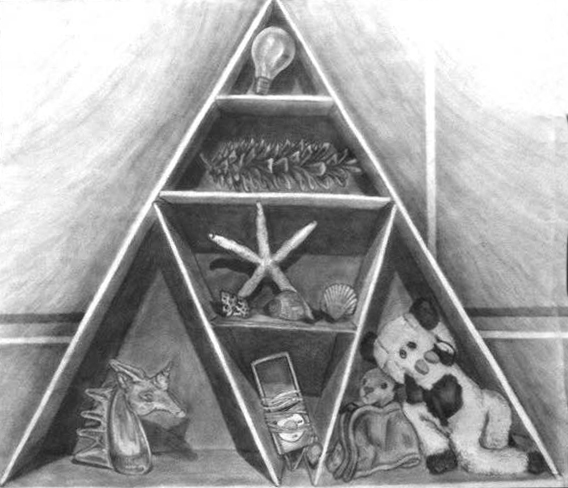
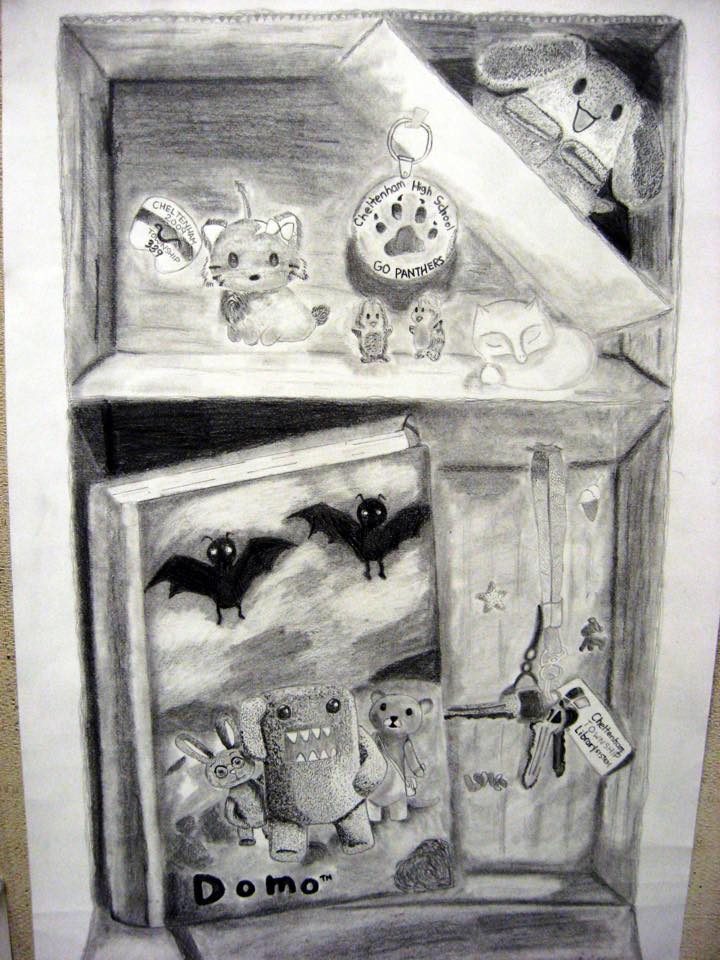
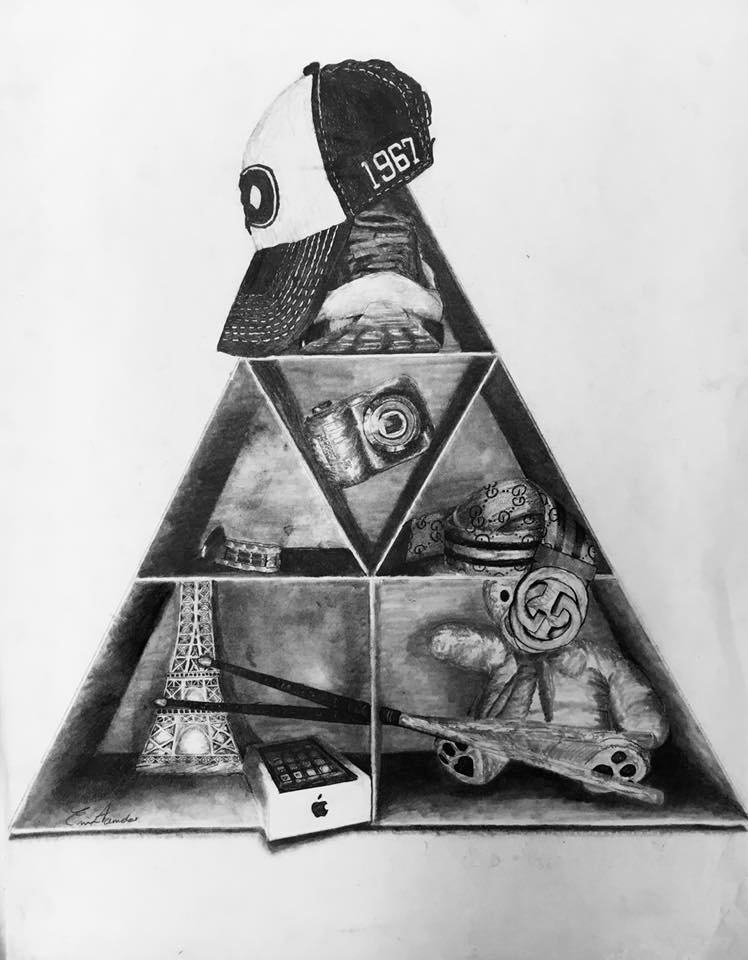
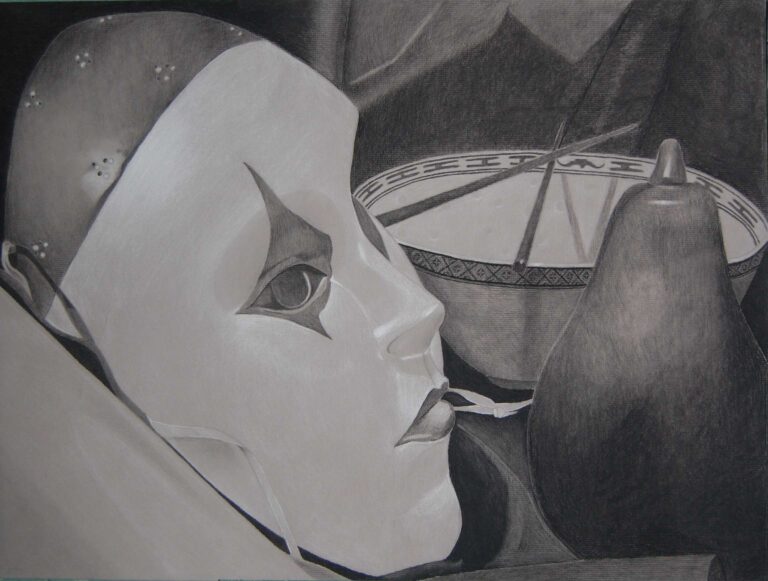
• Create an autobiographical still life utilizing objects and artifacts from the student’s life that hold personal and/or symbolic meaning.
• Develop a structure to house their objects and aid in creating a strong, balanced composition.
• Examine artists who use symbolism in their artwork. This might include Frida Kahlo, Janet Fish, David Bredga, etc.
• Display the following elements and principles of design: line, shape, value, balance, emphasis, and scale/proportion.
• Incorporate at least five different artifacts that speak to self-identity.
Introductory Activity
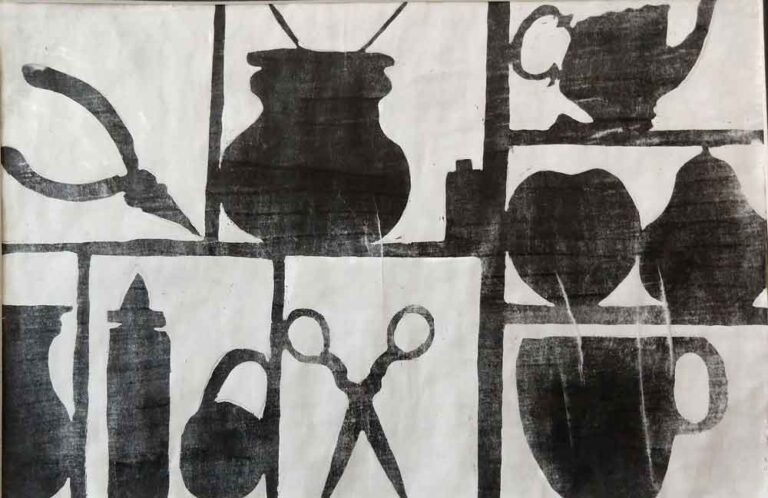
1. Students start with shading exercises in charcoal or graphite, depending on which medium the teacher selects. (This teacher varied the media over the year). Students should feel confident in their abilities with the media before moving to the final artwork.
2. The teacher will introduce the lesson by leading a discussion about an object’s ability to reveal information about its owner. The teacher can ask students to empty their pockets and/or book bags to examine the contents. Encourage students to ask: What do we carry around with us? What’s in our book bags? What’s on our desks? What do these objects represent? What objects could you use to represent your personality qualities? This can segue into a discussion on the symbolism of our physical objects.
3. Students were asked to make a list of personal qualities and possible objects to use for their autobiographical still life.
4. Students are required to bring in at least five objects or photos to draw from.
5. Students made at least five thumbnail sketches of shelving units to showcase their items.
6. Cardboard, tape, mat knives, and glue are provided to begin building the shelves that will hold their items. The student should bring in the personal objects BEFORE building the box. It is important to see the size and shapes of the objects in order to design spaces for them. Have as much cardboard available as possible. The boxes that paper comes in are great sizes, 12×18 and 18×24. Use glue guns for fast attaching, then drizzle Elmer’s glue for strength and permanence. They dry clear overnight. Large bull clips are helpful for keeping everything in place while drying (work like clamps)
Lesson Process
The students are ready to draw once the objects are selected, the thumbnails drawn, and the box and shelves constructed with the objects set in. Students should work on paper that allows them to work life-size. As with most drawings, students should start by lightly sketching their boxes and shelves. Working lightly allows students to make adjustments until scale and proportions have been worked out for accuracy. Next, students can start lightly sketching their objects in line. When the box and objects have been drawn, and the student and teacher feel it is accurate, the student can move on to developing the value.
Students can apply value by shading using the media selected for the project. The goal is for students to develop a FULL RANGE OF VALUES- meaning, you should incorporate each value from the value scales created during the preparatory exercises. Their values must include the values from the entire scale- from black to white, including all the middle grays in between.
*The lesson can be adapted or extended by taking a photo of the shelf and layout and making a grid drawing on top so as to enlarge the photo if necessary. This teacher says there is no reason it could be done that way!
Vocabulary
self-portrait, symbolism, artifacts, still lifeResources
Janet Fish
Symbolism in Still lifes: Decoding the Symbols of Still Life, Secret symbols in still-life painting, Vanitas Still Life and their Symbolism PDF
David Brega, trompe l’oeil, specifically look at his work Colors, Hommage
Many of his works can be found HERE
More on his work, HERE
More on Colors, HERE (page 12)
More on Starstruck, HERE
Frida Kahlo and the Symbolism in Her Art, HERE
Kevin Coffey is an artist who does narrative still-life work of toys.
Antonio Pérez de Aguilar, whose work Cupboard is relevant. Also, artist Joseph Cornell, a Surrealist assemblage artist, is another person to look at.
Author & Website/Blog
Connie Rubin Berger
