Grade Level
11-12Duration
Approximately three weeks during remote learning with advanced students.
Materials
Blue Pen, Paper, 18×24 school grade drawing paper is what this lesson used (student did a pick up for paper) but could be modified as needed. An artist who works in this media and prefers slightly textured paper with a weight of a 150 grams says, “heavy weight paper allows the ink to penetrate the paper-fibre and is strong enough to take severe crosshatching, layer upon layer of ink without damaging it. Lighter weights tend to warp.”
Do experiment with pens as well, look for one that releases ink slowly and creates lines that are very fine and thin without distributing a thick blob of ink on the paper. There is a well known brand that is inexpensive and popular.
Media
Drawing
Lesson Objectives
For the student to:
Display an understanding how to create a grid drawing.
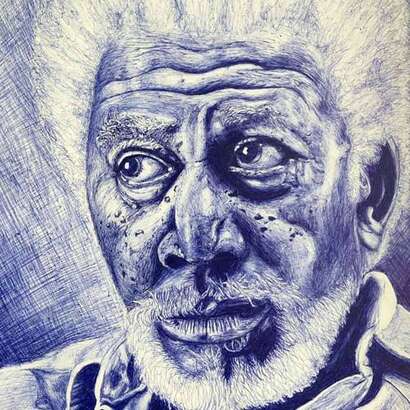
Display mastery of value as applied with a blue ballpoint pen as media.
Develop a sense of character and age through portraiture.
Introductory Activity
An understanding of grid drawing and how to apply a grid to a photo (see an online tool that will apply a grid to a photography automatically). Assuming that the photograph is being enlarged, the student can print the gridded photograph to fill as much of an 8.5x 11 inch paper as possible. When gridded (and printed if possible, student can then double image and the measurements for the grid. So, if their grid was every half inch, they would be ever inch on the large 18x 24 drawing paper. There will be some paper left over that can be trimmed off.
Even if using a gridding method,. it helps if student have a sense for the general proportion of the human face.
An alternative grid drawing (in resources below) can be utilized with students more confident in their drawing skills. Critical that the paper be in the same proportion as the photo.
Student should practice creating gradients with the ballpoint pen to get a sense and feel for how the media behaves.
Lesson Process
The teacher provided a synopsis of the project to his remote students.
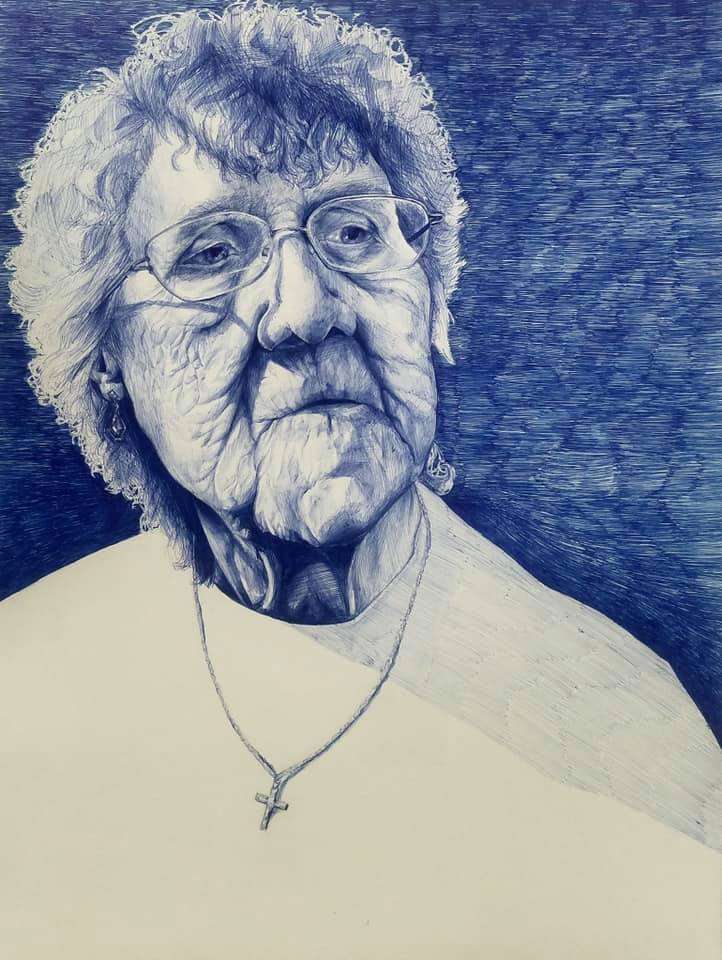
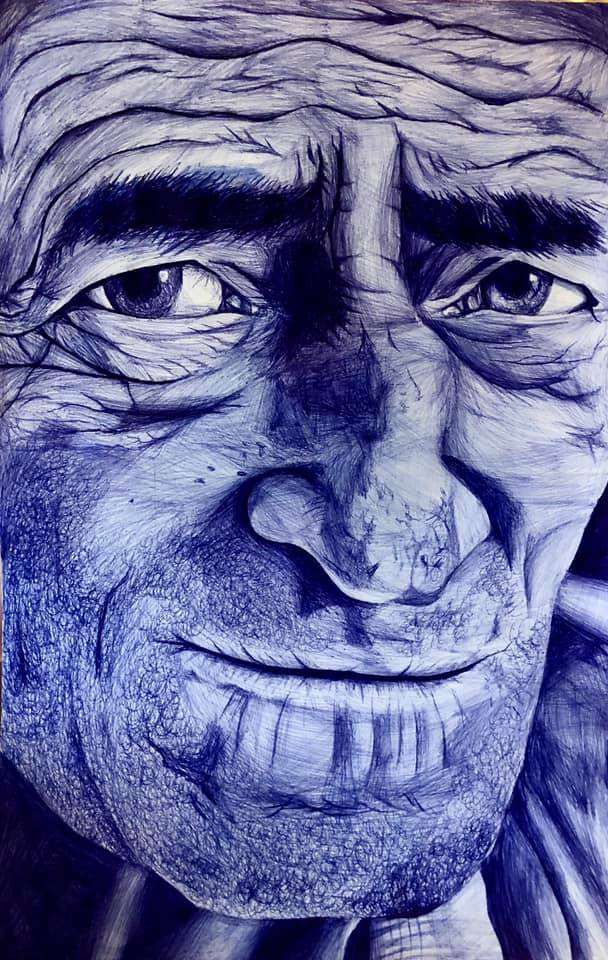
Your next project will be a detailed, asymmetrical, up close portrait rendering of a an elderly person to be executed in BLUE ball point pen. This project will be a minimum size of 18″x24″. If you do not have this size paper handy you may use any recycled paper or cardboard you can find around the house to complete this project. Please use Youtube for references and examples. You may use an internet reference to find your elderly subject. Keep in mind the more wrinkles and blemishes the elderly person has, the easer it will be to create details. Your completed work will be graded on proper facial proportions, elderly wrinkle details, intricacy of skin imperfection, creatively filling the composition and most of all originality; that means trying to find an image that you feel will set you apart from all you classmates.
Vocabulary
value, grid, enlargement, gradient, ballpoint penResources
Grid drawing explanation and tool to apply a grid to a photograph
A second gridding tool
Triangular gridding
Value charts: Techniques for creating value with ink (ball point pen) – YouTube, How to Draw Realistic Skin Tones | YouTube
Proportions of the human face
Nice examples
16 Ballpoint Pen Drawing ideas
Author & Website/Blog
Based on a lesson created by Doug Cooper
Supporting Images

