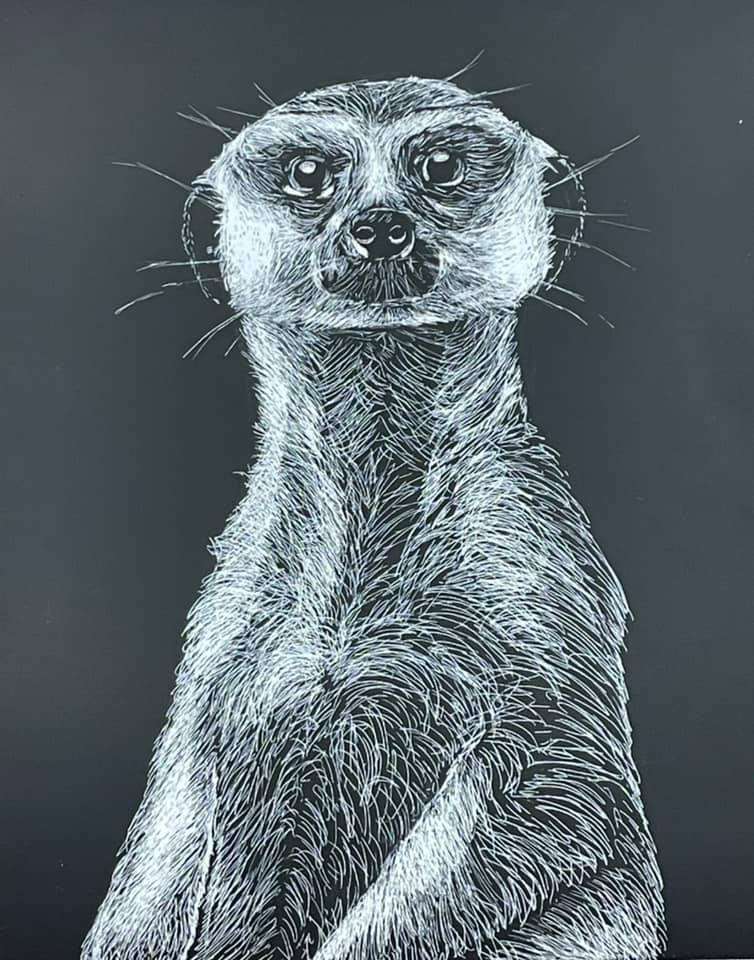
What is scratchboard art?
“The Scratchboard technique is a two-dimensional, subtractive process. It involves the use of abrasive tools to directly remove a surface layer of one value (typically dark) to expose the second layer of a contrasting value (typically white). The values within the artwork are predominantly achieved by varying the amount of surface layer that has been scratched away or left. The texture and form of all key compositional elements within the artwork must be created by subtractive removal, not exclusively by the addition of paint or ink. Reapplying transparent mediums over the scratching is permissible, but the underlying scratches must remain visible. Works may be color or black and white.”
– International Society of Scratchboard Artists
Scratchboard is also known as scraperboard. The name scratchboard is used in North America and Australia and the term scraperboard is used in Great Britain. Scratchboard can be used to create highly detailed, precise, and evenly textured artwork that reproduces well. Historically, scratchboard art has been used in advertising and the publishing industry as an alternative to engraving for illustrations.
The tools of the trade
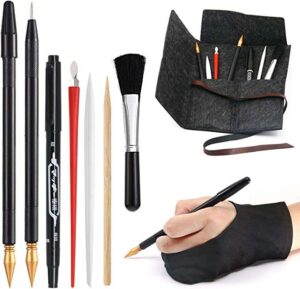
One of the appealing aspects of scratchboard is that essential tools vary from those specifically designed for hobbyists to items commonly found around the house. Anything that can scrape against the scratchboard layers without ripping the paper makes an effective tool. Sewing and crochet needles, pushpins, skewers, toothpicks, tweezers, razor blades, X-Acto knives, and even silverware prove useful. Steel wool, sandpaper, and really anything abrasive can also be used.
 .
. 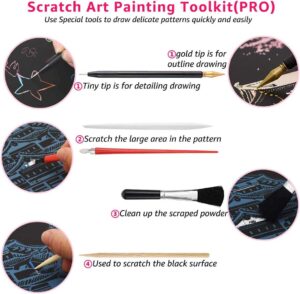

If your budget allows, a toolset like this one or this one can be purchased inexpensively. But if your budget doesn’t allow just use some of the everyday objects listed above.
The working surface is three layers on top of rigid support like a board or masonite. The support layer is covered with smooth white clay followed by a thin layer of black India ink. You can buy scratchboard premade or make your own. Here is a YouTube video that walks you through your options if you want to make your own
Mistakes
Many people believe that once you put a scratch into the board you can not do anything to get rid of it. This is not really true. When doing scratch art we are scratching away the black ink. So if we make a mistake… what do we do? Well, put the ink back of course! Now, this isn’t quite as simple as it sounds as every type of black ink is slightly different. Some have a slight blue or brown cast, and some look too shiny or too dark, so it is important to find an ink that matches the boards you are working on (try it on a test board before putting it on your art!). This is one of the advantages of making your own, you have the ink.
The techniques
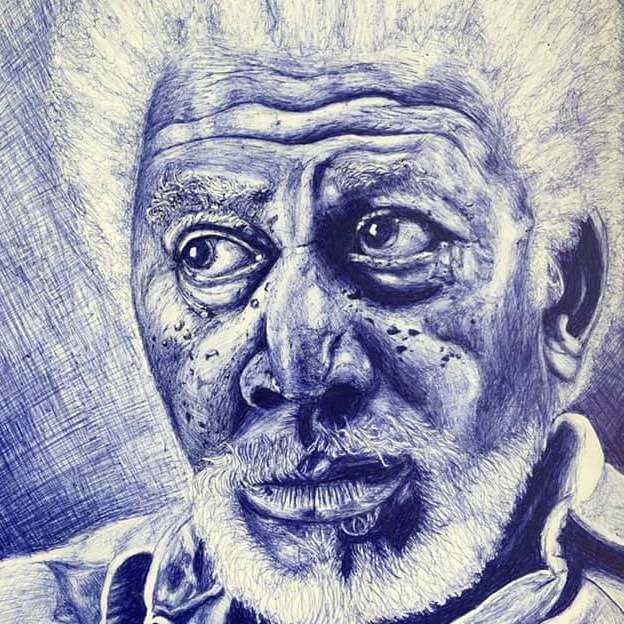
Lay a drawing or photo on your scratchboard and trace. Pressure lines will show up on the scratchboard and from there you can use those lines as a guide for where to start removing ink. The more scratching you do, the more white is revealed which is why it is a reverse drawing technique.
Stippling – using a sharp tool to scratch out tiny dots. The closer the dots are together, and the more dots you use, the lighter the area on your scratchboard becomes.
Hatching – scratching outlines onto your board. The closer the lines are together, and the more lines you include, the lighter the highlights are.
Cross-hatching – Scratching outlines that cross over one another. The closer the lines are together and the more lines you add, the lighter the area becomes.
Scribbling – Using scribbled loose lines to create highlights. Once again, the tighter the lines are together the lighter the area becomes.
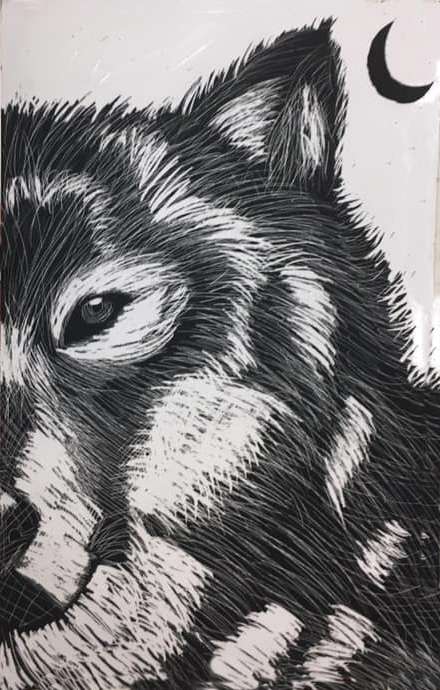
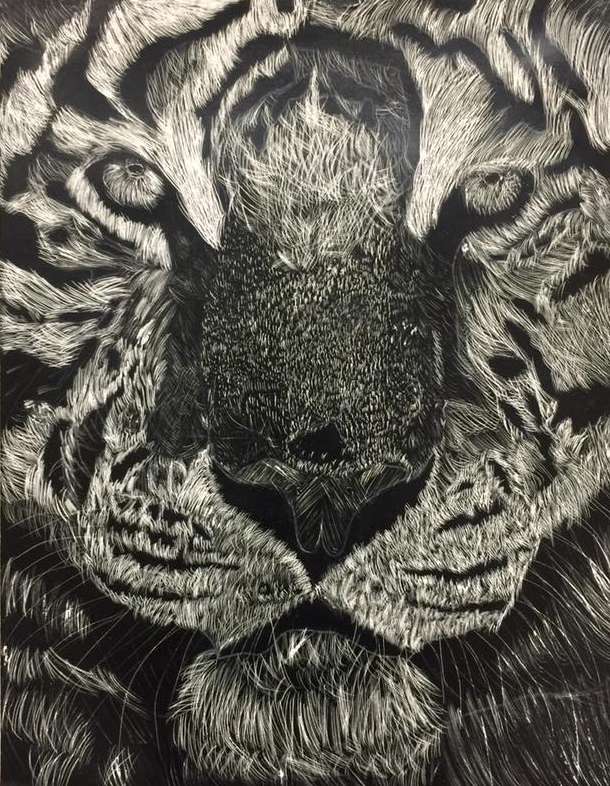
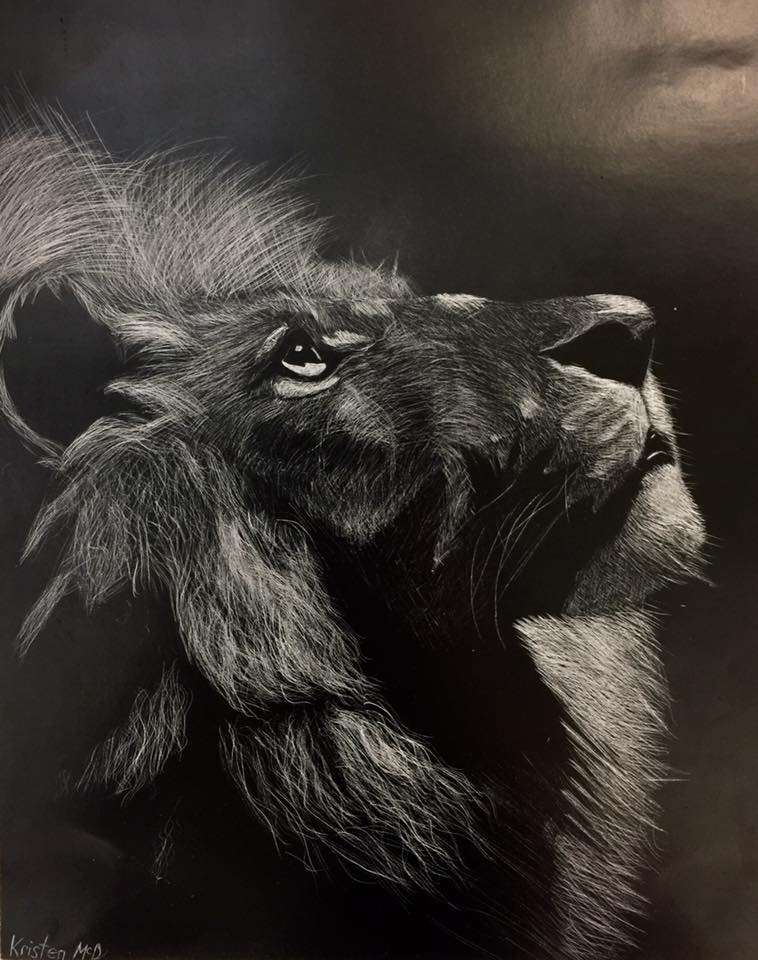
These can all be used to create texture (think hair and fur) and value changes. Experiment with different stroke lengths, and directions until you achieve the desired look.
Pro Tips and Tricks from art teachers:
• When scratchboards are done teachers can laminate them, cover them with acetate, or slip them into a plastic binder sleeve. Mod podge can be used to seal a scratchboard but if you don’t want to worry about smudging it as you apply Krystal Clear spray by Krylon is also a popular sealant.
• Teach pen and ink drawings before scratchboard. Pen and ink has many techniques in common with scratchboard.
• Another idea is to teach drawing with white chalk or white ink pens on black paper so they get a feel for shading in reverse.
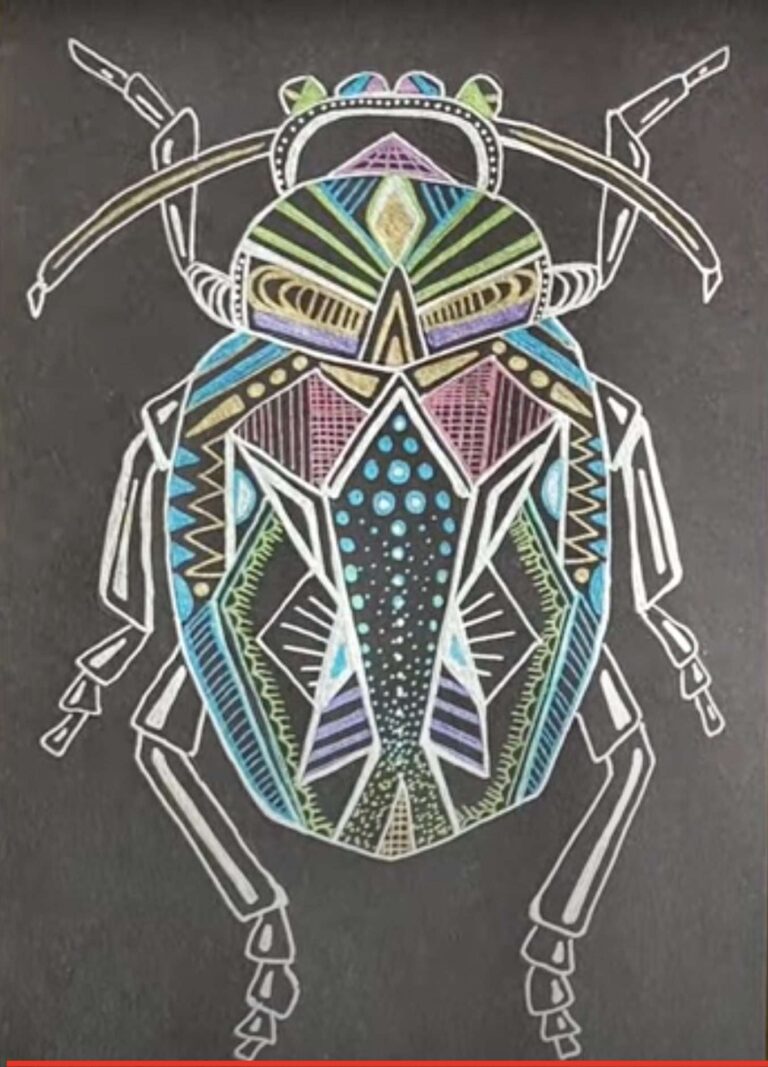
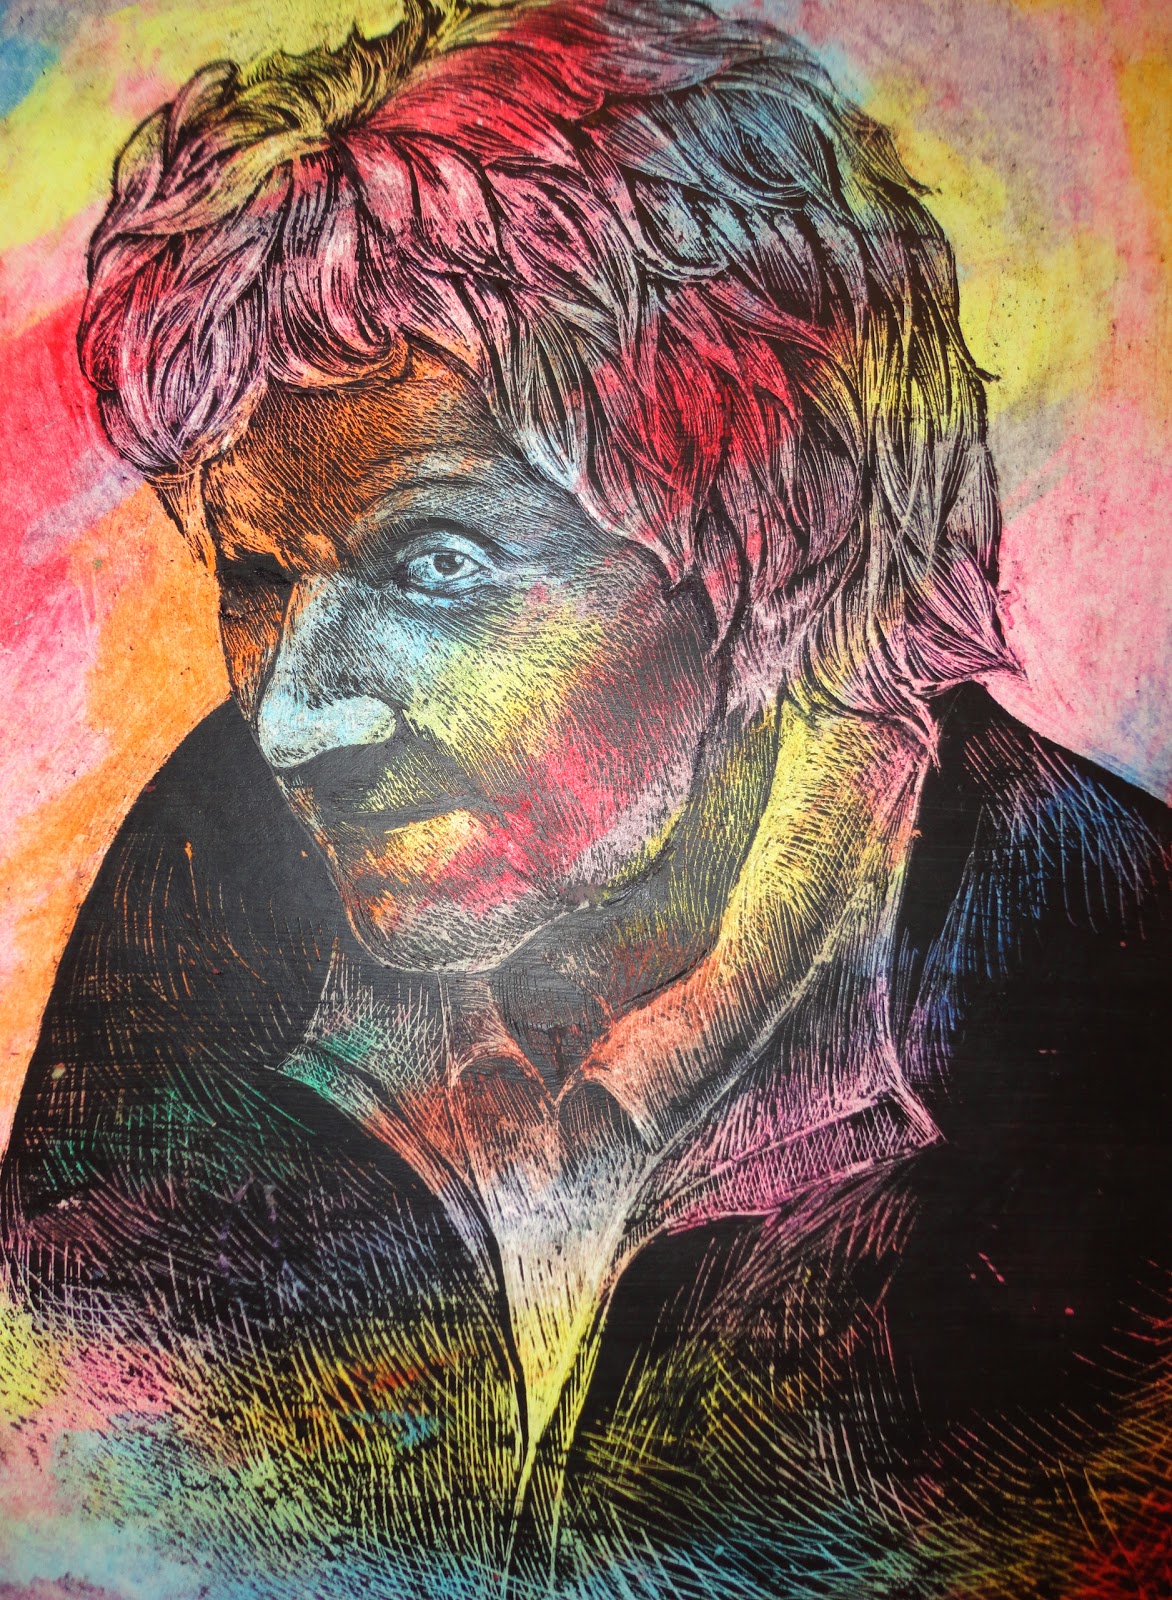
• Use color under the ink like this art teacher’s blog.

• Have students practice with the tools and techniques on a small piece of scratchboard before going to your “good piece.”
 .
. 
 .
.  .
. 
 .
. 
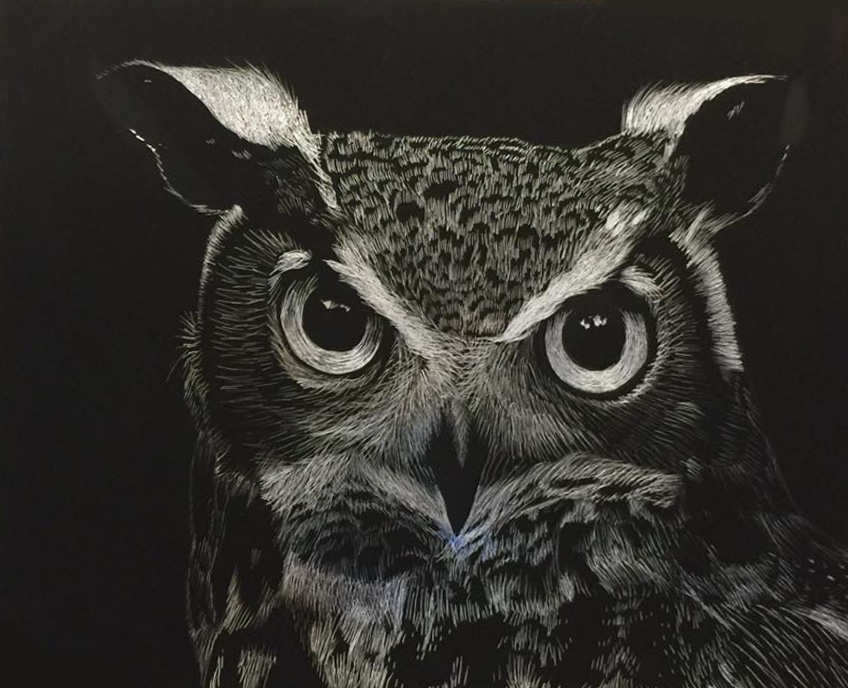
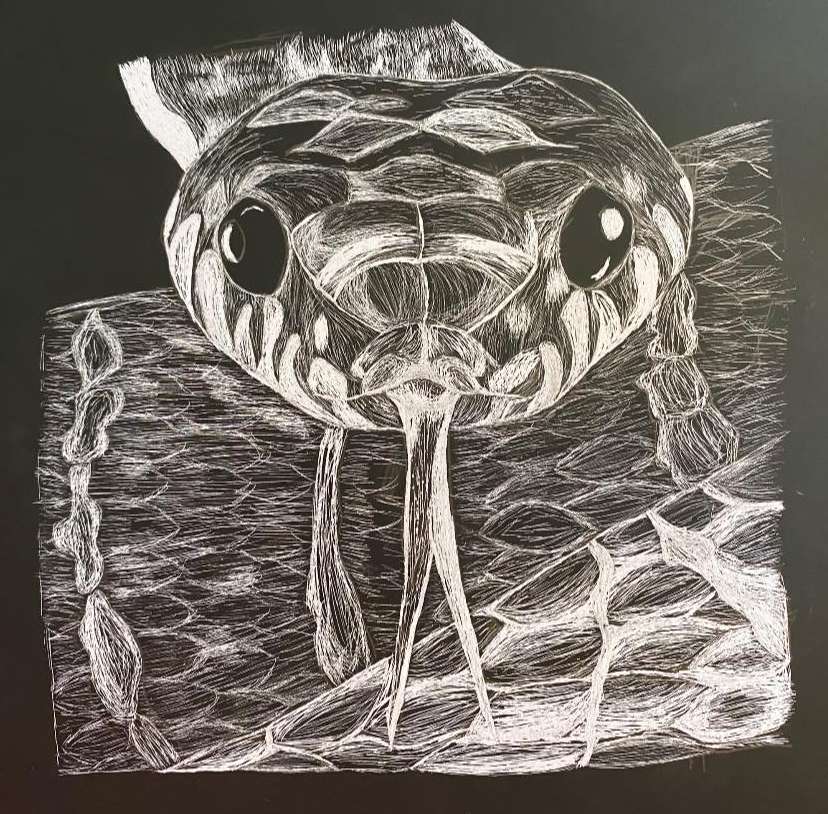
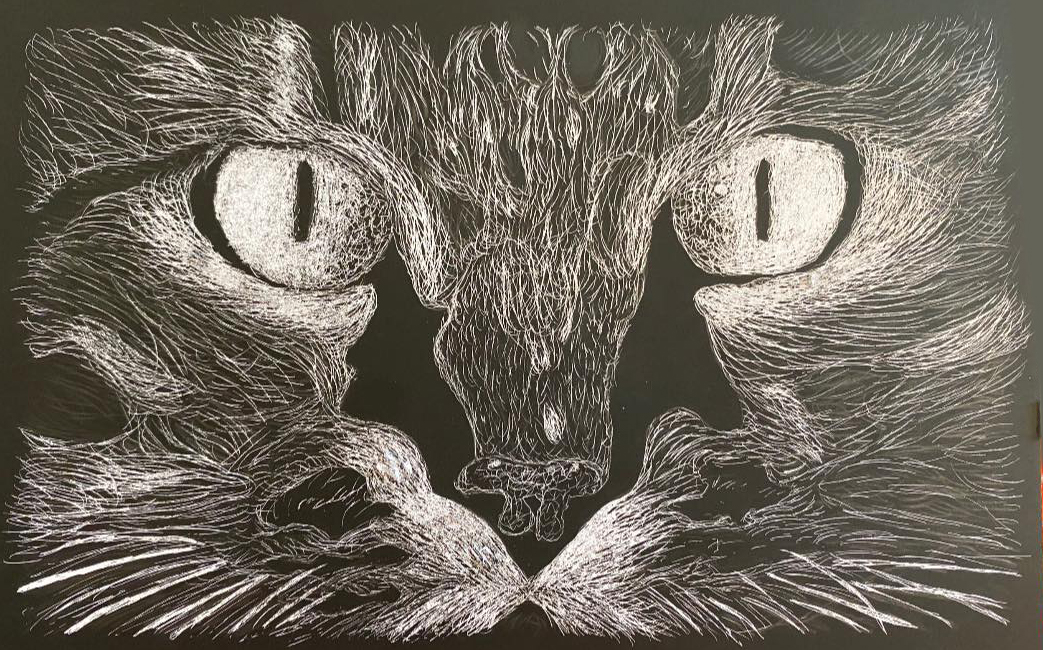
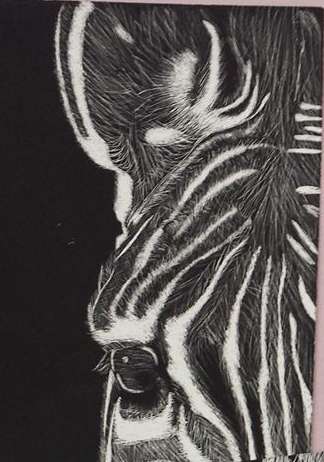
The 8th student work is from art teacher Erin Thomas