How many times have you sat at your planner and wondered what to do with half a class on a Friday afternoon? Or had one section of an art class that was inexplicably a day ahead of another section? Or facing the revolving door of attendance that is the end of the school year. So many times, right? If you only had a one-day project to fill the gap. Well, this week that is exactly what I have prepared for you. Projects that are one and done. Projects that are engaging, light, but worthwhile.
1. Painting with a Squeegy!
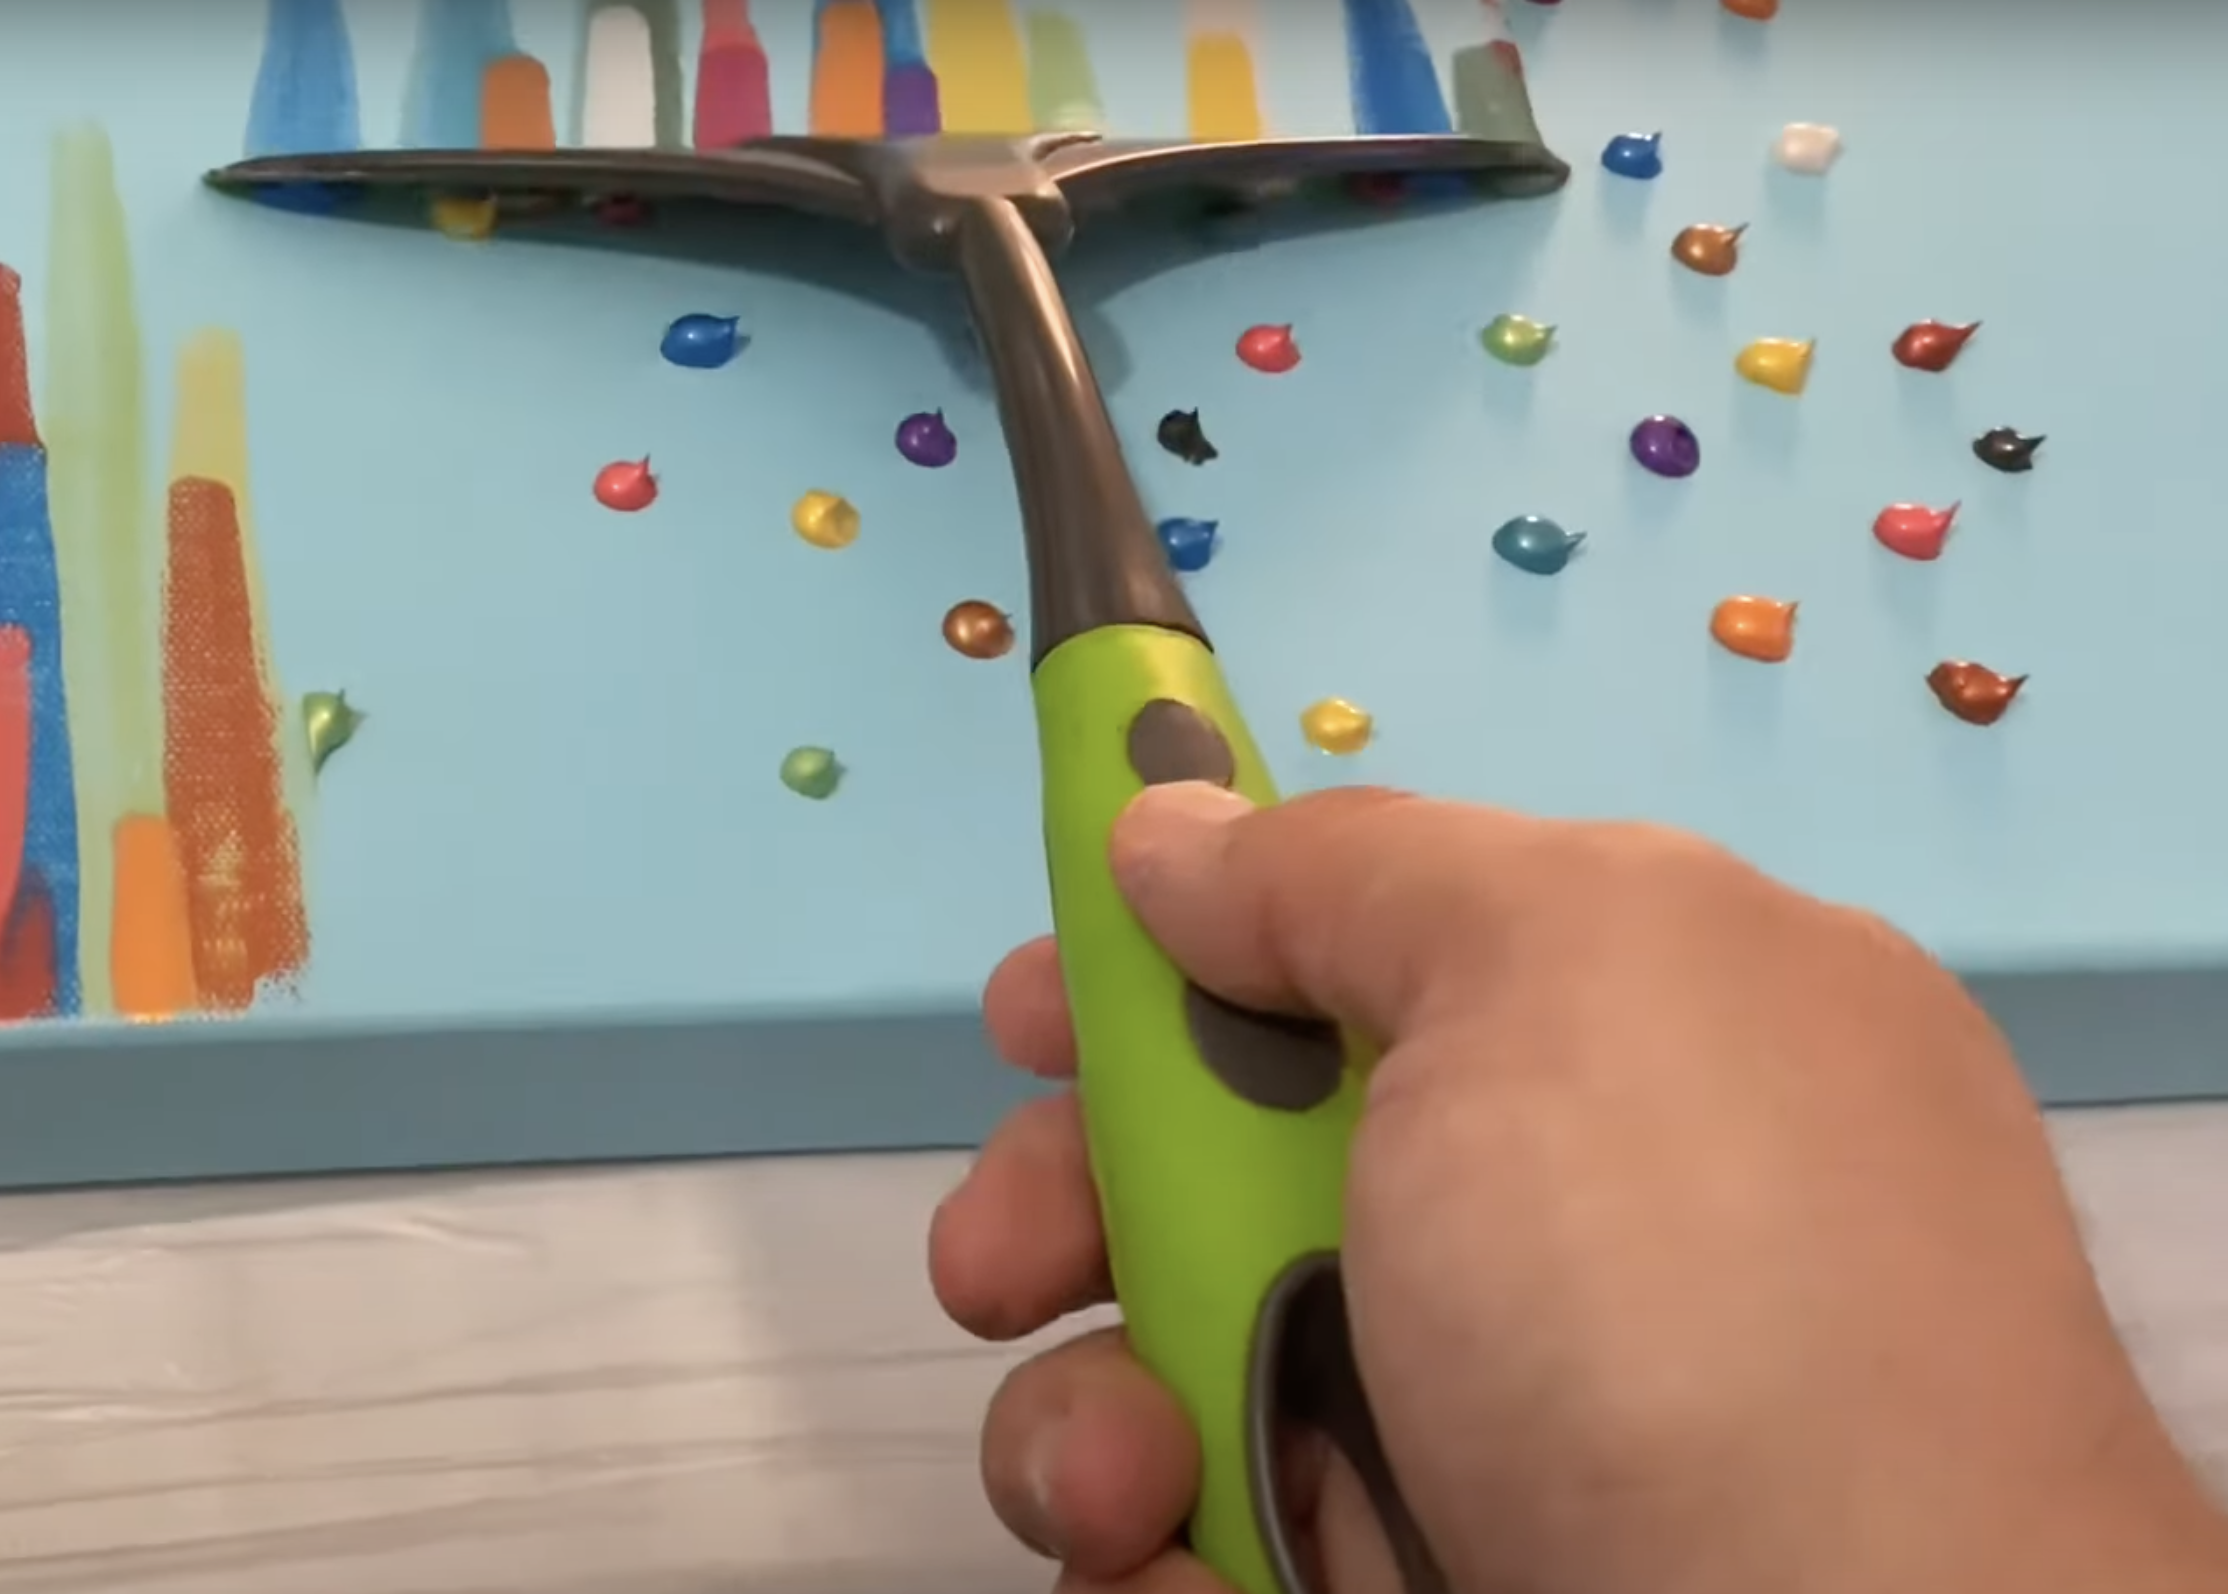
Hit the dollar store and load up on a classroom set of squeegees. Or use an old credit card or plastic ruler. Squeegy paintings can be scaled up or down in complexity. Artists like Gerhard Richter, Karl Otto Götz, and Walter Zimmermann all used squeegees in their artwork.
Some squeegee painters make a “drawing” with paint tubes and then make two passes over the painting with a squeegee. The first pass will drag the color, the second removes the color to reveal the drawing and the “stain” created by the paint. Check out the technique HERE.
Other squeegee painters use it to create abstract art. Maybe you’ve seen the social media posts on tick tock and Instagram showcasing this type of painting. The general gist is one that squeezes out dots or lines of paint color from tubes of paint. You can buy squeeze tubes inexpensively HERE. Find instructions and advice on these types of squeegee painting HERE.and HERE.
2. Acrylic Skin
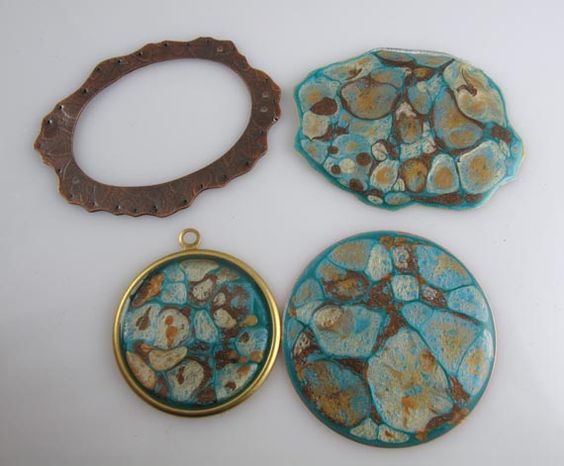
Acrylic skins have some things in common as it too can be a method of creating abstracted images and it definitely appeals to students, even students who might be resistant to art in general. Maybe you haven’t heard the term before but you’ve likely encountered the experience of peeling acrylic off a plexiglass canvas or plastic pallet, right? If so, that is an “acrylic skin.” Instead if happening by accident though, you can intentionally create an acrylic skin. Watch one being made, HERE. All you need is acrylic paint and a surface to work on that will allow the paint to be peeled off. Silicone mats are one good option.
Acrylic Skins can be used for collages. When cold, acrylic skins may be broken into pieces. When warm you can bend, twist, roll, or fold them and collage them in a variety of ways. They can also be cut with scissors to make any shape you want. Making jewelry is another popular idea.
3. Pasta Maker Prints
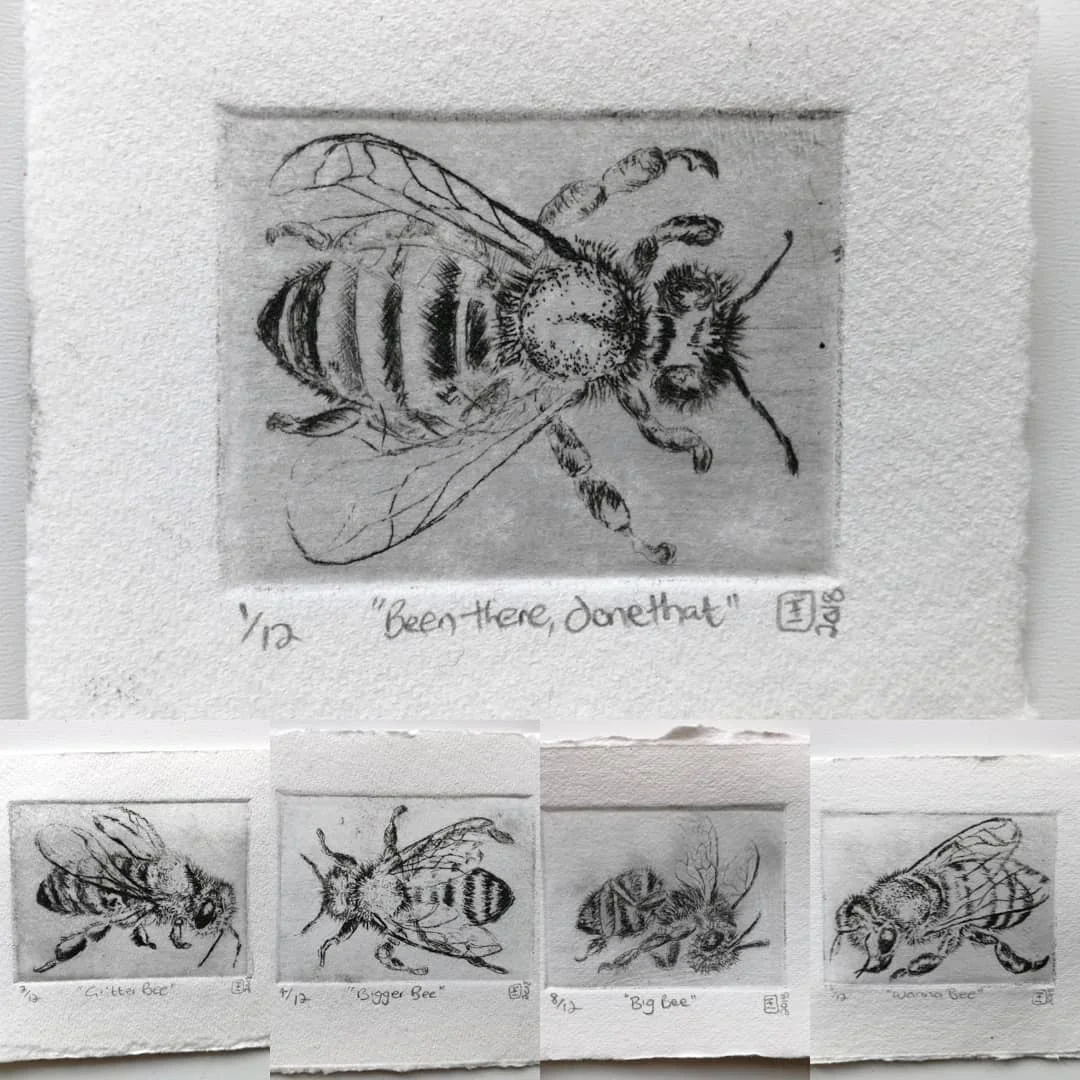
No press, no problem. So, when you are out yard sale shopping or hitting your thrift stores, look for a past pasta-making machine. You heard me correctly. Because you can make cool “etched” prints using clear plastic, a little bit of black Speedball prints, and a pasta maker. Tutorial HERE.
4. Cardboard Slot Sculptures
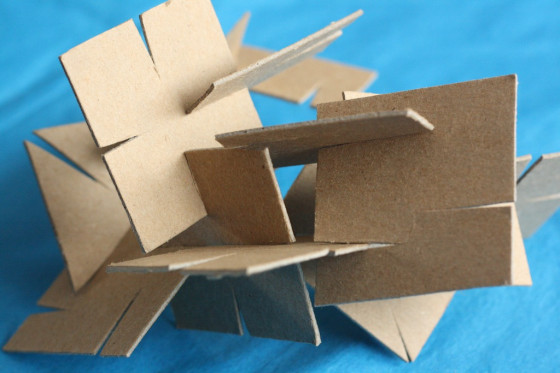
Schools are hotbeds of cardboard. So are neighborhoods on recycling days. With a few short demos, your students can be up and running creating small or large-scale sculptures. Check out this lesson on slotted sculptures. Also, this knife for cutting corrugated cardboard is HIGHLY recommended.
5. Pastel Balloon Animal Drawings
You can find tutorials on this HERE. Add in a little contemporary art history for context by showing students the work of Jeff Koons.

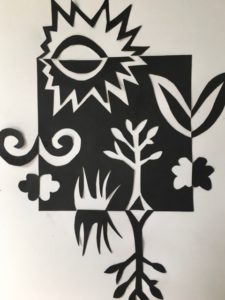
6. Japanese Notans
All about Notans, HERE. All you need is;
- Black paper cut into a perfect square. I used a piece measuring 4 x 4, but you may want a larger piece to work with, especially with younger children.
- Pencil
- Scissors (or craft knife for more intricate cuts)
- Glue
- White paper for mounting that is significantly bigger than your black square (the square will end up doubling in size, and in all directions once complete).
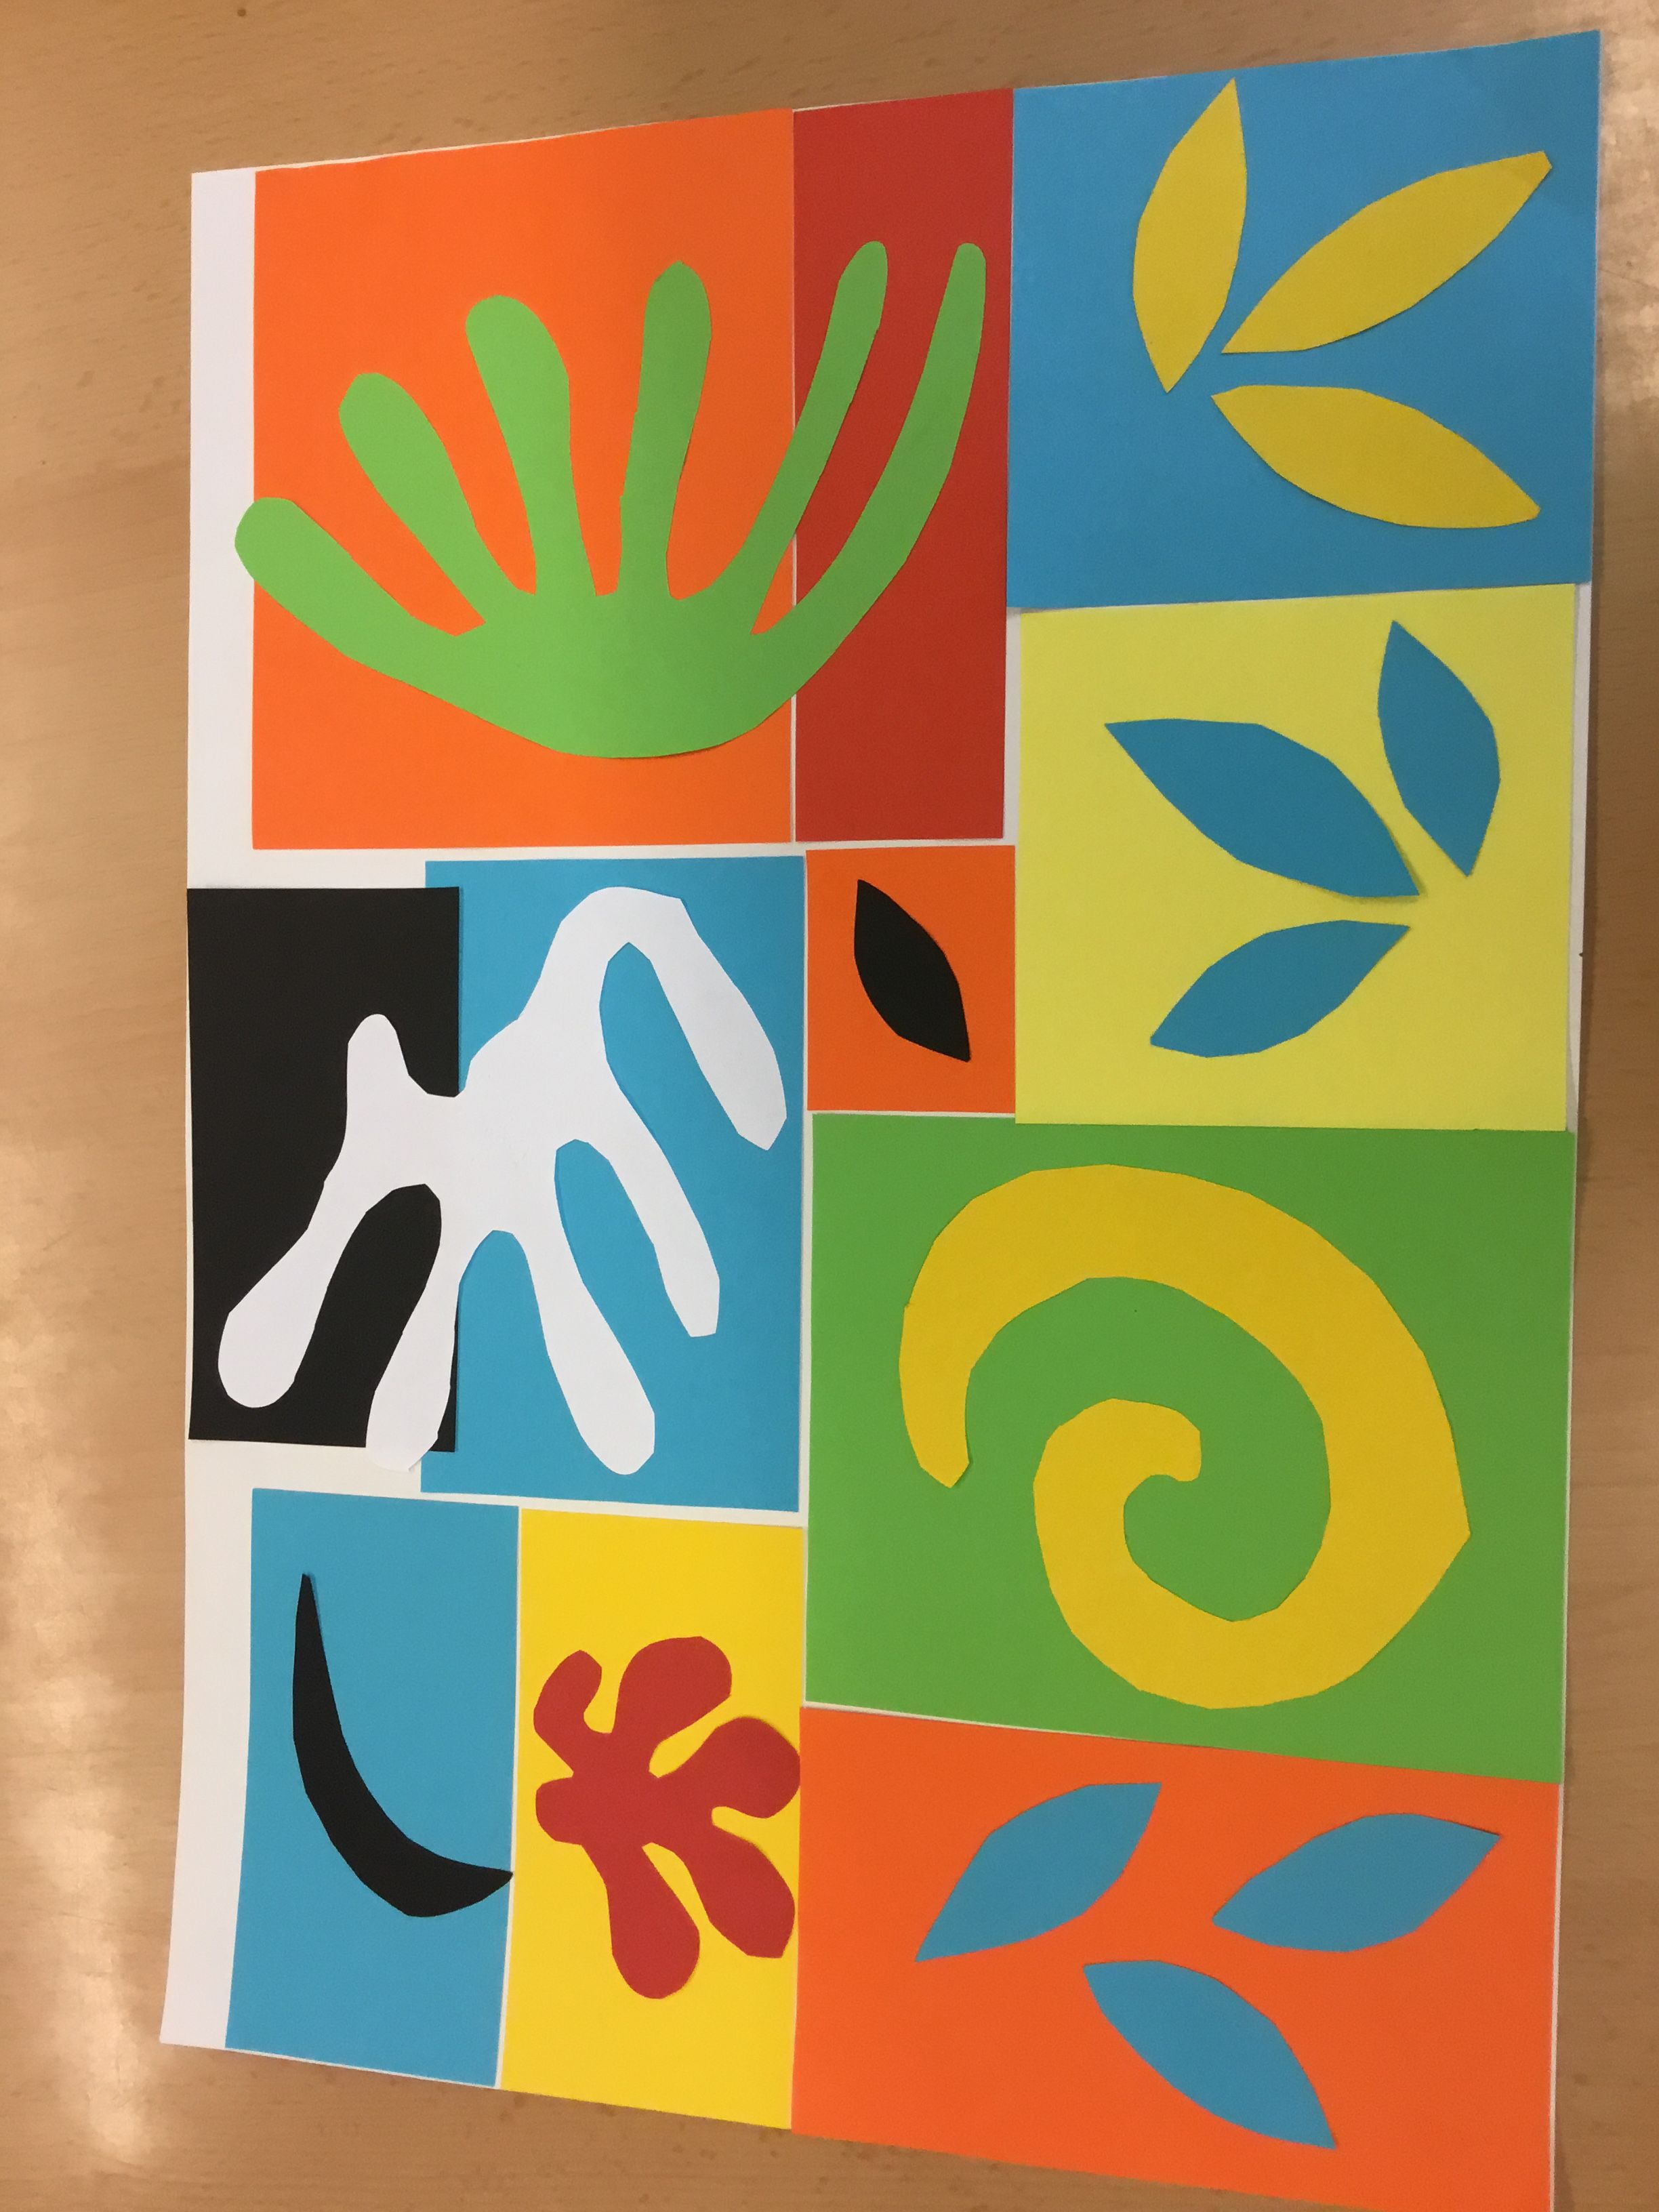
7. Matisse Cutouts
This is a great way to use up all those scraps of construction paper. BTW, I highly recommend buying paper labeled “fade resistant” like HERE. Find a lesson plan HERE.
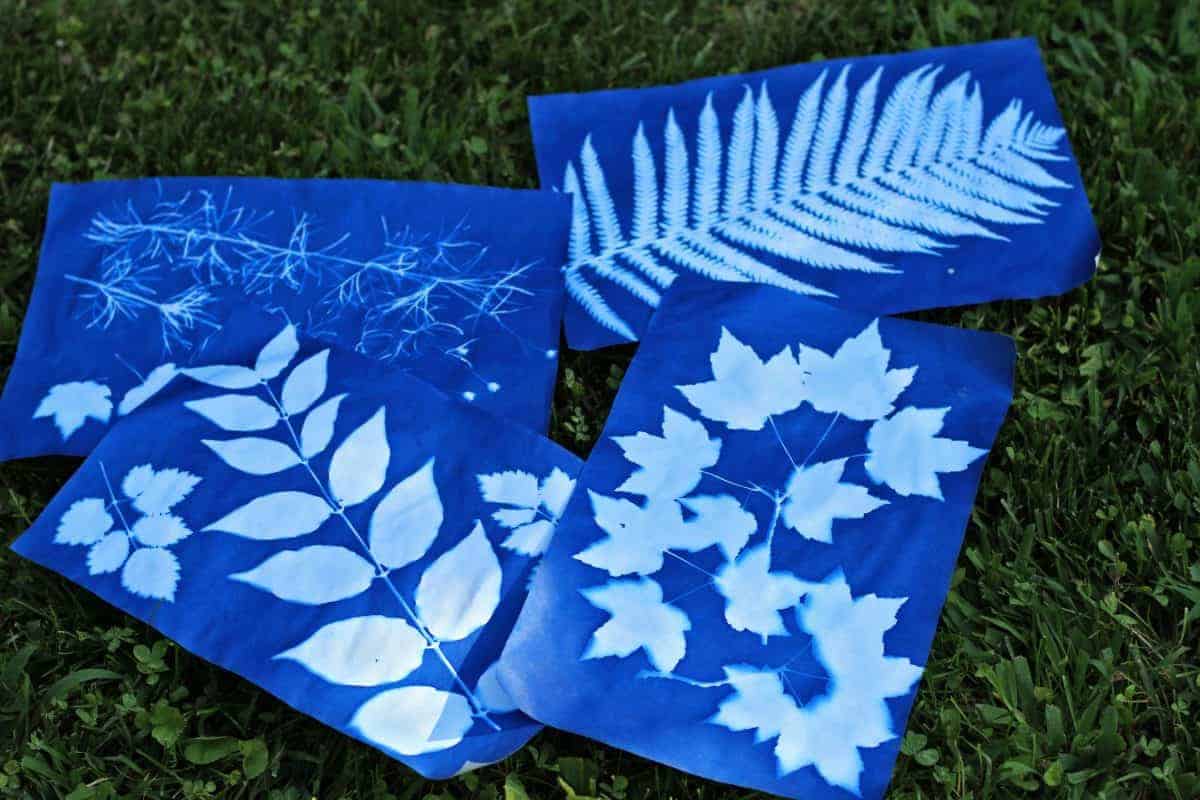
8. Sun Art Prints
I don’t care how old you are, sun prints will never cease to entertain and amaze. Plus, it gives you a reason to take your classs outside to boot. I also had students come up with nature haikus which we designed on the computer, printed out on plastic overhead sheets, and placed with the natural objects. Paper can be bought HERE.
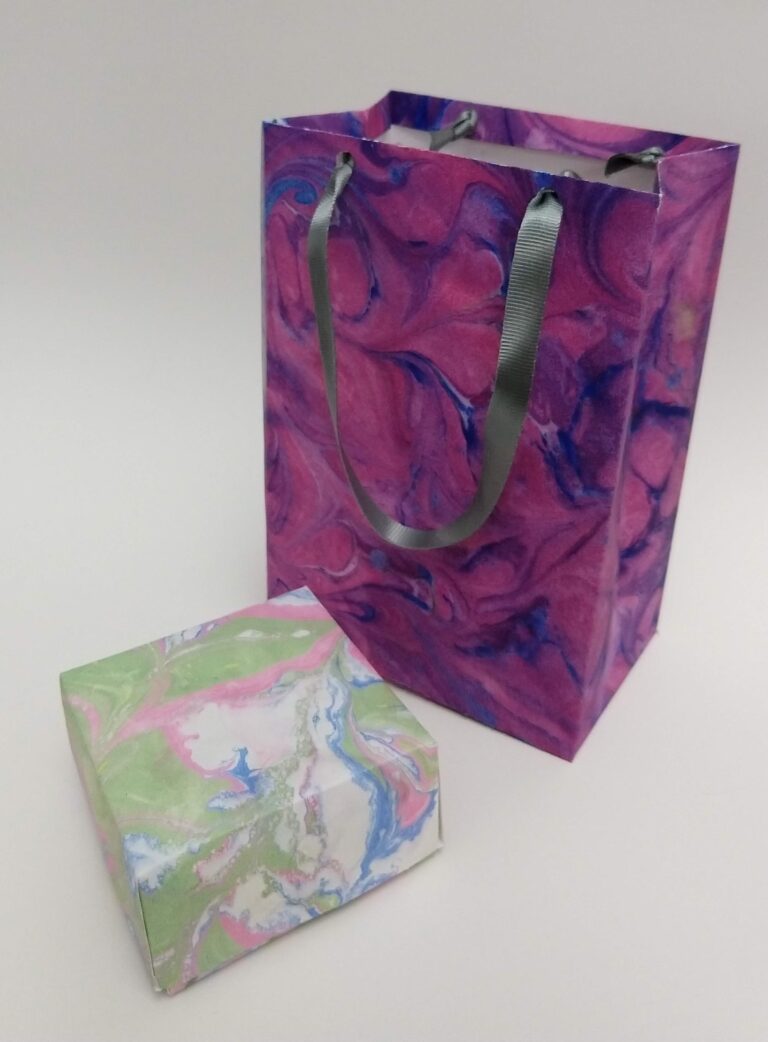
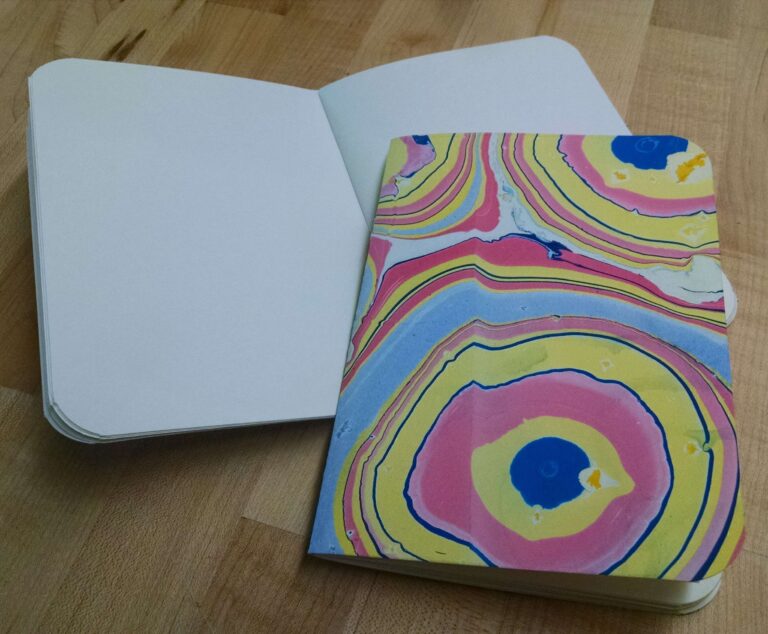
9. Paper marbling
Paper marbling is always a student favorite. Check out how our marbling resouces and what to make from your marbled paper, HERE at My Art Lesson.
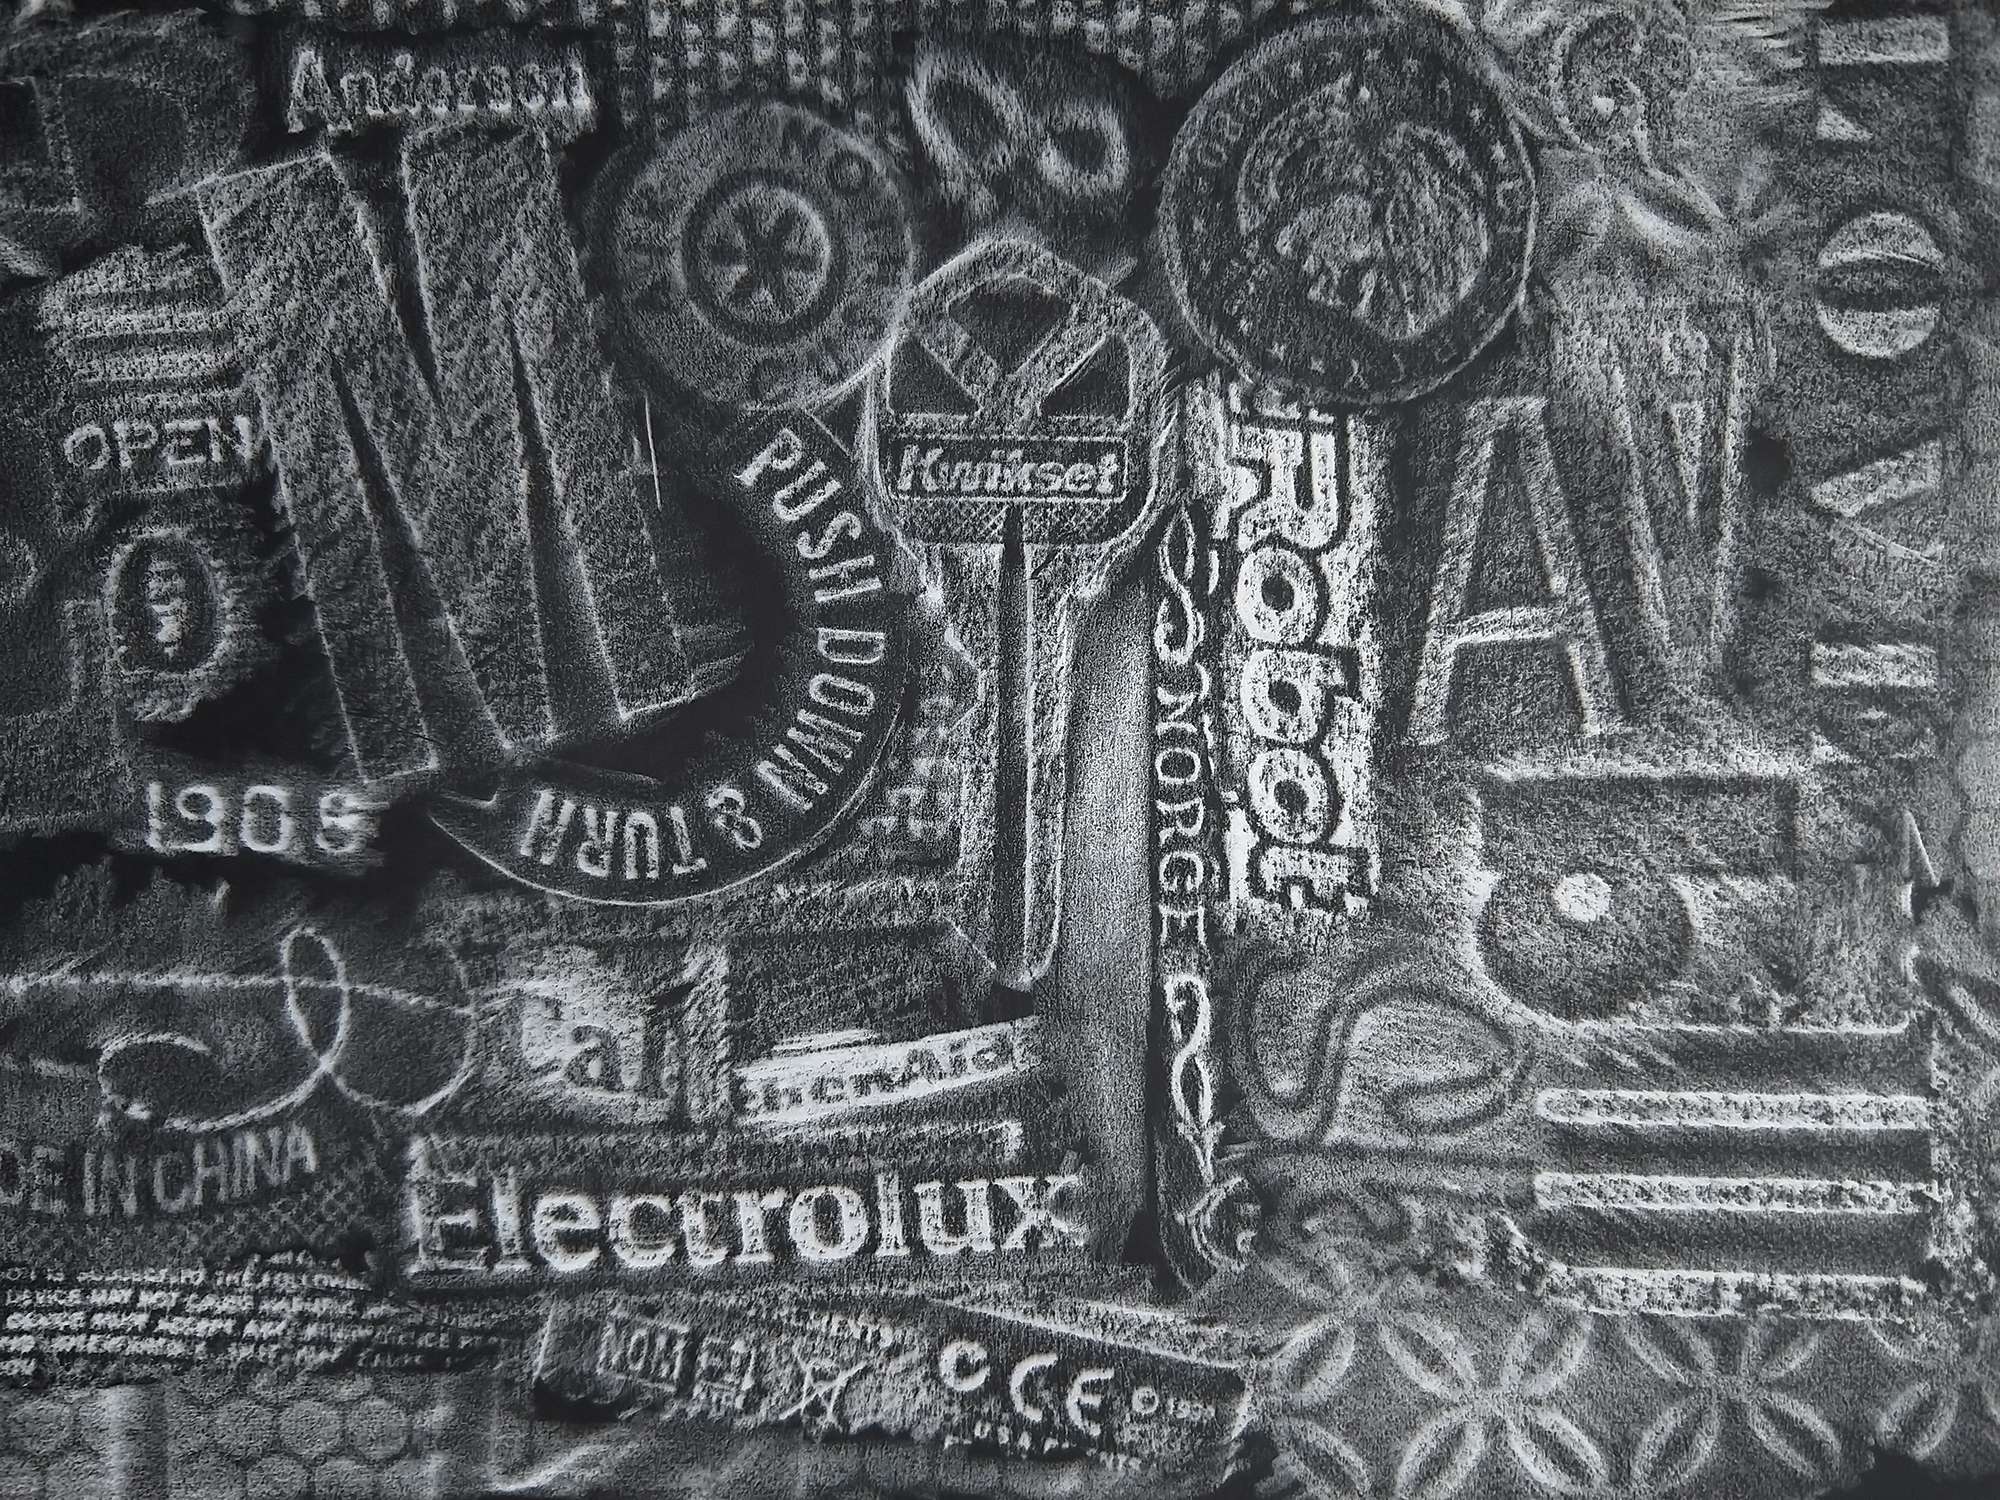
10. Rubbings
You may think of rubbings as something you do in preschool but check out this lesson for older students.