Grade Level
9-10, 11-12Duration
5-7 (90 min block) class periods
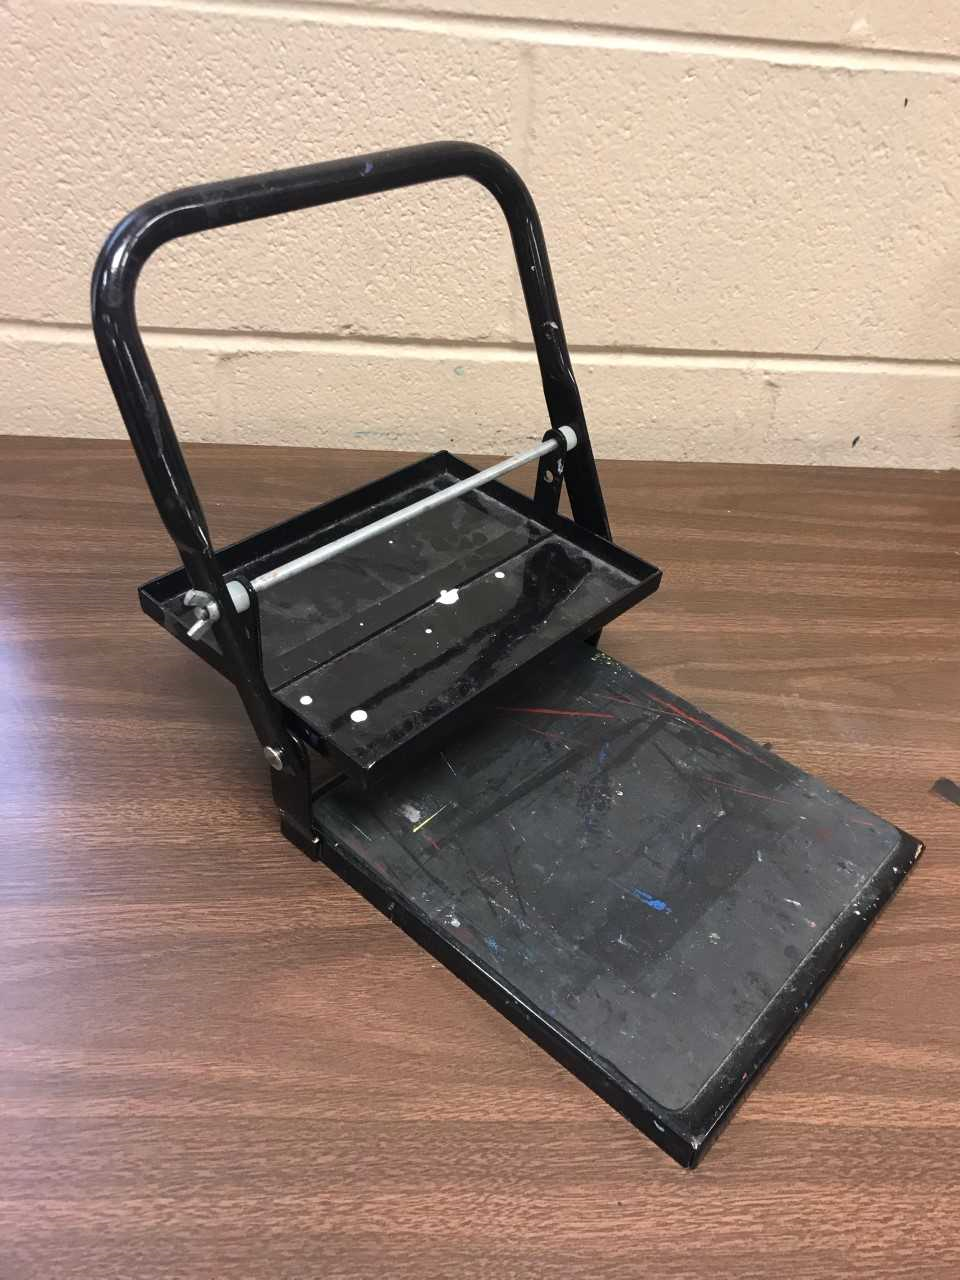
Materials
3×6 or any size linoleum scraps, lino cutters, printing inks, colored papers, poster board,
glue sticks, scissors, rulers and a small press is optional.
Media
Printing
Lesson Objectives
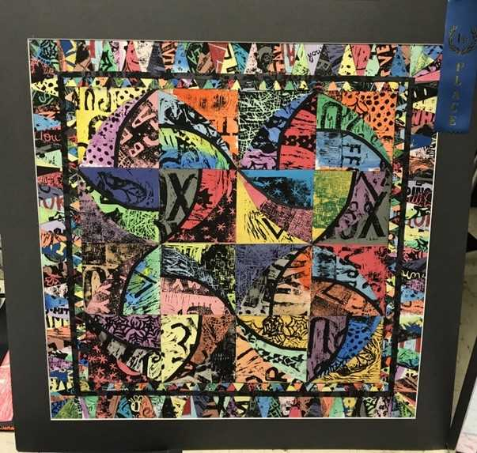
Use printmaking to create a unique “paper” quilt.
Introductory Activity
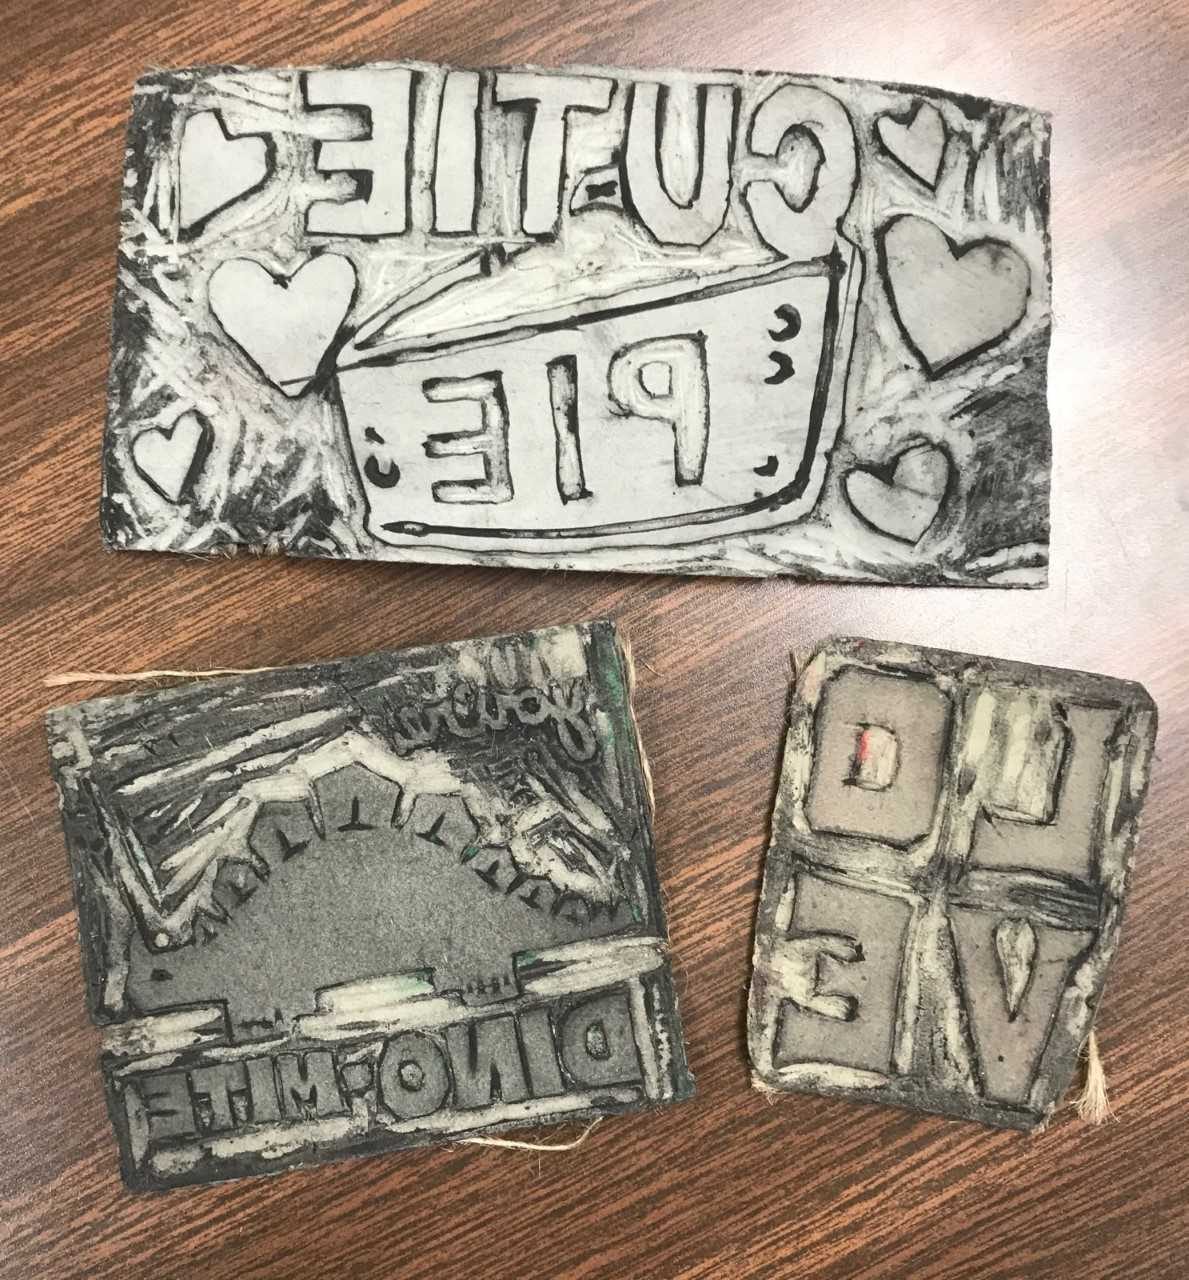
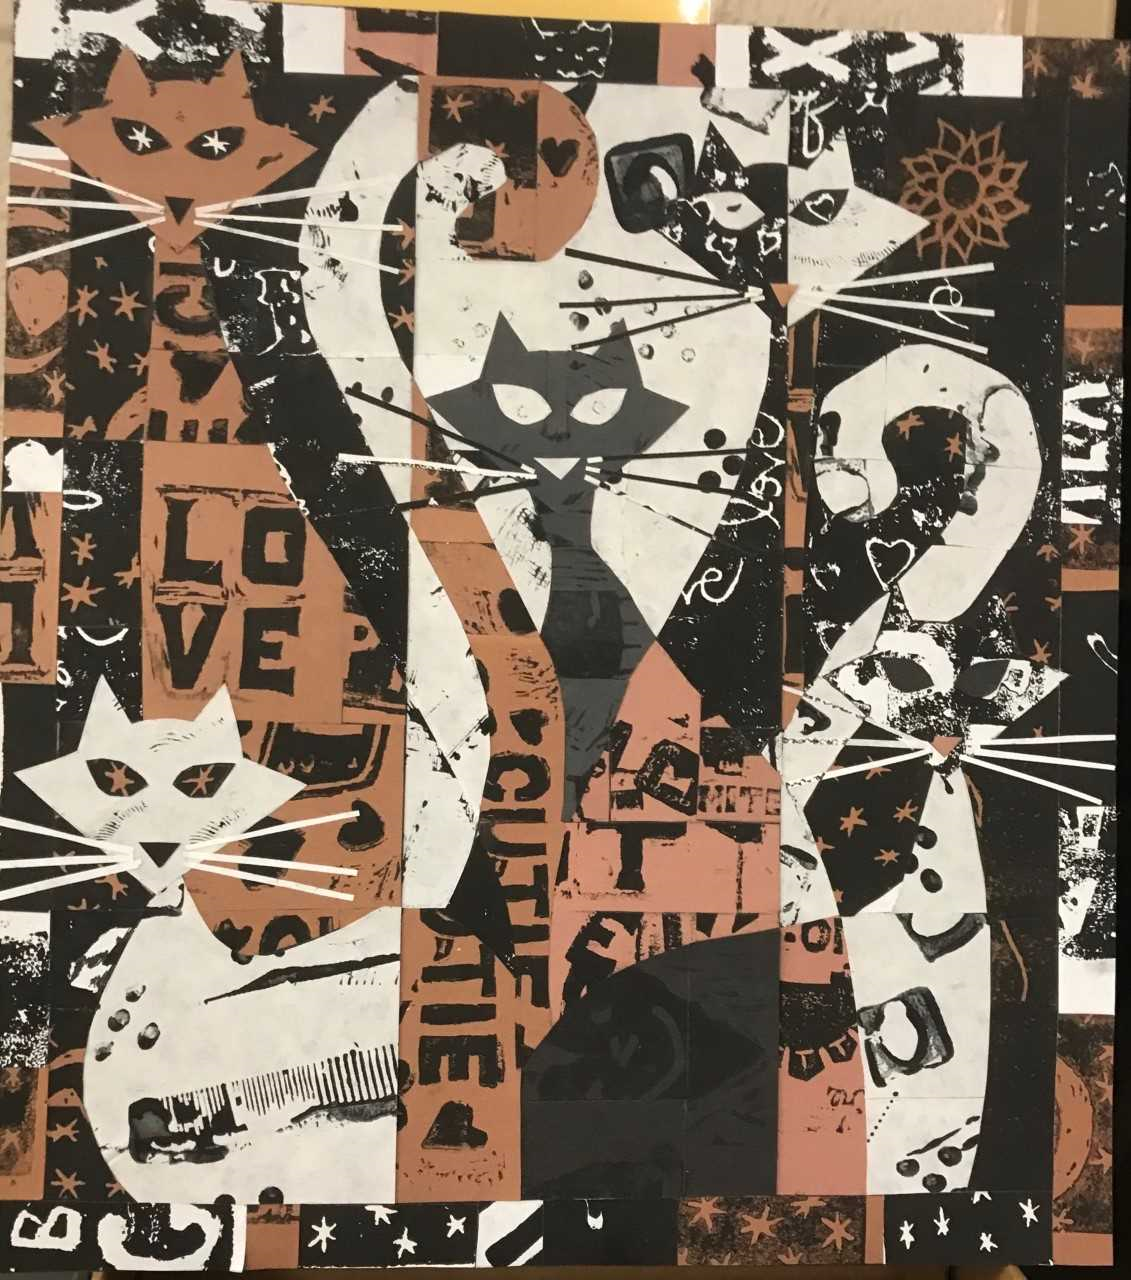
INTRO ACTIVITY: I was inspired by Jim Sheridan, a Nashville, Tn. printmaker at Hatch Show. I fell in love with his paper quilts and decided to try them with my high school students. I originally used this project for Valentine’s Day. I let students cut little Valentine puns (in reverse) and print them on colored paper to give to friends and family. I had them print on several different colors and only keep the best prints to give as little Valentine Cards. There were lots of scraps left over for paper quilt making.
Lesson Process
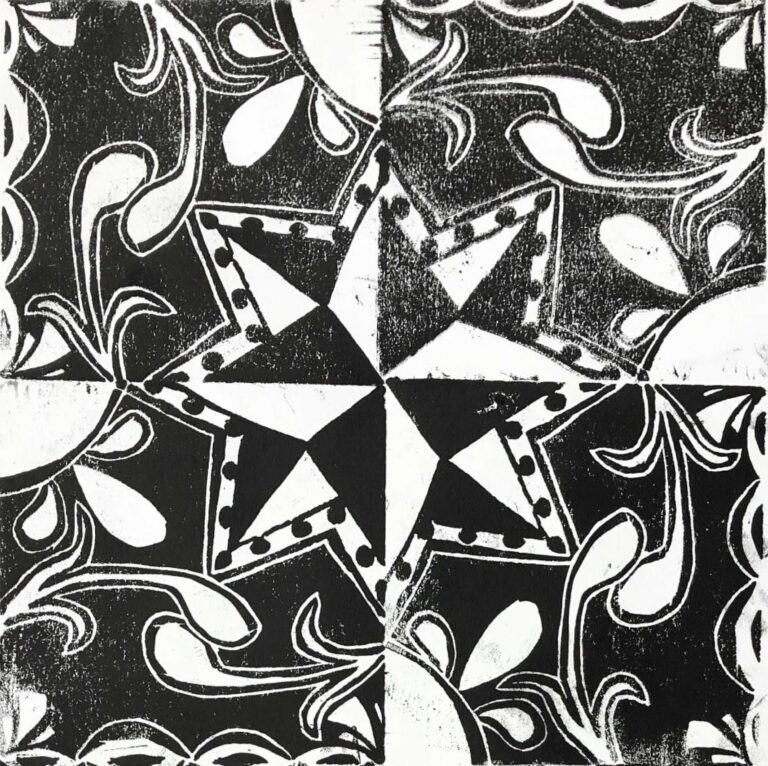
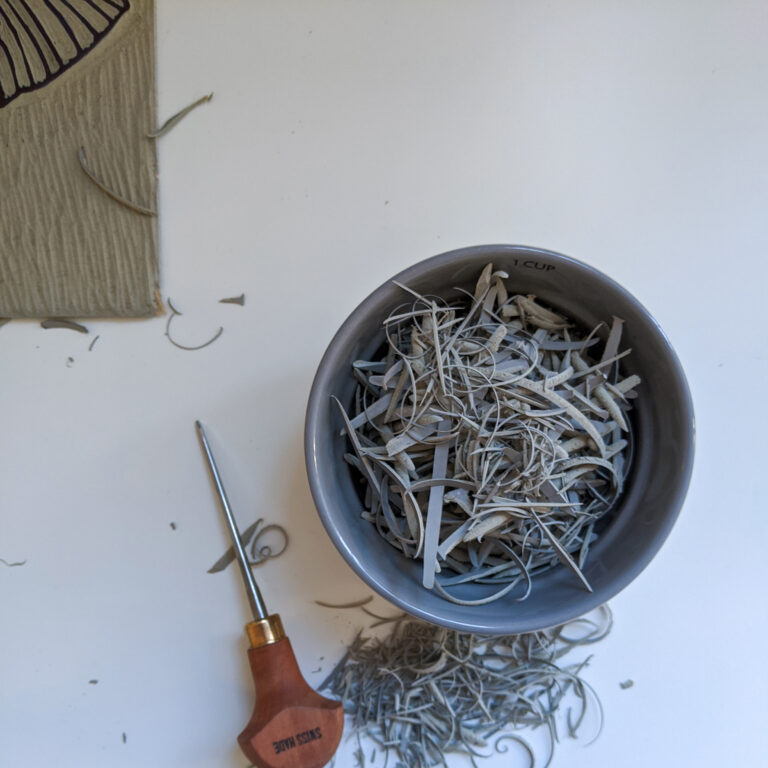
Use small pieces of linoleum to cut textures into. Or in February, students can make Valentine stamps like the examples. Use colored papers to print on with black ink. Students need to design a quilt pattern, or they can look online for ideas for quilt patterns. Use a square poster board about 18×18 inches in any color. I usually let them use black or white. Students should use rulers to draw out their quilt pattern on the poster board and organize their color scheme. Then the fun part: using the colored papers with ink stamps all over them to fill in their quilt. They will need to measure, cut and glue in their pieces. I make sure students are using scrap papers with some ink on them (no plain paper). Some students will want to use colored inks as well and they are welcome to.
Vocabulary
Brayer, printmaking, press, linoleum, lino cutters, inks, quiltsResources
I usually ask students to research Jim Sheridan or even visit the Hatch Show Museum in Nashville at the Omni Hotel. It is so worth it.
Author & Website/Blog
Sonya Coley
Supporting Images