Grade Level
9-10, 11-12Duration
2 periods of approximate 45 minutes (I rotate students through scanner during while another project is on-going)
Materials
Scanner and editing program such as Photoshop
Media
Photography/Film/Technology, Digital
Lesson Objectives
For the student to:
Understand how to use a scanner
Understand the how a scanner is like and different from a scanner (and how to exploit the differences at times for effects)
Create an expressive self portrait
Introductory Activity
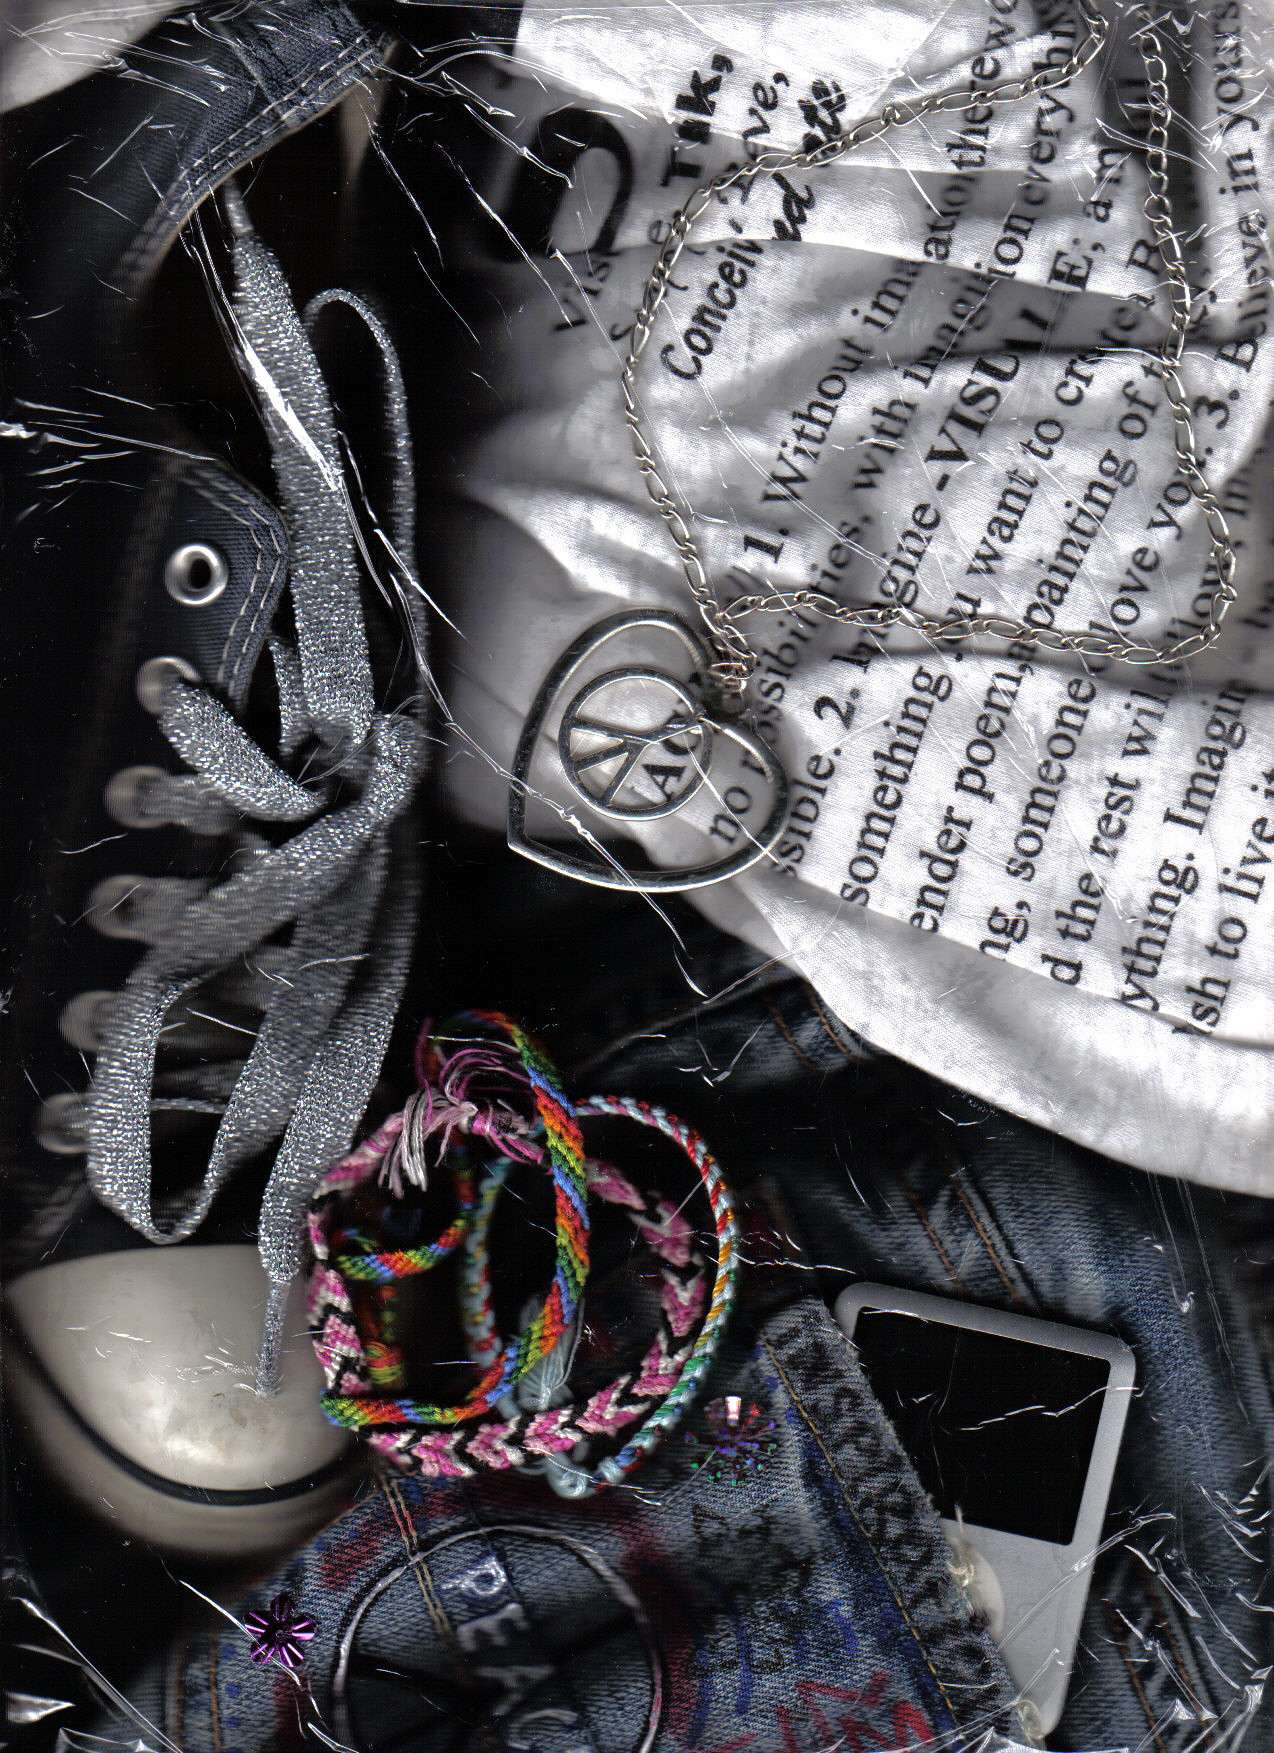
Scannography is the name for art created with a scanner. This assignment was never an assignment that took center stage in my class. Well, at least in terms of time and focus. It was something I added in because it was quick, easy, creative, and enjoyable. It also yielded some impressive work at times, so low risk but high reward. Sometimes it was a summer homework option for AP. Some years I taught it in context to photography. One year I taught it to my art club. Usually I taught it in a digital art class. I first spent part of a class period introducing how to scan use the two scanners I had in the digital lab, with emphasis on choosing the right dpi. DPI is a paper dots per inch, which dictates the quality of the scan and I ask students to set it to 300. Scanning directions will vary depending on scanner but you can get general guidelines should you need them here, How to Scan and Save Documents: PC, Mac, iPhone, & Android.
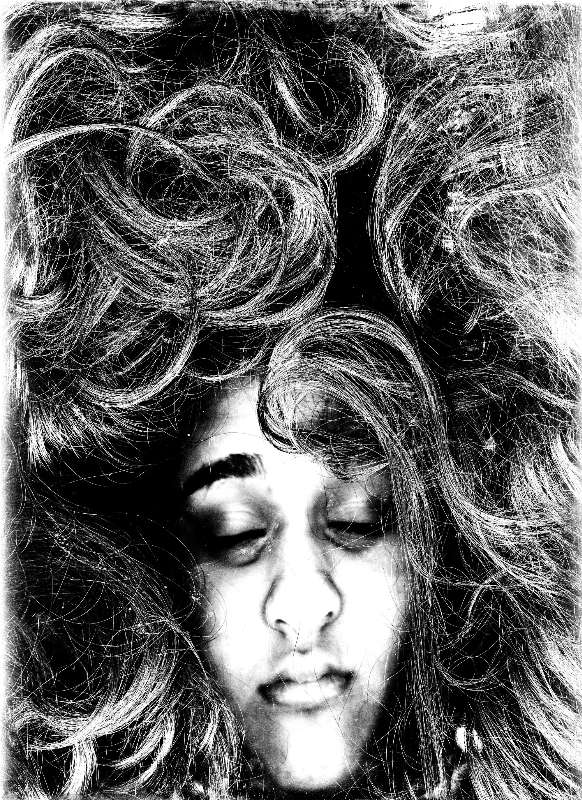
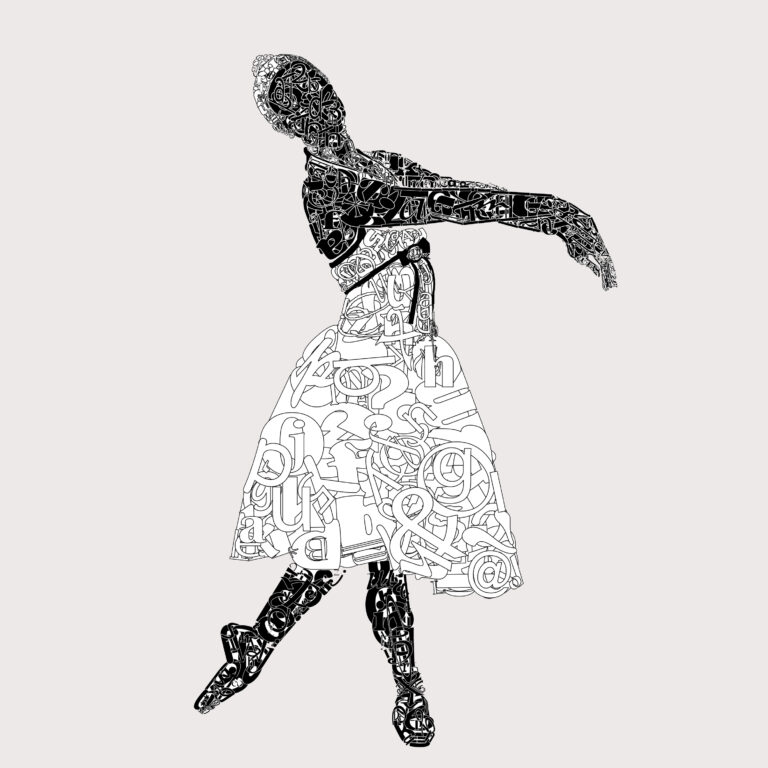
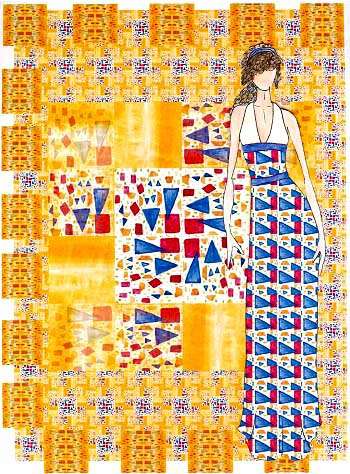
Next I would show examples of scanner self portraits and challenge their ideas of what a self portrait even means.
Now, I also talk about safety. Eye safety specifically. When you look at examples on the internet some people have their eyes open, most closed. I know bright lights for me may trigger a migraine, so the idea of it makes me wince. The internet is in disagreement about if it is safe so I just err on the side of safety. So, I ask them not to expose their eyes and we also talk about the creative possibilities (sunglasses, masks, etc).
Lesson Process
I ask students to research scanner art examples and to bring in any props or items they desire. I often ask students to pair up so someone can hit the scan button when someone else is posing. I keep some plastic wrap that students can place on the scanner if needed. This can add an interesting texture as well as protect the scanner from scratches, dirt, etc. I also keep a black cloth students can use in lieu of using the scanner bed “top.” There is nothing wrong with allowing there to be no cloth or backing to the scan as well, it has a very low depth of field.
Students will discover spontaneous things. Often, an aborted scan or a scan where someone moved will yield artistic potential to be exploited.
And, of course, there is what you do after the scans in terms of manipulations in an editing program as well. For example, see the “scandalas” of Marty Klein.
Vocabulary
resolution, dpi, scanner, self portraitResources
9 Scanner Art Inspiration ideas
Lesson: Scanner Self-Portrait – Sinthia Cousineau
Elena Kropaneva – scannography – ScanArt
scannography – ScanArt
Author & Website/Blog
Supporting Images