Grade Level
9-10, 11-12Duration
10 classes, 45 minutes
Materials
Computers with Photoshop (or comparable image editing program). Nice to have, but not necessary, a drawing tablet. Might me possible to do portions on a tablet with drawing programs such a Sketchbook pro.
Media
Digital
Lesson Objectives
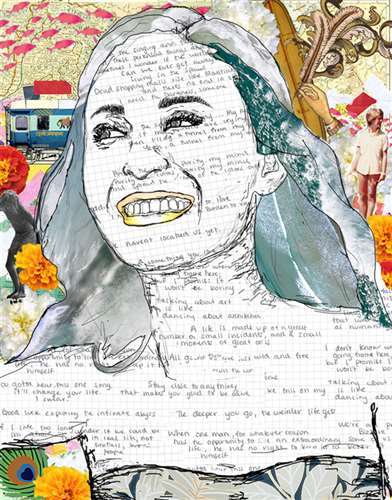
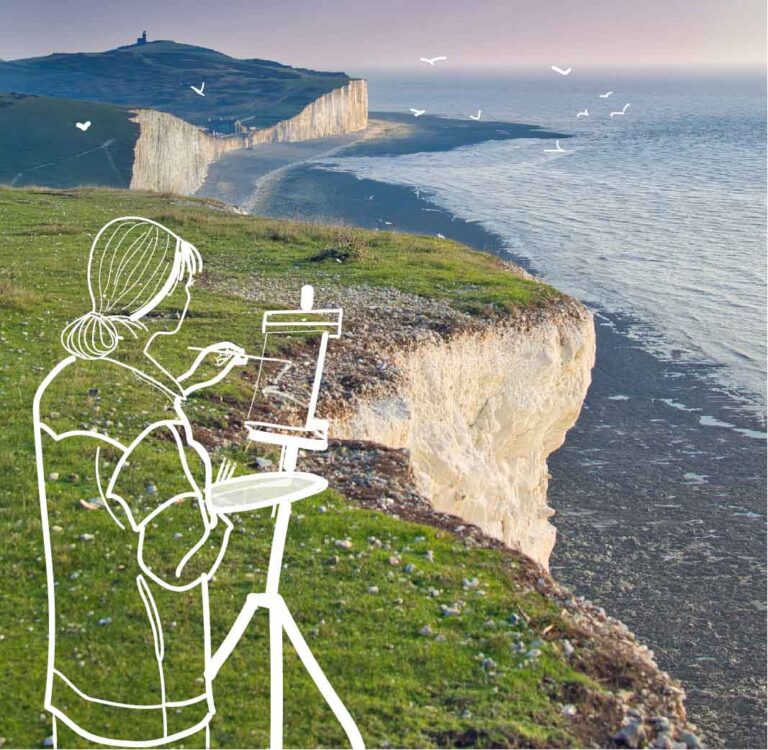
To develop photoshop skills in collaging images from difference sources, understanding and applying resolution . To create an image that considers both the interior and exterior self.
Introductory Activity
Students are asked to find our take an image of themselves. In class I teach students how to set up their art board in photoshop and use A Wacom tablet. Student create a new 8.5×11 inch document at 300dpi to start. I explain to students why they need to create their art board first. Often, if they start with their photograph they have no idea what the resolution is and it’s often too small for the work to be of good quality- but they won’t realize that until they want to print it. So, start with the document and then open the reference photo (I have them place an image of anyone they want to pluck from the internet for practice) within the document. First off, we talk about the size the image opened in the document and why. We increate the size of the picture to fill the document but we do that with the understanding that the image is not 300 dpi as it is enlarged. As they are just tracing and the image is just for reference, this is acceptable. I show students how to lock the photo layer to prevent them from accidentally drawing on their resource image. Students follow some of the edges and we talk about line size and quality and play with various brushes. Student also learn the short cut for zooming in on the key board. To zoom in/out, press Ctrl (Mac: Command) and the + (plus)/ – (minus) key or hold Alt (Mac: Option) and scroll with the mouse-wheel.
For homework, student brink in a variety of photos of themselves and reference images of good quality. Student can search their own photos for images of people and places important to them. They may also search the internet as well so we discuss how to find quality images. As students are extensively collaging and manipulating I don’t speak to copy write issues beyond explaining that because they are creating something new that it isn’t a concern.
Lesson Process
Students will follow the procedures for creating a new document that they learned before. I do check that the documents are established correctly as they are so new to it, they often make mistakes. They insert their chosen photograph and bring it into the document and lock the layer. Create a new layer above and use the Walcom tablet to start tracing. At this point I will mention that it is not impossible to do this on a tablet or even on tracing paper or acetate which can then be scanned in. If using a tablet, they trace their images thinking about line weight and quality. This usually takes usually a day or two.
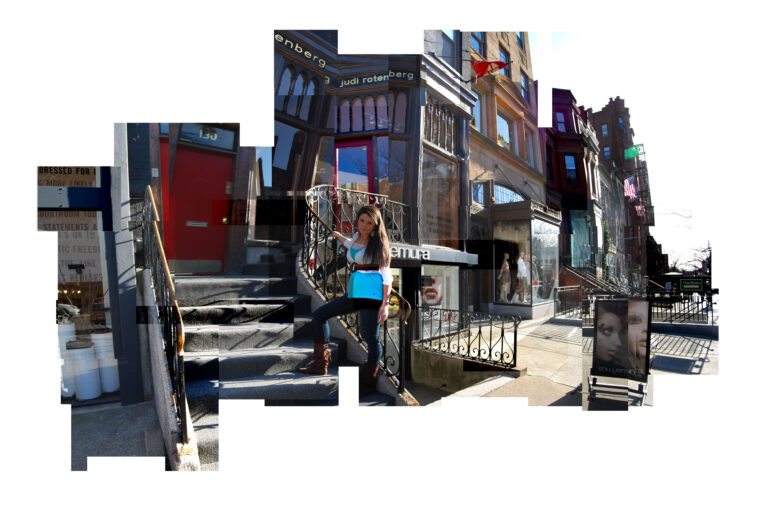
Students next start placing their collaged items below the sketch in the layer stack. They are welcome to explore altering, cropping, removing color, using blending tools or filters. They can also play with transparencies, layers, and erasing to soften and fade edges. Student are encourages to think about how to visually separate foreground and background. At this point student have the skills to develop the work.
Vocabulary
collage, resolution, layers, line, tablet, dpi, layeringResources
Author & Website/Blog
Supporting Images