Grade Level
5-6, 7-8, 9-10, 11-12Duration
2-3 classes of 45 minute length
Materials
gelitin plate (homemade or commercial), inks (I used Speedball) or paints, brayers, newspaper, paper, leaves, ferns and other plant material, and texture plates or textured materials
Media
Printing, Monoprint
Lesson Objectives
Students will…
create and original monoprint applying concepts of shape, pattern, and texture
understand the process and vocabulary involved in gelatin printing
Introductory Activity
Students can be introduced to the concept of printmaking. Printmaking is an artistic process based on the principle of transferring images from a matrix onto another surface, most often paper or fabric. In this lesson the matrix is going to be a gelatin plate. Gelatin printmaking is a planographic process, which means one prints from a flat surface. It represents traditional methods such as a wood block, etching, and lithography, in that one develops the image on a printing plate. Instead of copper, stone, or wood, this method uses a plate made of gelatin. It is a beautifully simple non-toxic printing method which lends itself to the exploration of image-making with a great deal of freedom and invention.
You may consider showing them examples of gelatin prints and introduce students to the materials that will be needed. A nice introductory activity is to go on a walk and collect leaves and natural materials (something like a branch with leaves or a fern can be kept in a vase with water or smaller items might be wrapped in a damp paper towel and kept in a plastic bag). I also encourage students to find and bring in textured materials such as doilies, netting from an onion bag, bubble wrap, cheese cloth, etc.
Demonstrate making some prints and introduce the students to the materials and techniques, impressing correct vocabulary terms as you go.
Lesson Process
To get started, apply ink to the gel plate by rolling on the paint with a rubber brayer. You can add other colors or smears of paint with your fingers to add extra variations. You can also put more than one color on the plate. You’ll want the paint to be fairly flat and not lumpy and thick.
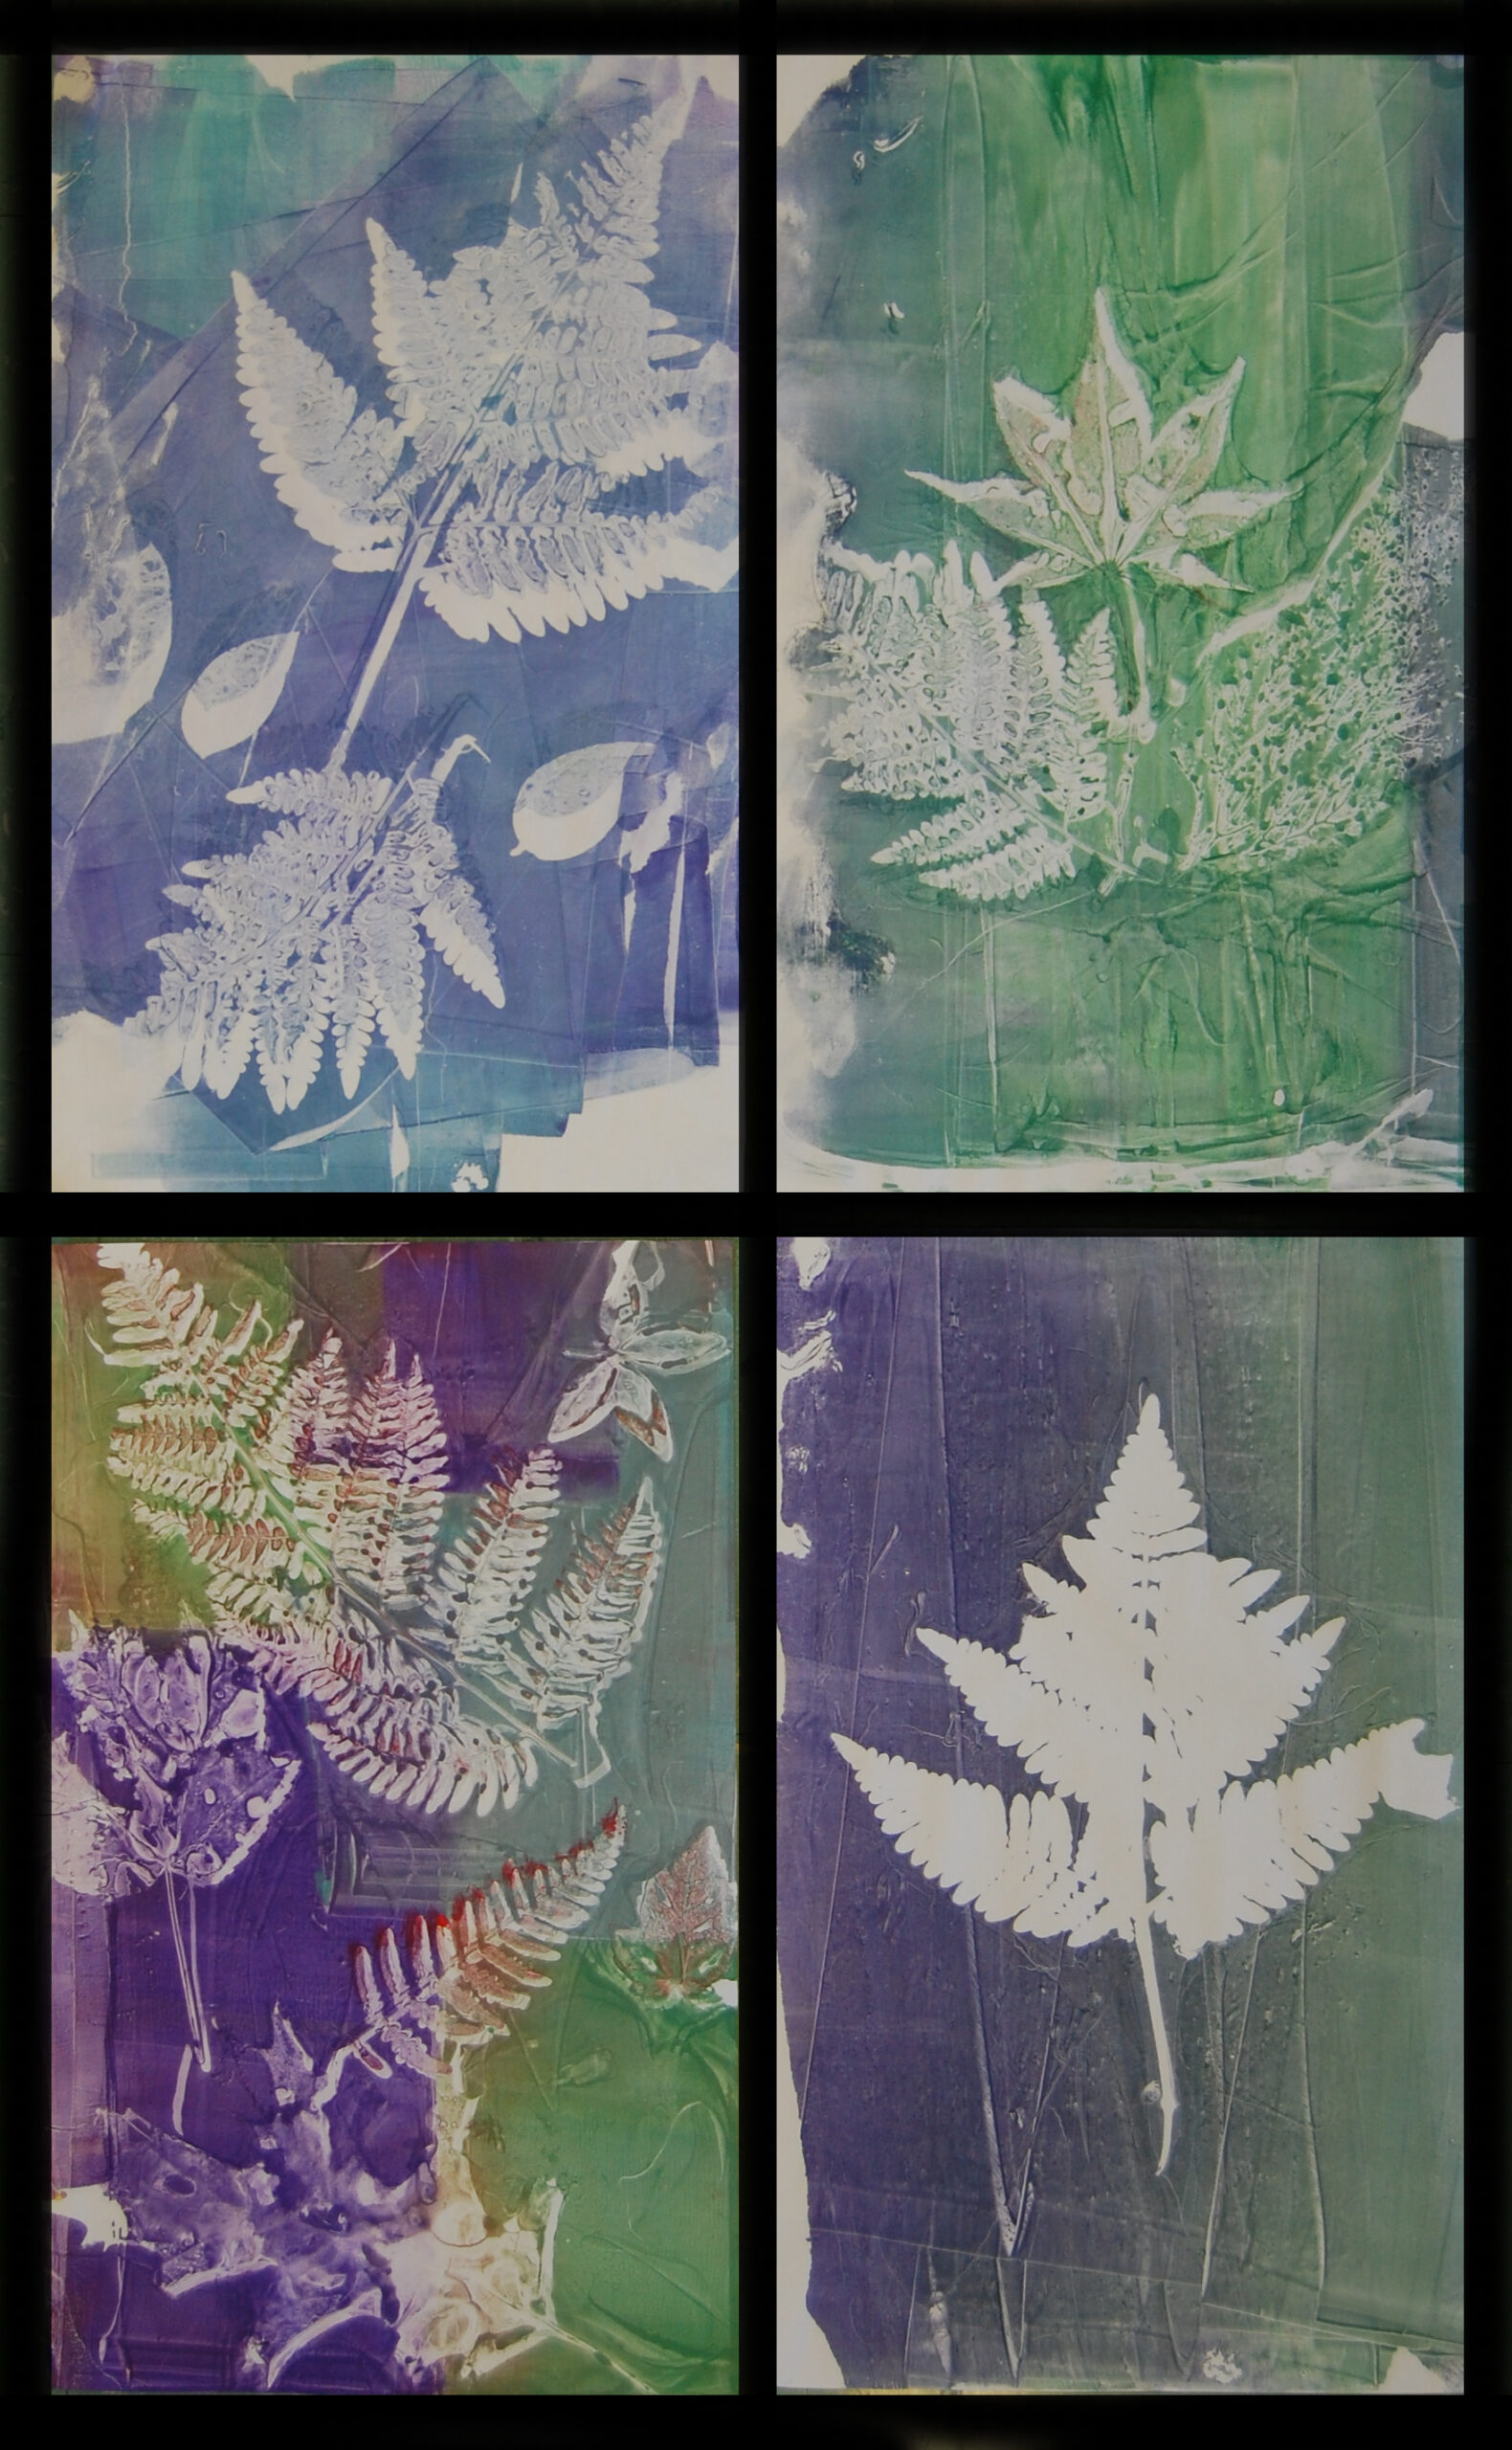
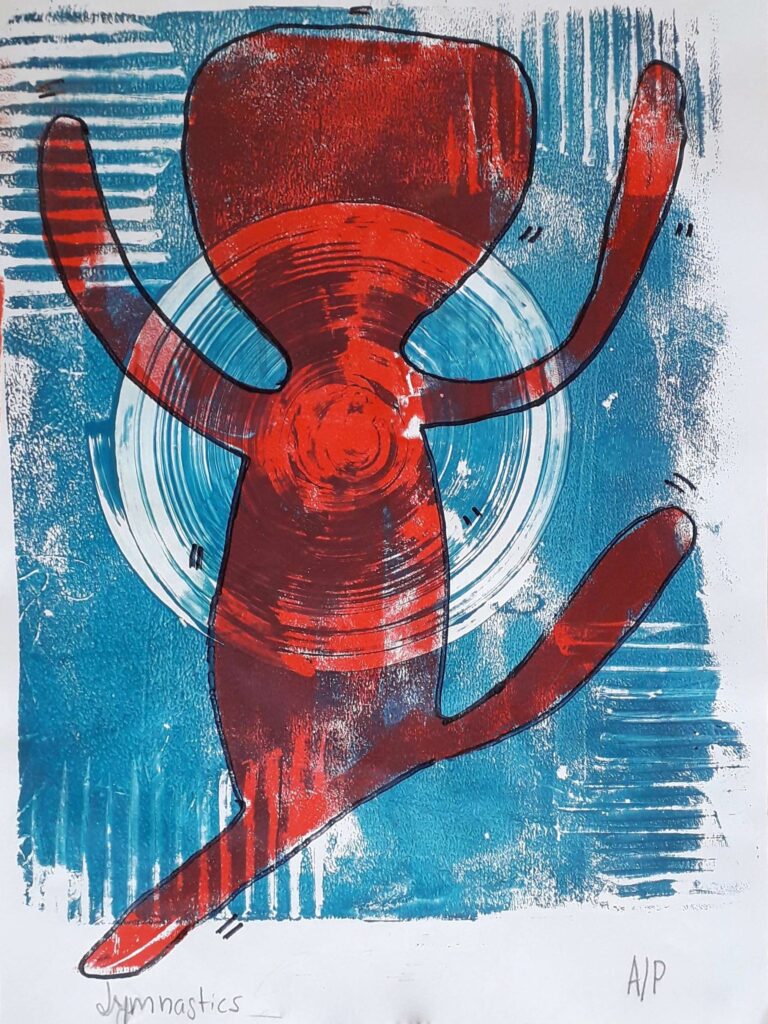
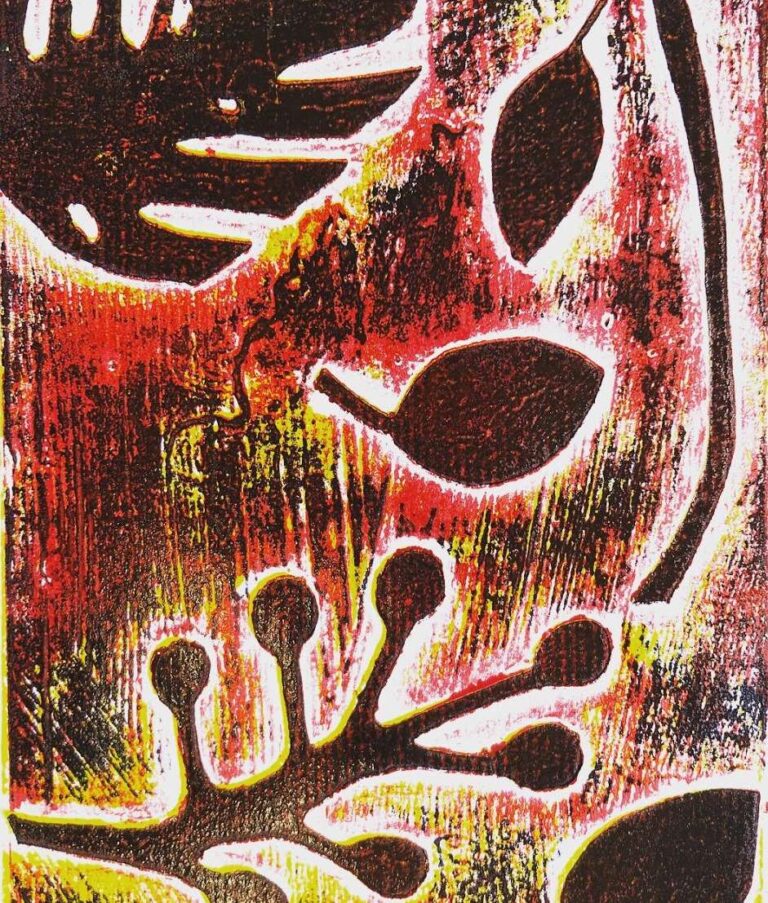
The general idea is to put items on the painted printing plate, and these items act as masks. So, you may put down several leaves for example. Put a piece of paper down (cheap thin paper is best, like copy paper), press your hand over the back of the print, and peal back. You will get a print that displays the colors in the background and the shape of the leaves in white. Peel the leaves off and take a new sheet and repeat the process. This time you have picked up the details of the leaf. This second print is called the ghost. Layer your prints!
Be aware that the best prints are not necessarily the first prints!
When you want to change colors, clean your brayer gently with warm soap and water. Dry the brayer! This keeps paint from building up and keeps the brayer dry so that paint/ink adheres. Be careful not to put water on your printing surface, it makes a mess.
Things to experiment with:
1. Texture!
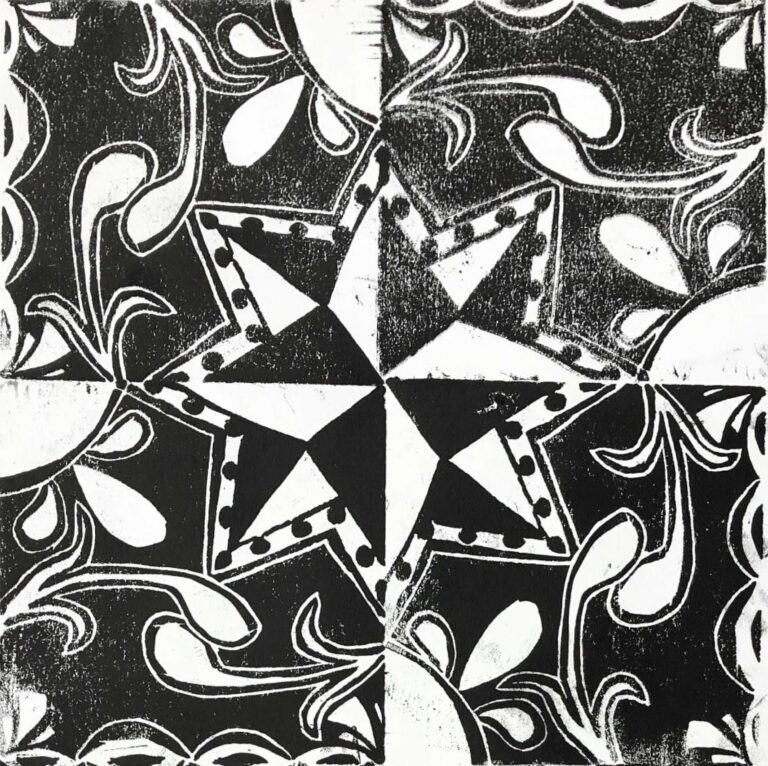
2. Stencils, made and found
3. When the plate is old or dinged up, try cutting the plate using the exacto knife, space out the blocks a little, ink, and print. (Then melt and reform).
4. Layering!
Vocabulary
Monoprint, Brayer, gelatin print, stencilsResources
What is a Gelatin Print? – YouTube
9 Easy Beginnner Gelli Printing Techniques – YouTube
Author & Website/Blog
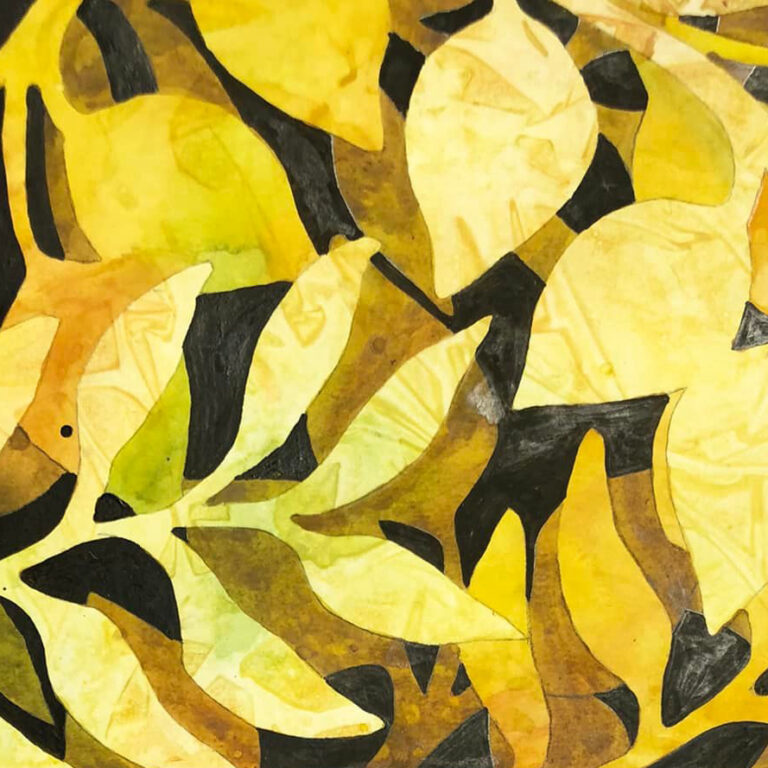
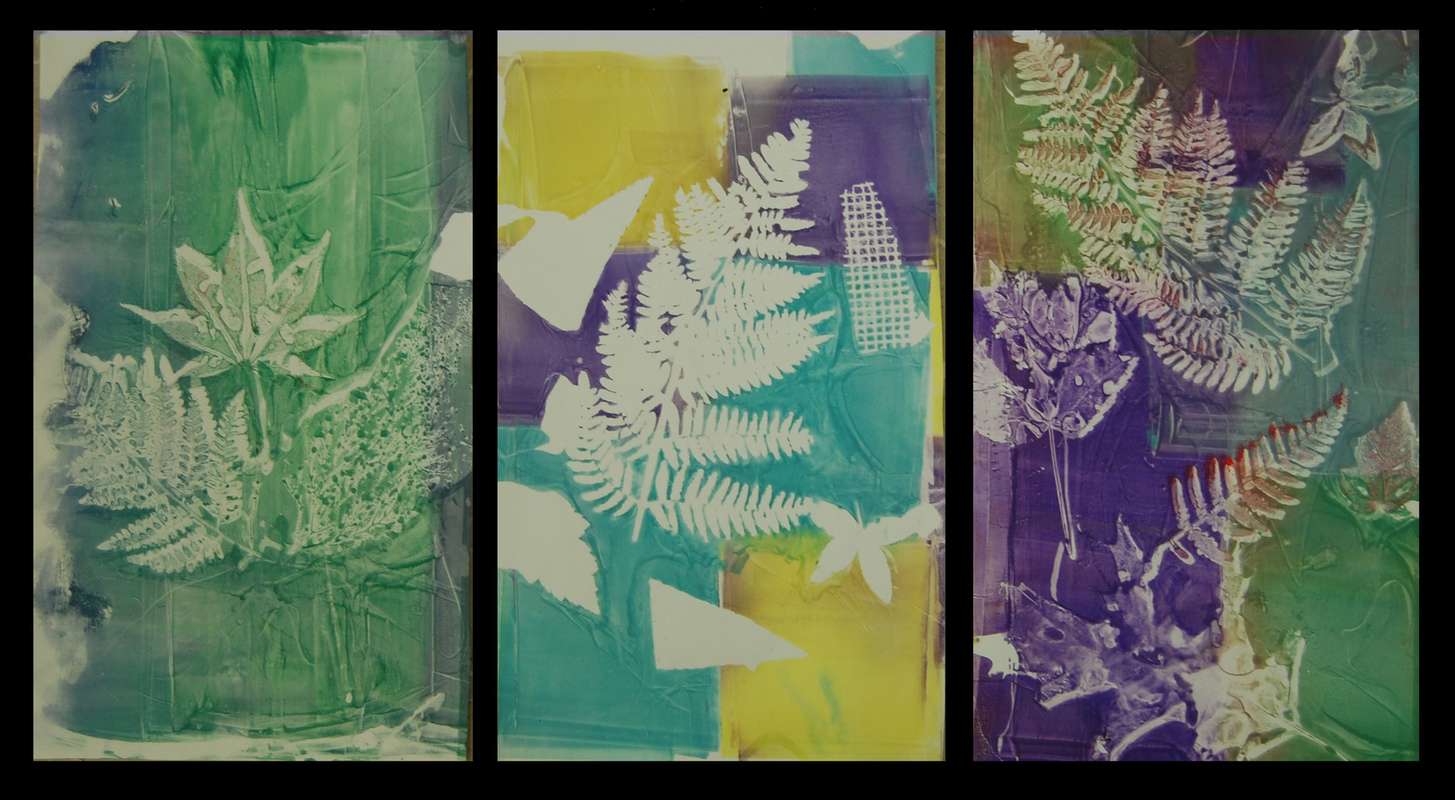
Supporting Images