 9-10
9-10
Duration
20 class periods, periods are fifty minutes
Materials
Real or fake pumpkins and gourds, black foam core boards, tape, drawing paper or sketchbooks, Sharpie marker, paper cut to 5.5″ x 7″, bristol board cut to 11″ x 14″, access to a copy machine to make enlargements, pencils, graphite paper (also called transfer paper), oil pastel and India Ink
Media
Mixed Media
Lesson Objectives
The student will:
• observe and draw their pumpkins and gourds using lines (blind, continuous, contour line).
• plan and organize the composition using strategies learned in class (how big to draw their objects, how to fill the space, how to break edges).
• use mark making skills to emphasize form and create patterns
Introductory Activity
Students start by bringing in three mini pumpkins and gourds (teachers can also set up their own still lives of pumpkins and gourds). The pumpkins and gords can be real or fake, however, I encourage the students to get fake (from a craft store or Michael’s) so they last longer.
On a piece of black foam core, students arrange a still life of their pumpkins and gourds and tape them down so that they stay in place.
Students then do some practice drawing from observation (blind, continuous, contour line drawings, continuous contour line drawings, and just contour line drawings – all done in Sharpie marker.)
Lesson Process
We then give them a compositional template that is a 1/2 scale of the final drawing (for example the final drawing is 11″ x 14″, so we created a template that measured 5.5″ x 7″.) In this template, students draw their still life in pencil – no shading, just lines. We go over composition, how big to draw their objects, how to fill the space, how to break edges, etc. The teacher emphasizes the Principles of Design when students are creating their compositions.
Once that small drawing is done, we enlarge it by 200% on the copy machine and students then transfer it onto bristol board using graphite paper.
Students then go over all of their pencil lines in thin Sharpies. Then we have them thicken up some of their lines using a thicker Sharpie. For example, one side of a stem might be a thicker black line to show shadow.
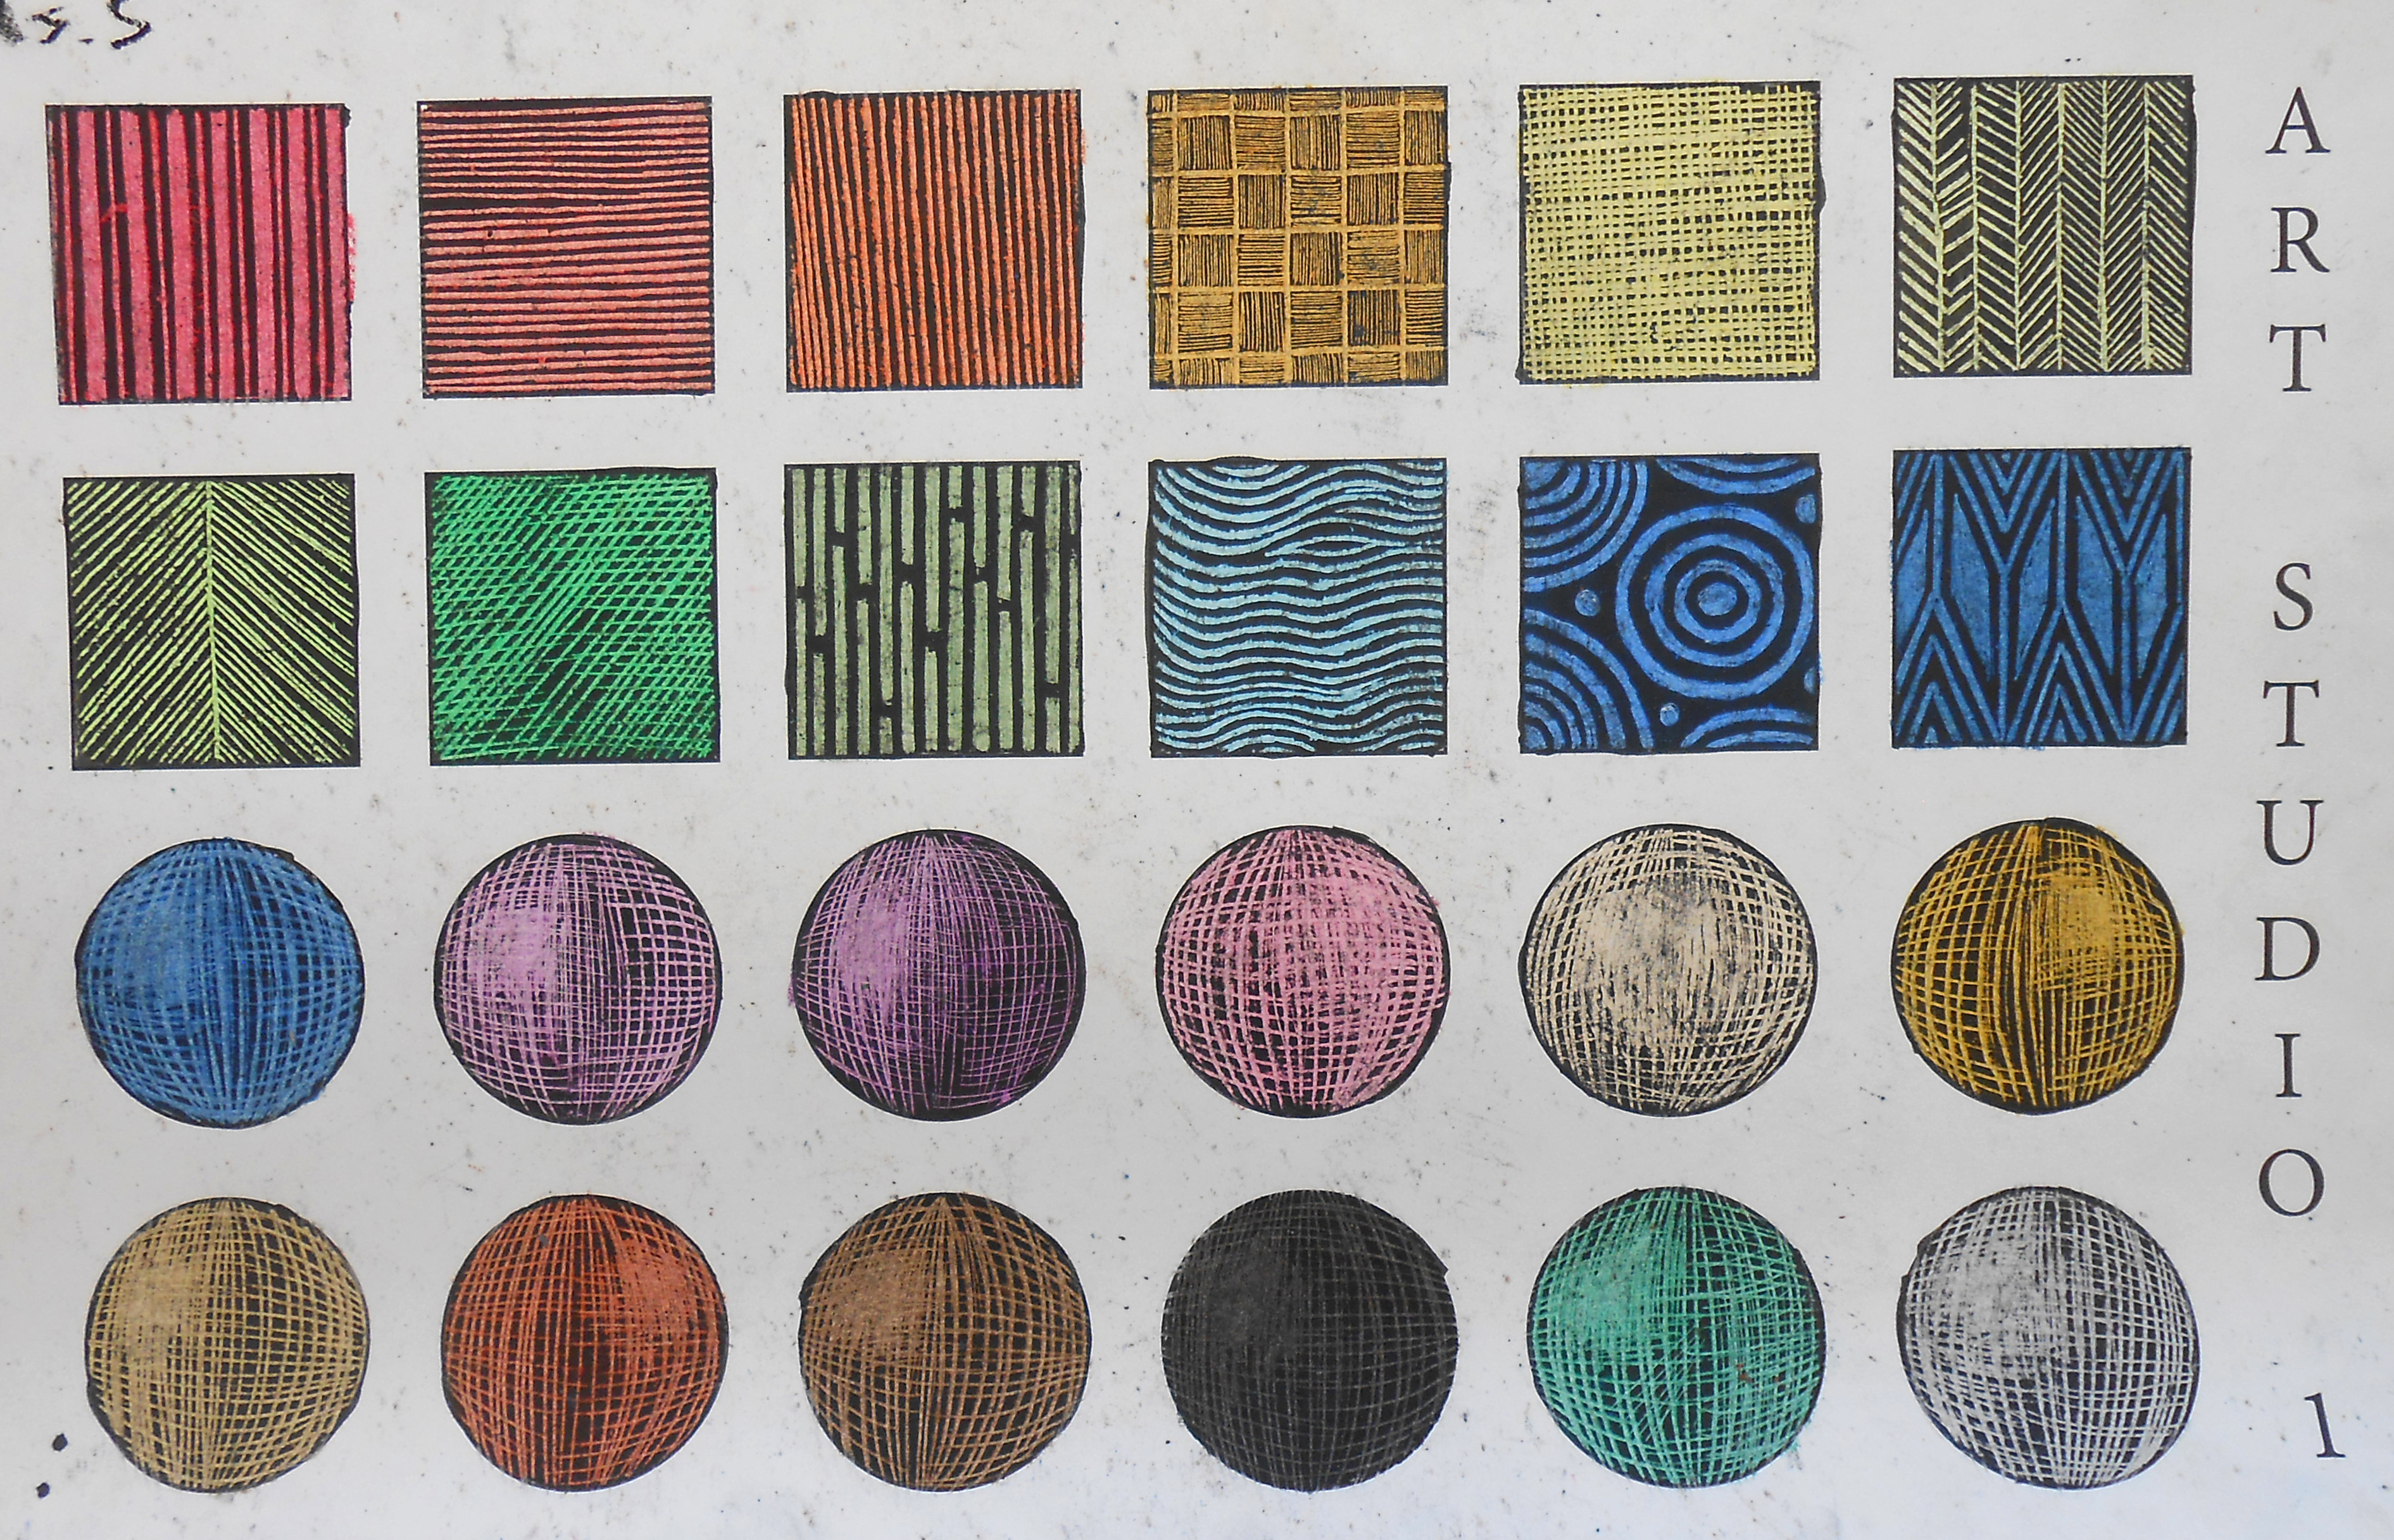
Students then do a practice sheet where we give them boxes and spheres to color in with oil pastel and India Ink and practice their mark making and practice creating patterns (see last example photo).
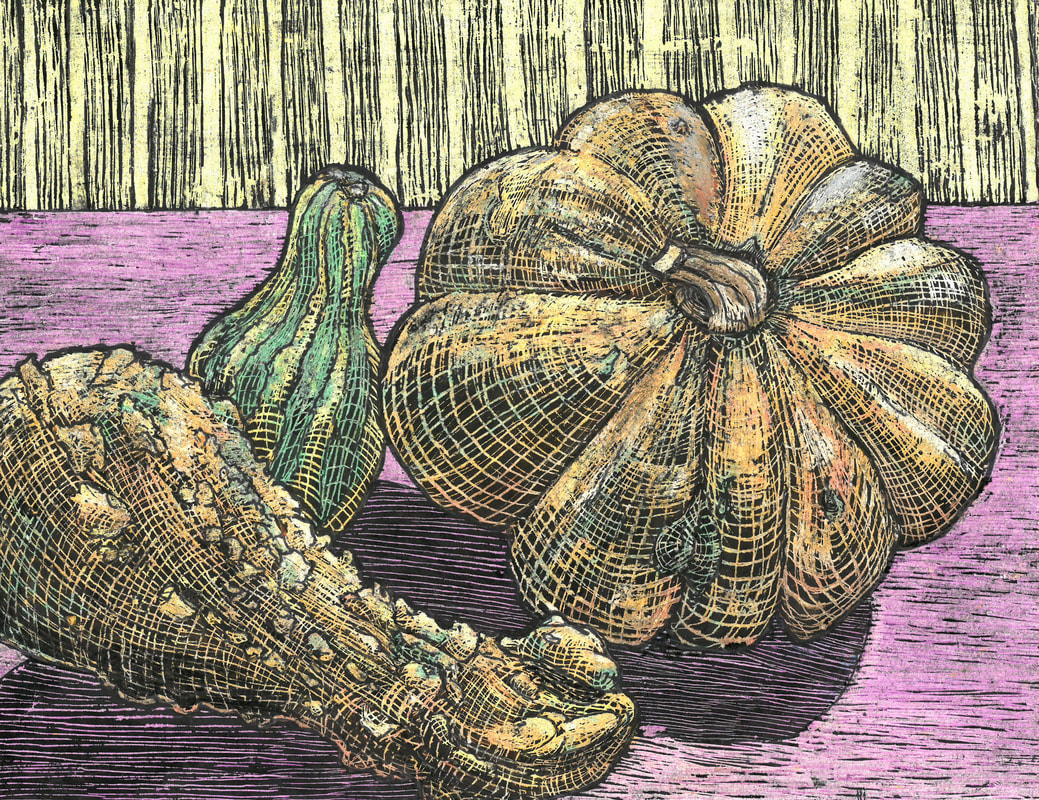
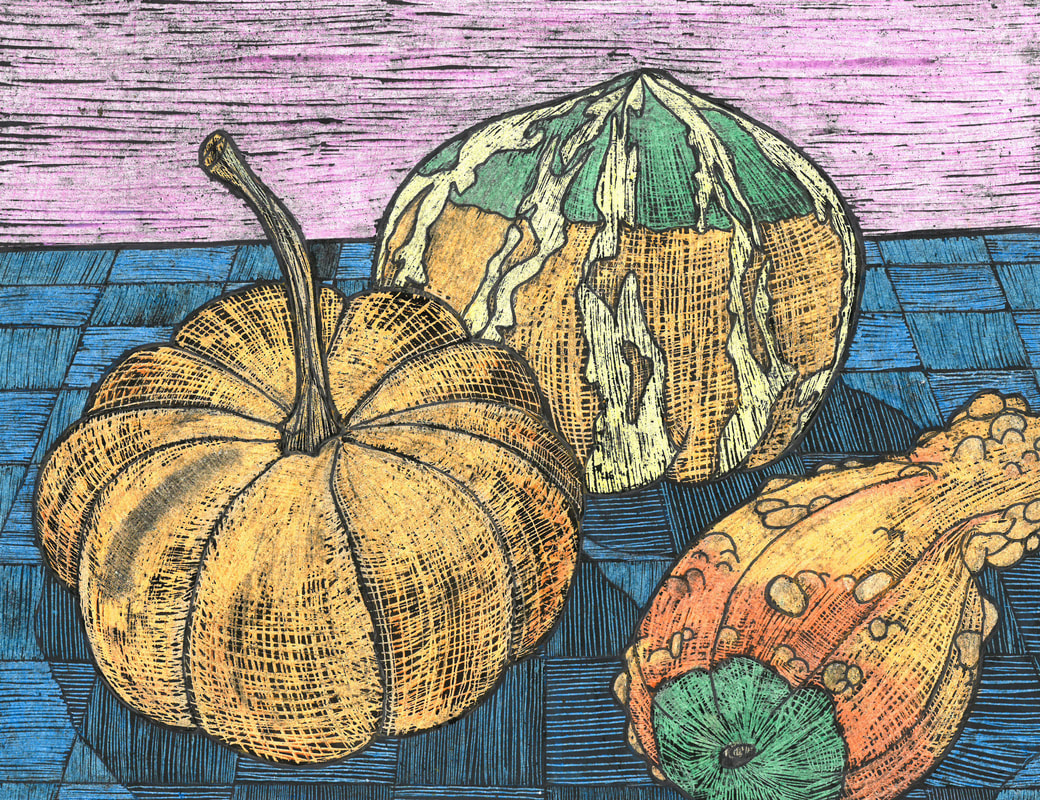
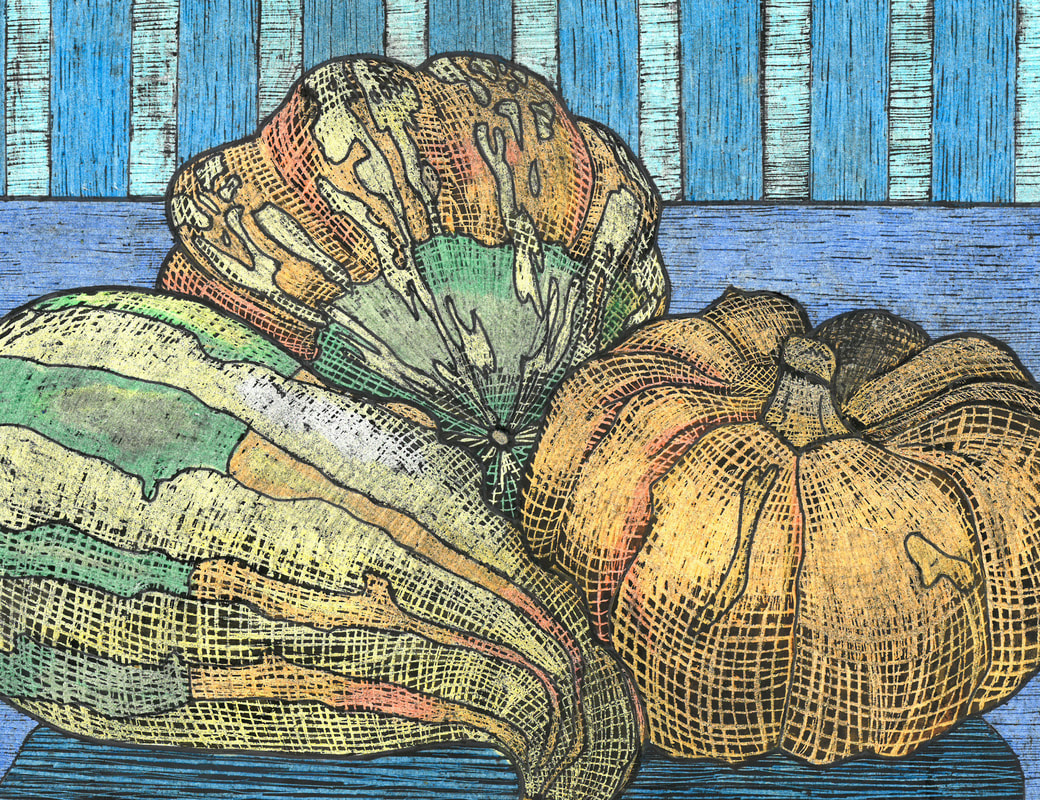
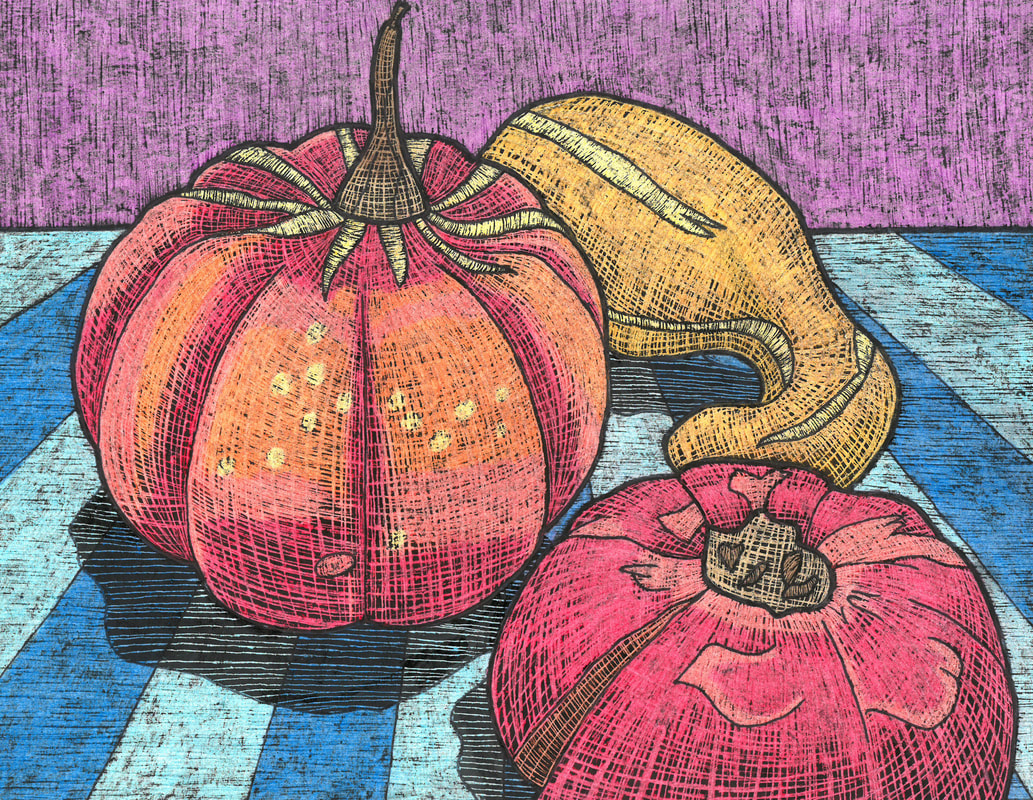
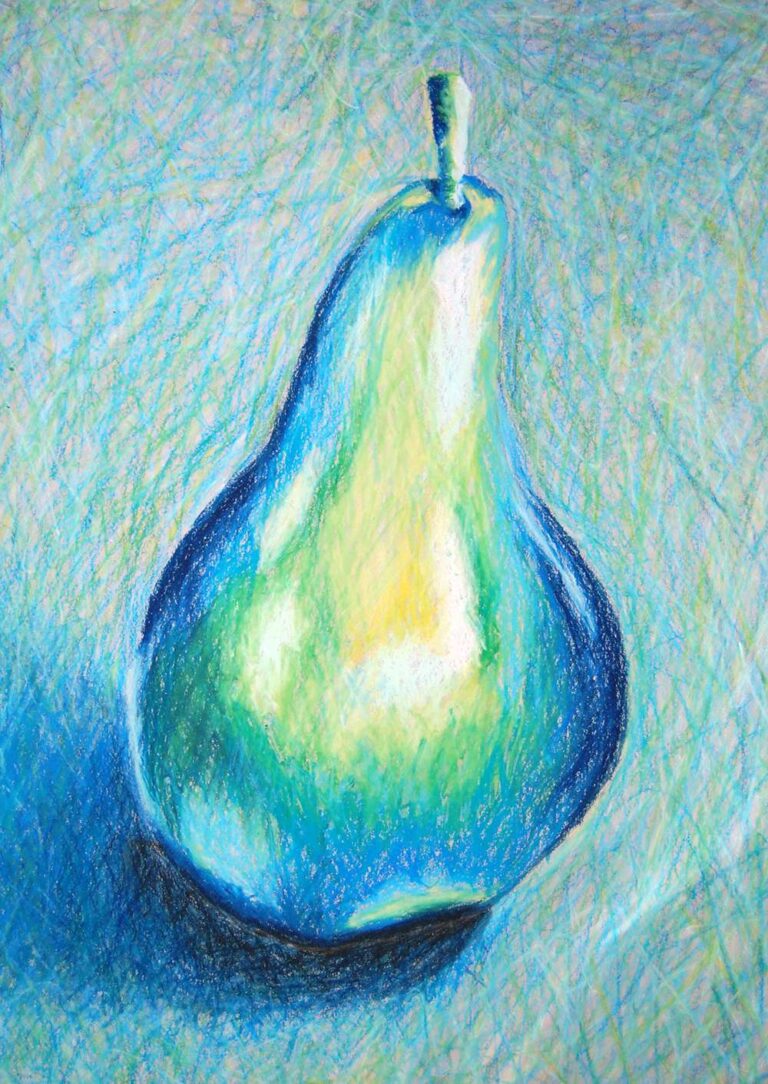
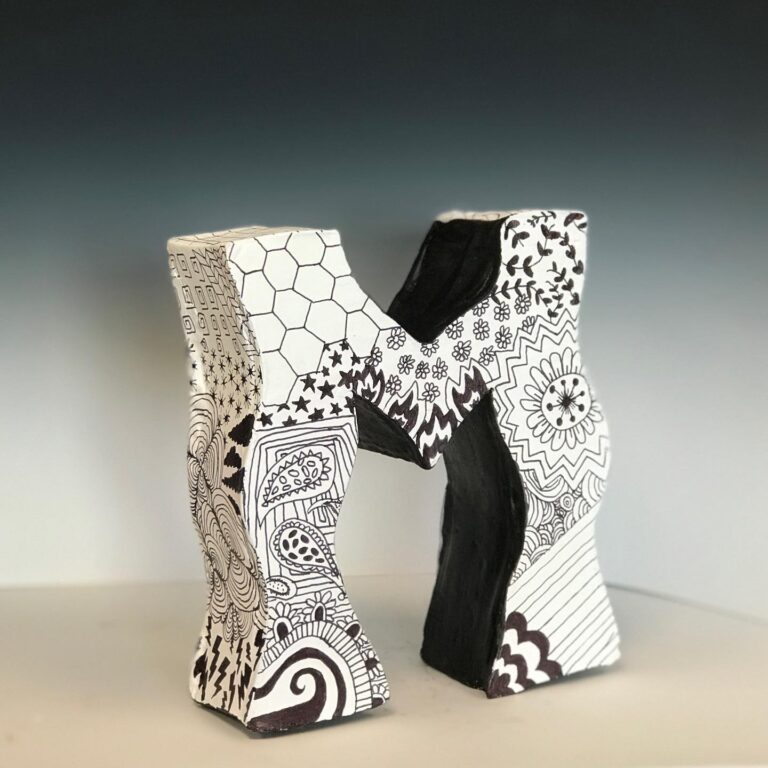
Once all of their lines are done in Sharpie, students then color in their drawings using oil pastels. Students can also create patterns in their negative spaces if they would like to emulate wallpaper or a tablecloth. The emphasis is to try to get an accurate color match, but more importantly to try to create value to show form. (See examples.)
Once the drawing is filled in with oil pastel, students then go over their drawing with India Ink. Students much do this section by section because if not, they will cover their entire drawing and not know where their objects are.
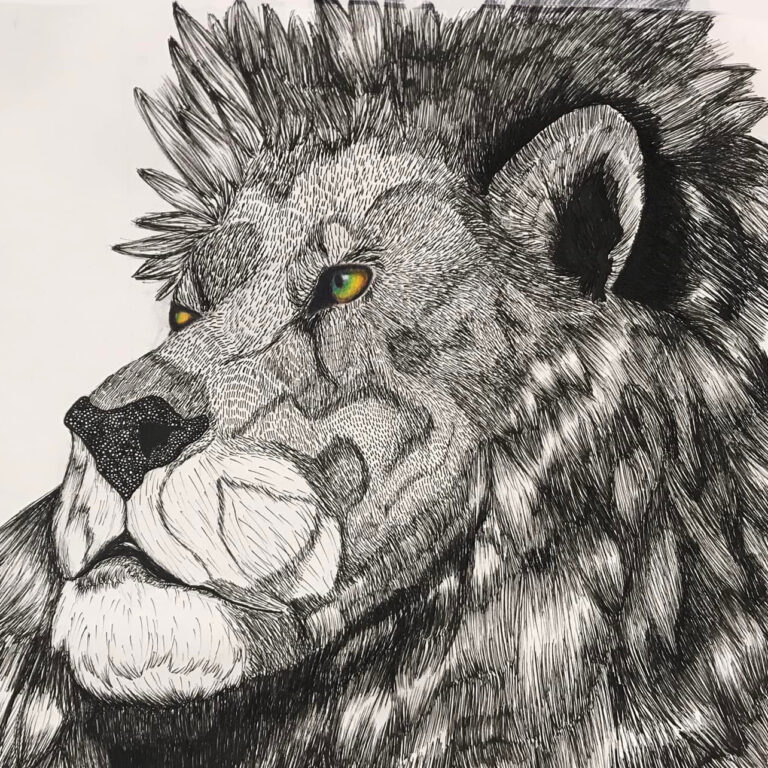
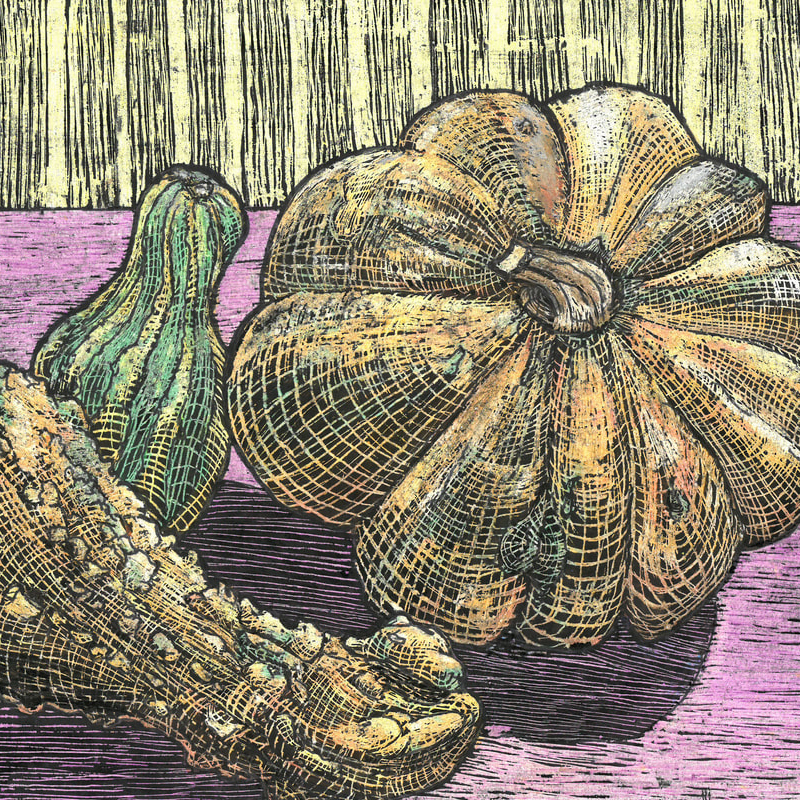
Once the India Ink is dry to the touch, students take their scratch tool and use mark making (hatching, cross-hatching, scumbling) to scratch away the India Ink to reveal color and create value. We emphasize directional mark-making to show form as well. (see photos for finished drawing examples)
Vocabulary
composition, form, pattern, color, sgraffito, cast shadowResources
Author & Website/Blog
Supporting Images